I always say you should train often and train with an open mind.
Carrying a gun while being untrained in defensive combat shooting could end up hurting you instead of helping you.
For concealed carry, each drill teaches a different skill set that can make you a more advanced shooter.
Hopefully, you give these a shot next time you are at the range.
Phase 5 Drill
The Phase 5 Drill is all about muscle memory.
Check out the video and download the specialized target in our detailedPhase 5 Drill article.
It really is a simple drill that works on both holster draw and shot placement.
It doesnt necessarily require a shot timer, but this does help if you are trying to push yourself.
The drill is simple.
Conduct a reload and finish with three rounds in the circle thats in the center of the target.
This can be done from any distance you are comfortable with.
Its a great drill to run with a pistol but can also be used with a rifle as well.
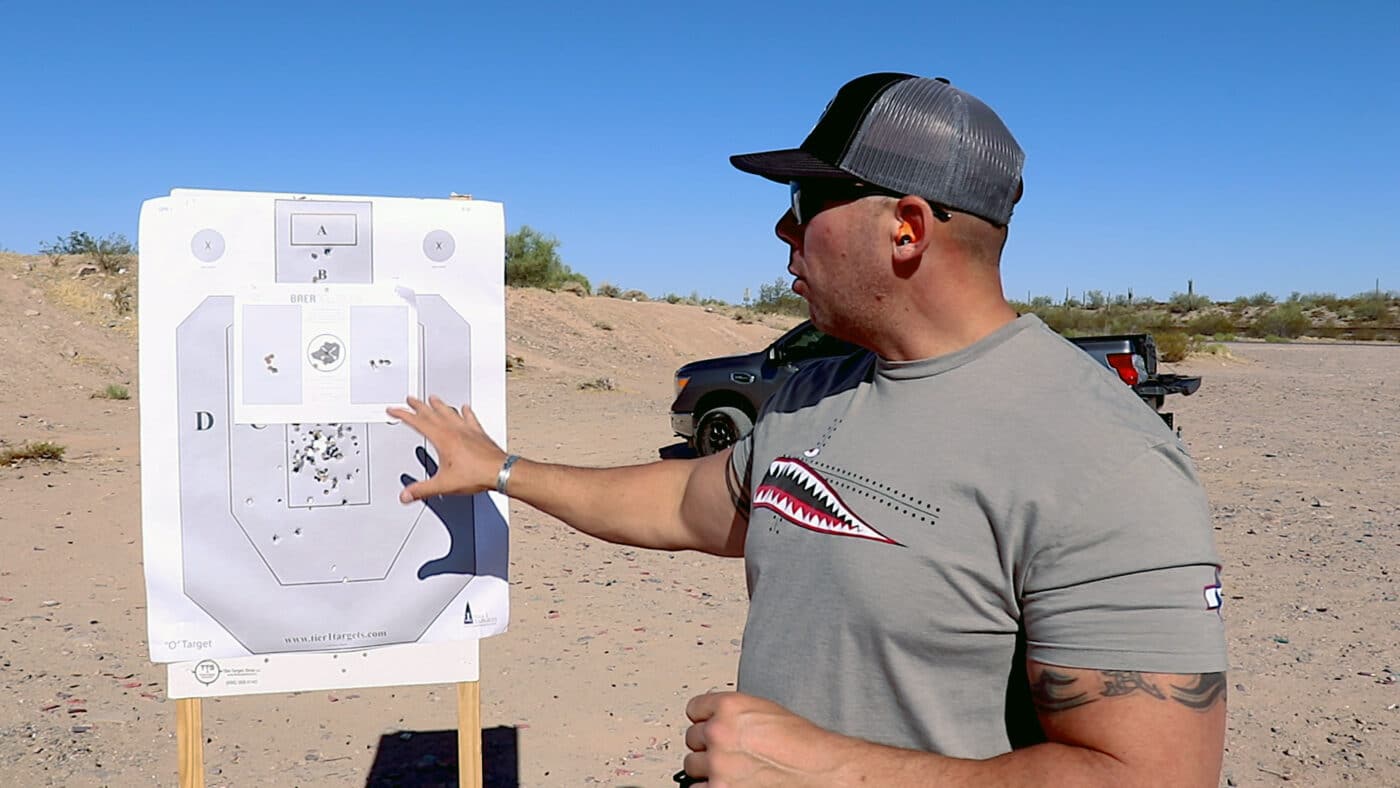
Learn more and see it demonstrated in ourBaer Standard Drill video.
The key is to keep them in that high center chest area.
The Bill Drill is great for learning to manage recoil.
However, you are running as fast as you could from start to finish.
The William is more refined and teaches you to pump the brakes a little.
You will run it the same way as the Bill.
This takes you from all-out to precision very quickly.
Check outPaul Carlsons William Drill video.
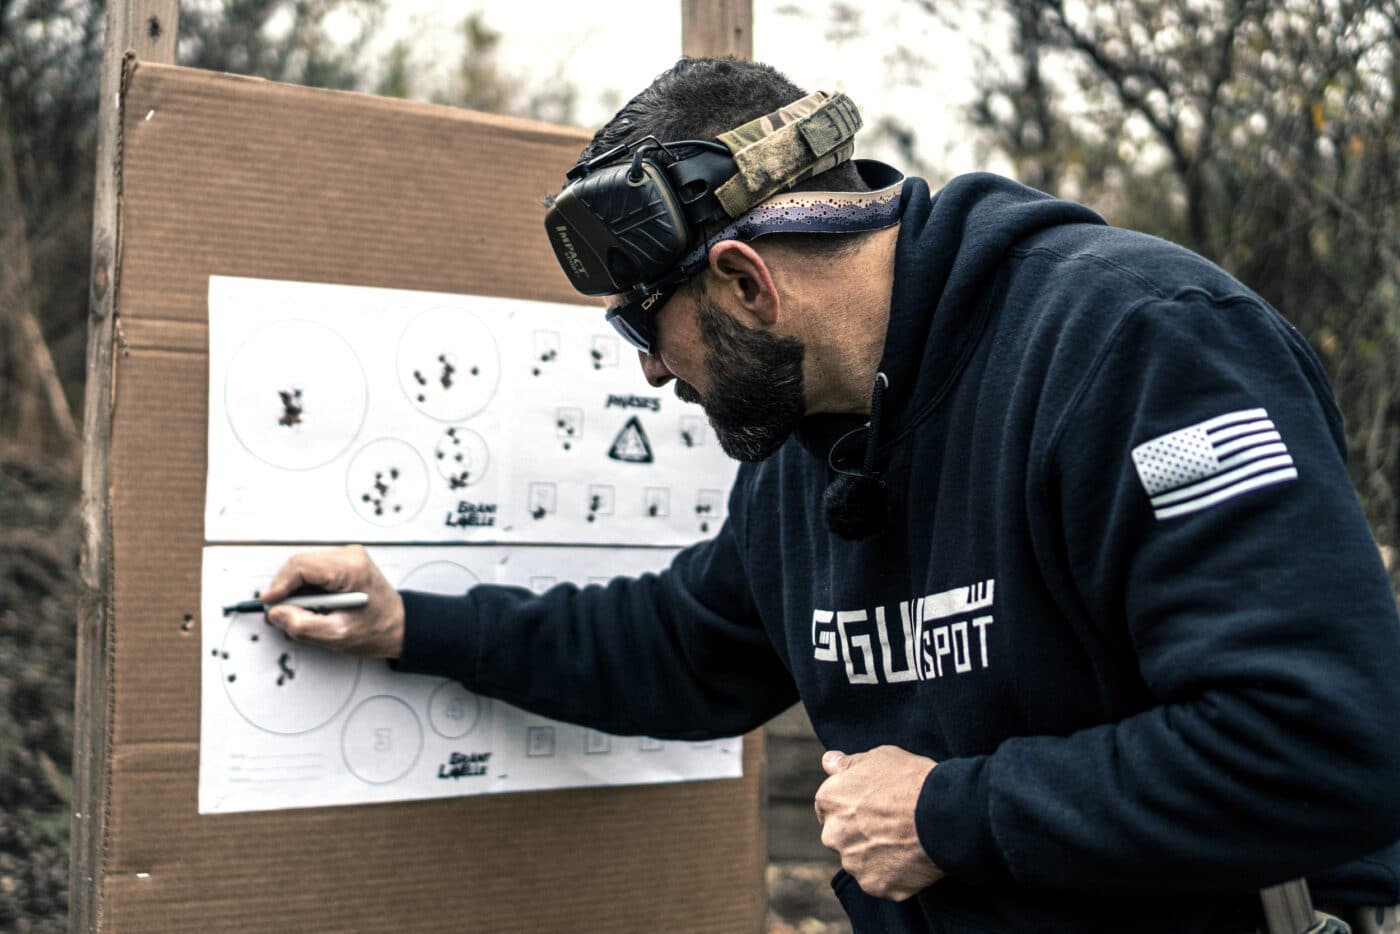
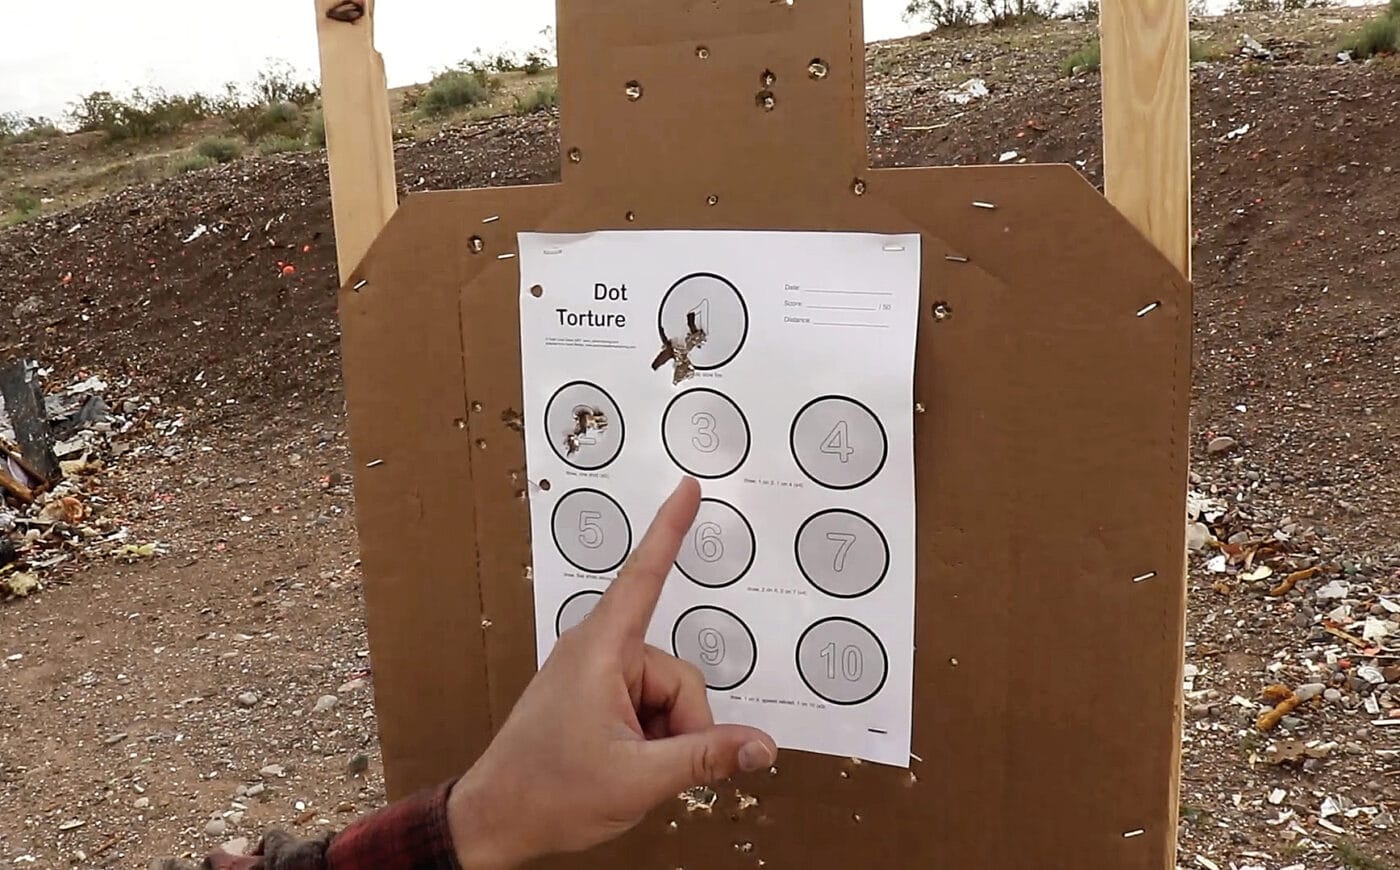
Dot Torture
Dot Torture is one of my personal favorite drills to run at the range.
You will learn presentation as well as trigger control.
This one only requires 50 rounds of ammo also.
There are 10 circles on the target.

The drills start with five rounds of slow fire in the first dot.
I actually write them above each dot, so I dont forget.
See the video tutorial to learn the proper order of theDot Torture Drill here.

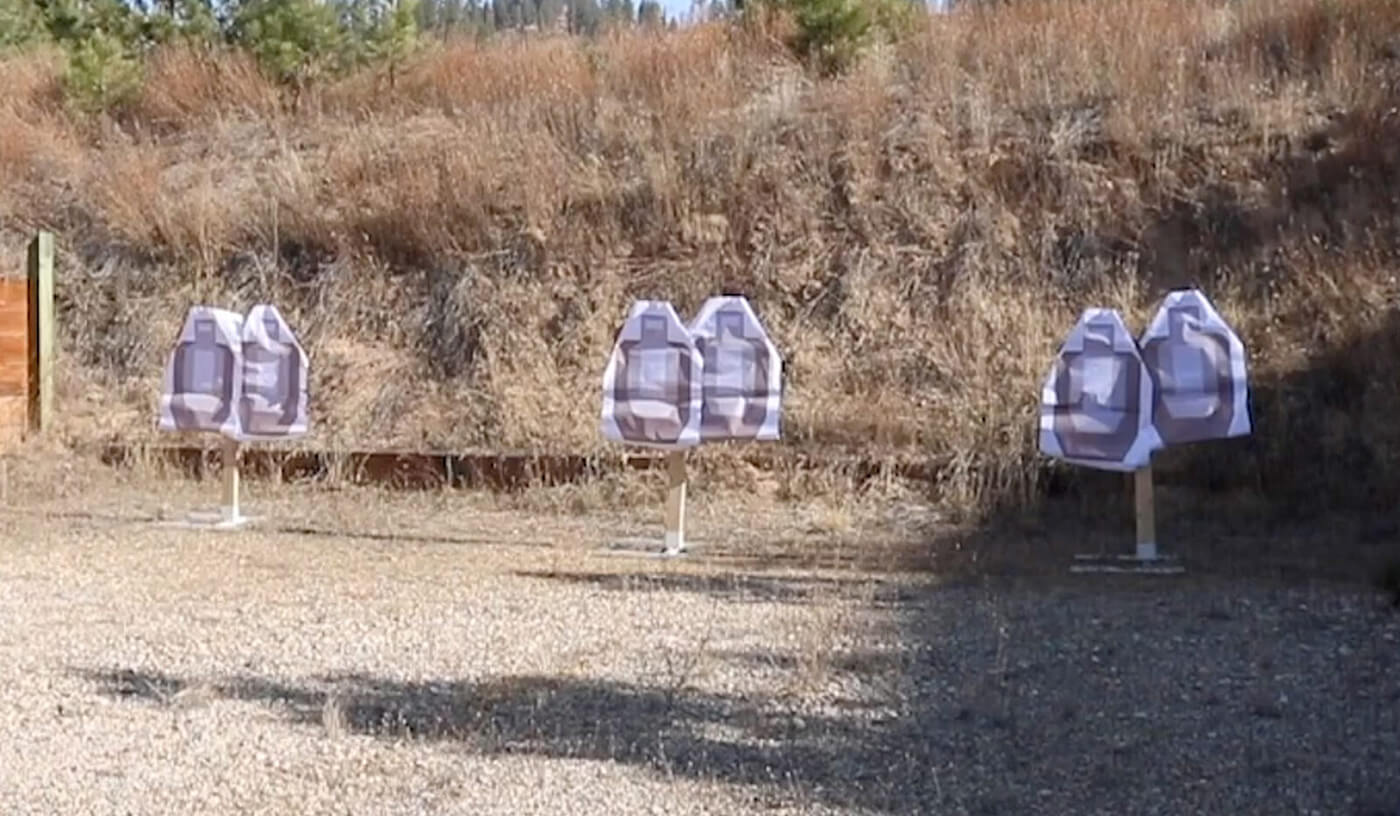
You start off with three targets downrange and your back turned to them.
Work on getting those times up.
See it in action and learn a little more about theEl Guapo Drill in Clay Martins article.

Maybe the guy has on some armor or is just on some drugs making him seem superhuman.
The Failure to Stop Drill prepares you for these situations and can help you end a threat quickly.
The Failure to Stop Drill consists of three shots total.

Two shots center mass chest, and then one shot to the head to stop that threat.
Once you get comfortable, add in movement.
Learn more about theclassic Failure to Stop drill here.

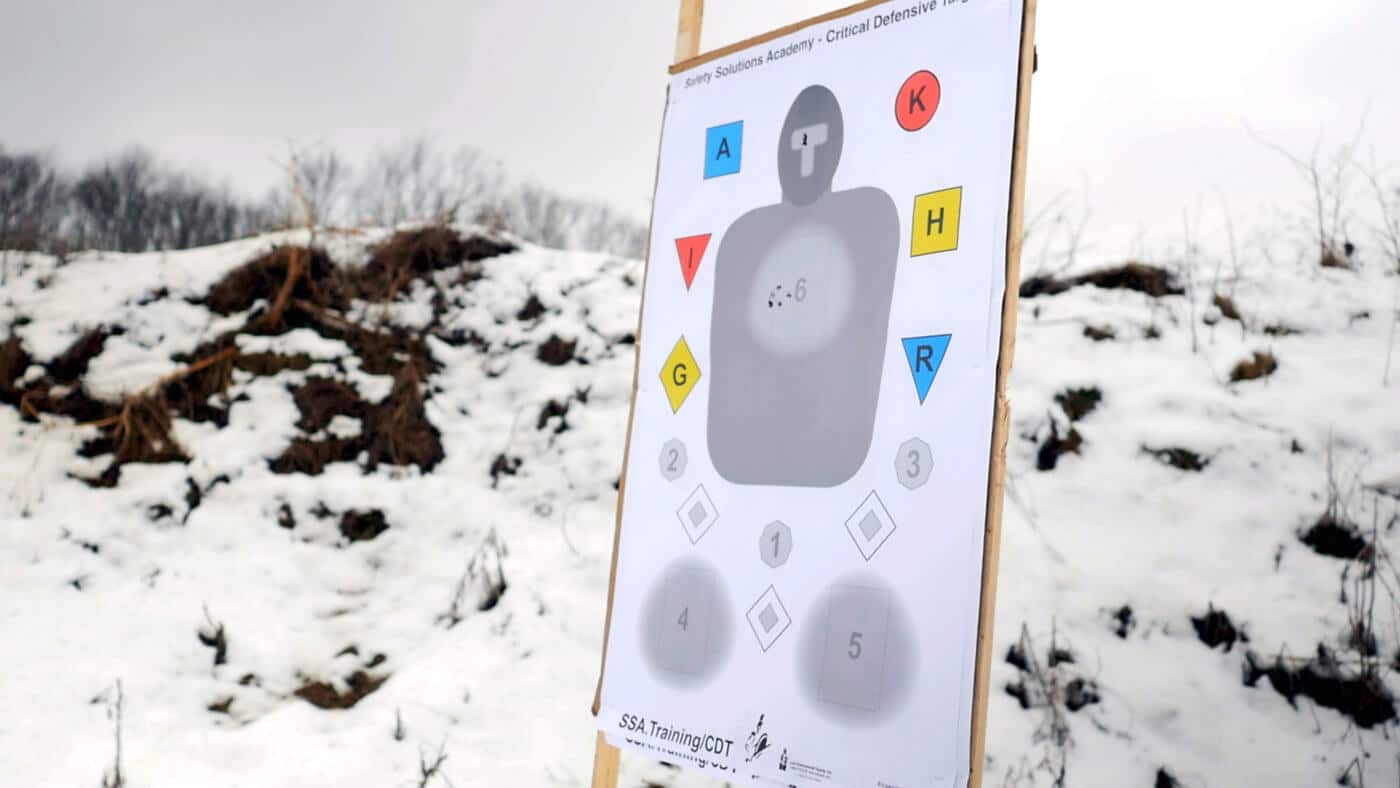
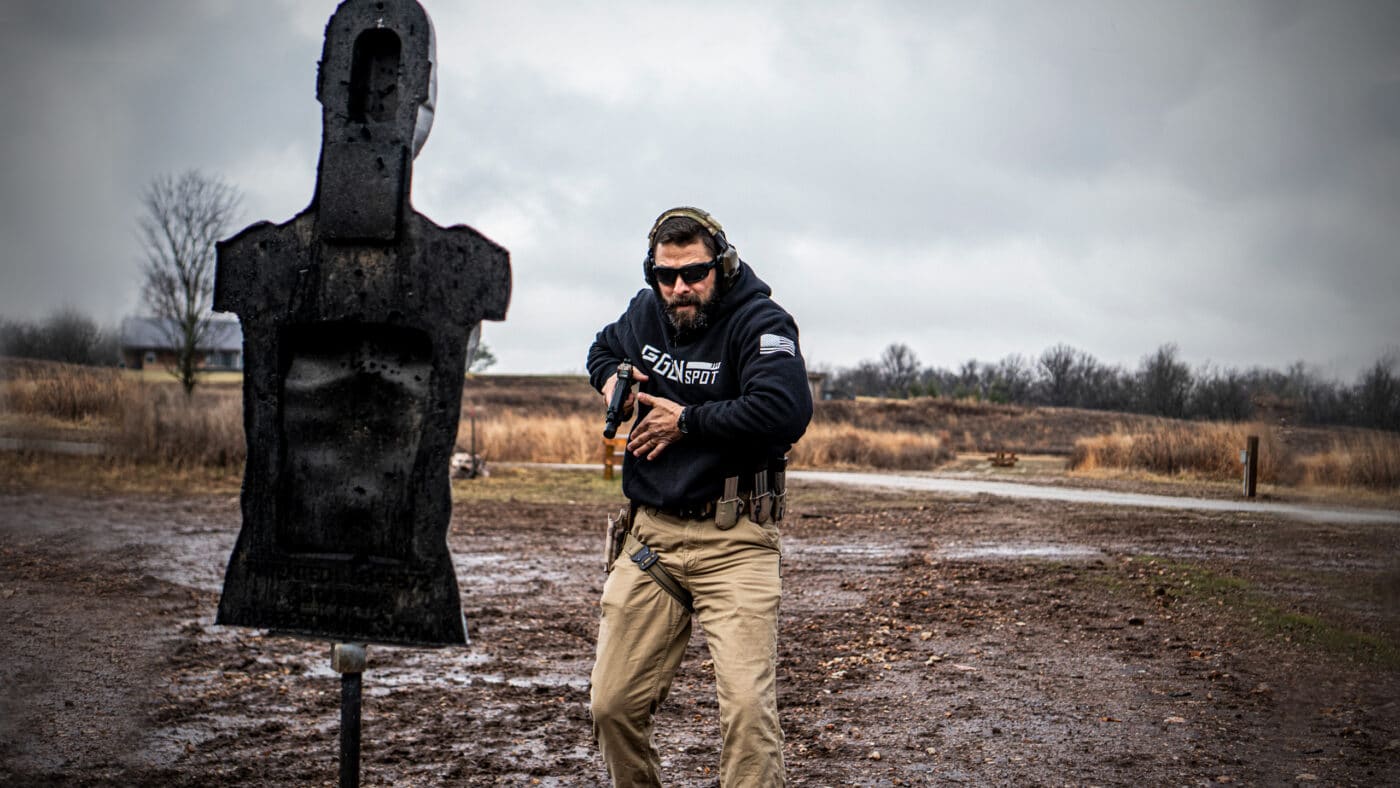
Threat Response Drill
Training to respond properly in a defensive encounter is very important.
The Threat Response Drill prepares you for different situations out in the real world.
There are three different drills within this drill.
The first component is a very close-range threat with no cover or obstacles available.
This response will teach you how to create distance in a fight.
The second response situation is a threat at a medium range with no cover available.
This drill gets you moving offline while drawing from your holster.
Movement is key in this one as well.
The third portion of this is a threat at a medium range with some form of cover available.
Obviously, these drills need to be done at a range that allows for movement.
See more about these inMike Seeklanders threat response drill article.
Remember to always train safely and within your personal limits.
Many of these drills require drawing from a holster.
confirm you practice that skill separately with an unloaded firearm before heading out and trying to do drills.
Work your way up to the drills you want to do.
This is all about having fun while learning skills that one day may preserve your life.
