June 13th, 2022
2:31 runtime
Are you a left-handed shooter?
Do you enjoy the majesty of bullpup rifles?
Youve come to the right place.
Before doing any work on your Hellion, ensure the gun is unloaded and safe to work on.
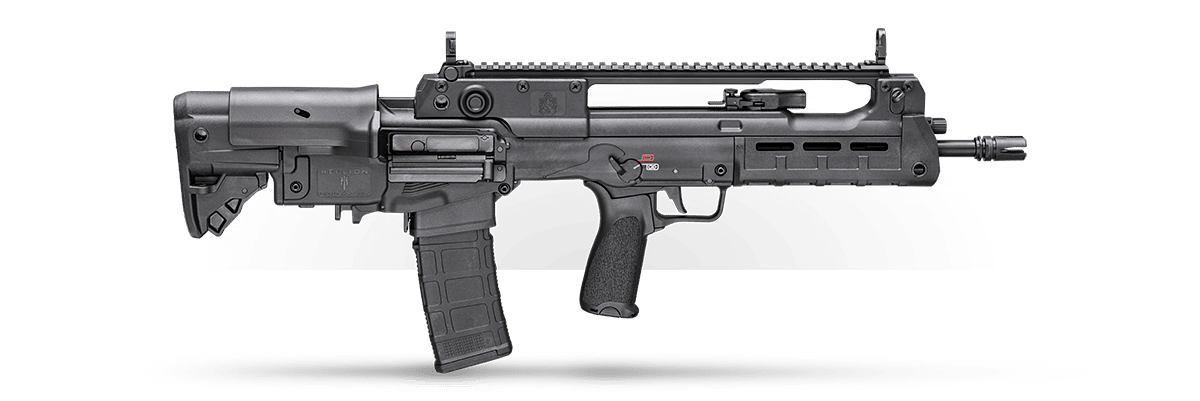
TheSpringfield Hellionis fully ambidextrous, including the ejection ports.
Fear not, I am here to help with step-by-step directions and imagery.
I am a right-handed individual, but I am also a dangerously curious individual.

Im going to be doing the same thing but in text and photo form.
Founding Steps
Lets first start with safety.
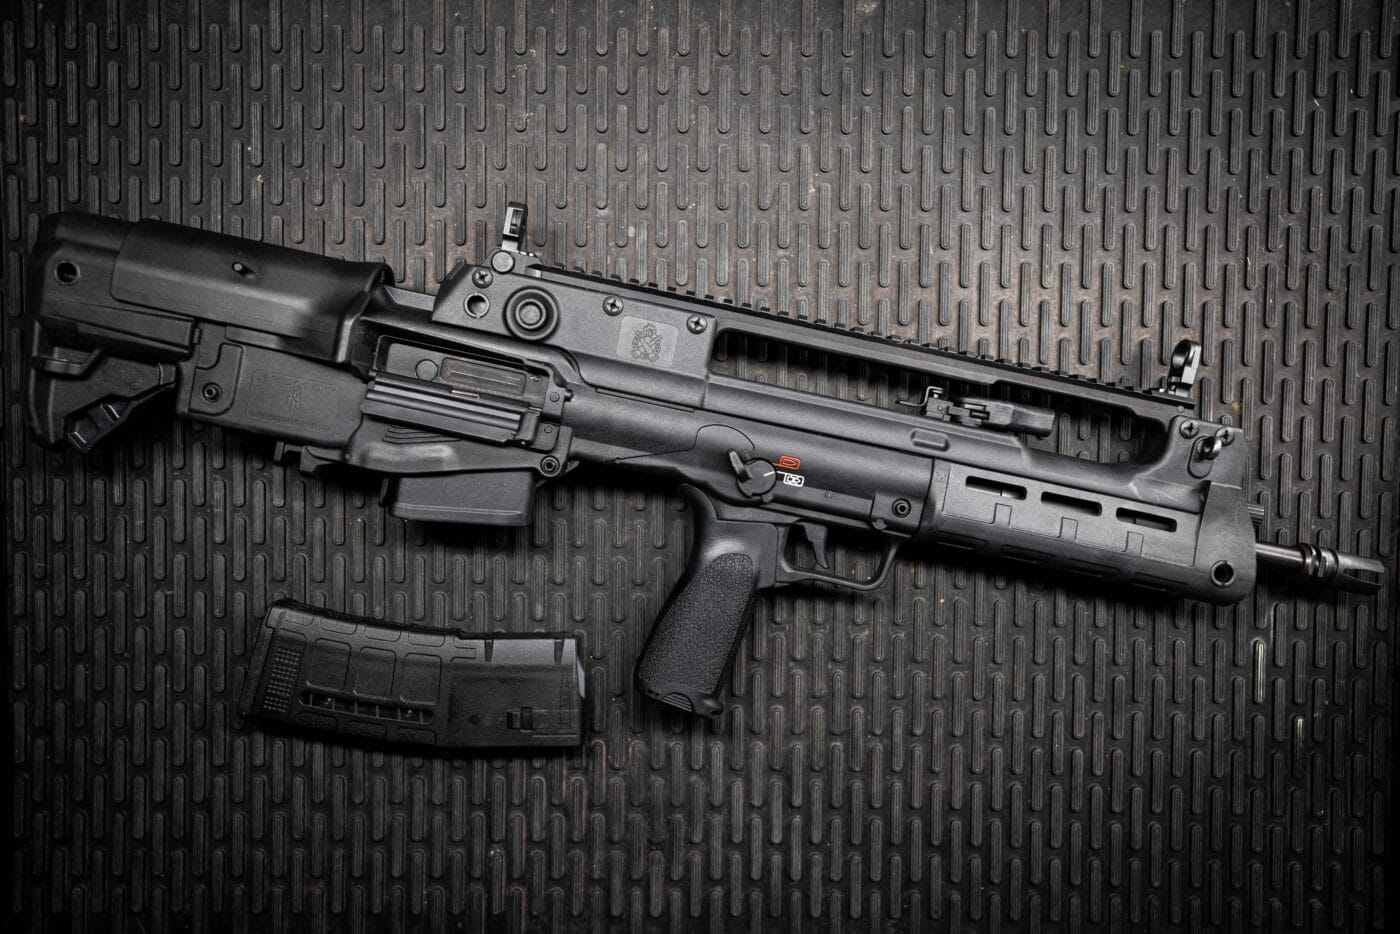
Retract the charging handle all the way to the rear, exposing the rearward portion of the bolt carrier.
After the firearm is clear, extend the buttstock fully to the rear.
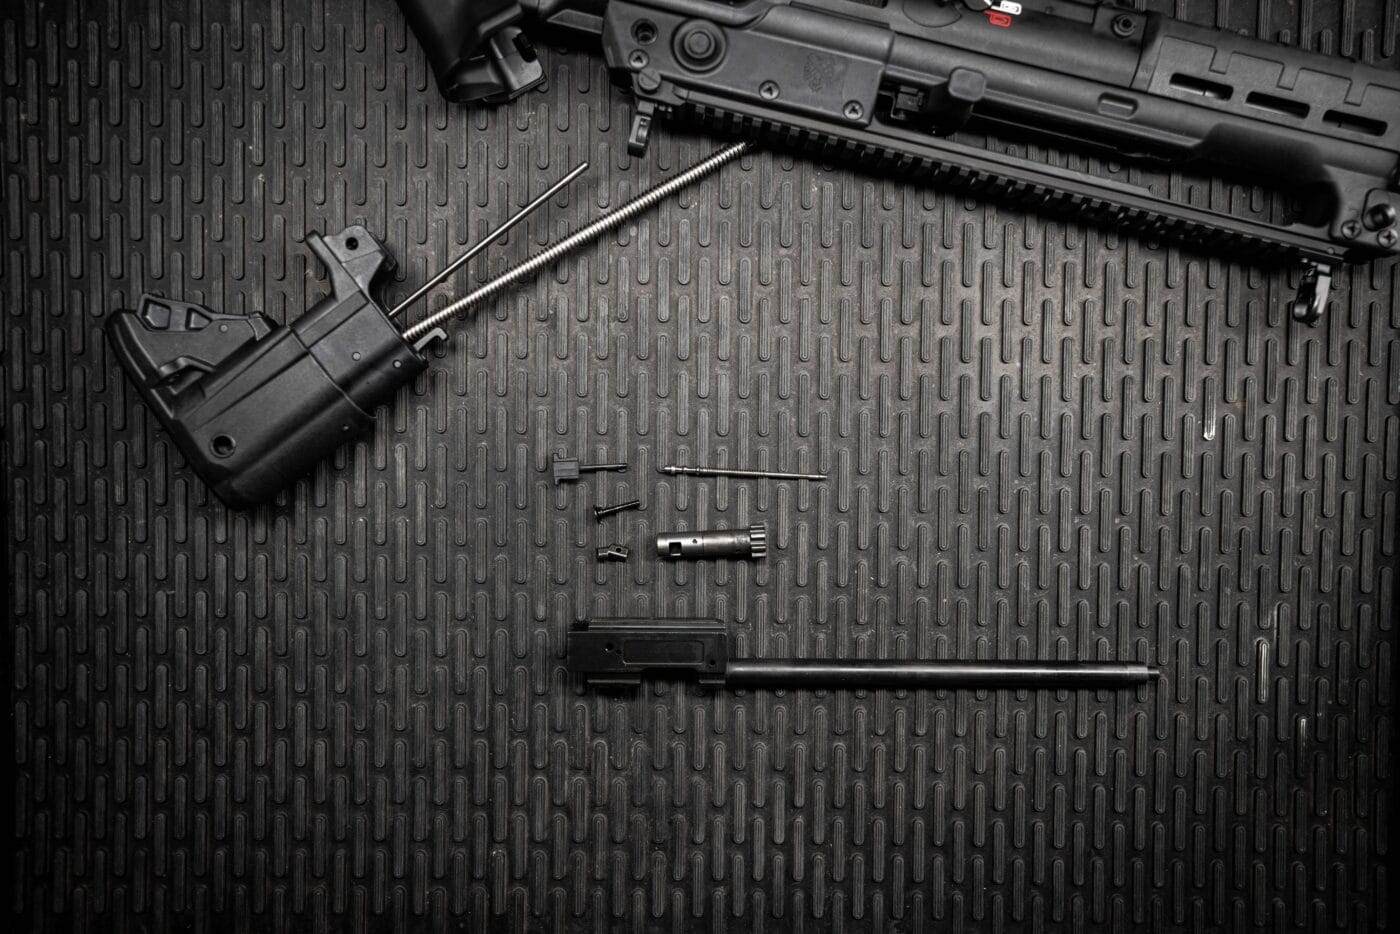
Then, remove the carrier from the receiver.
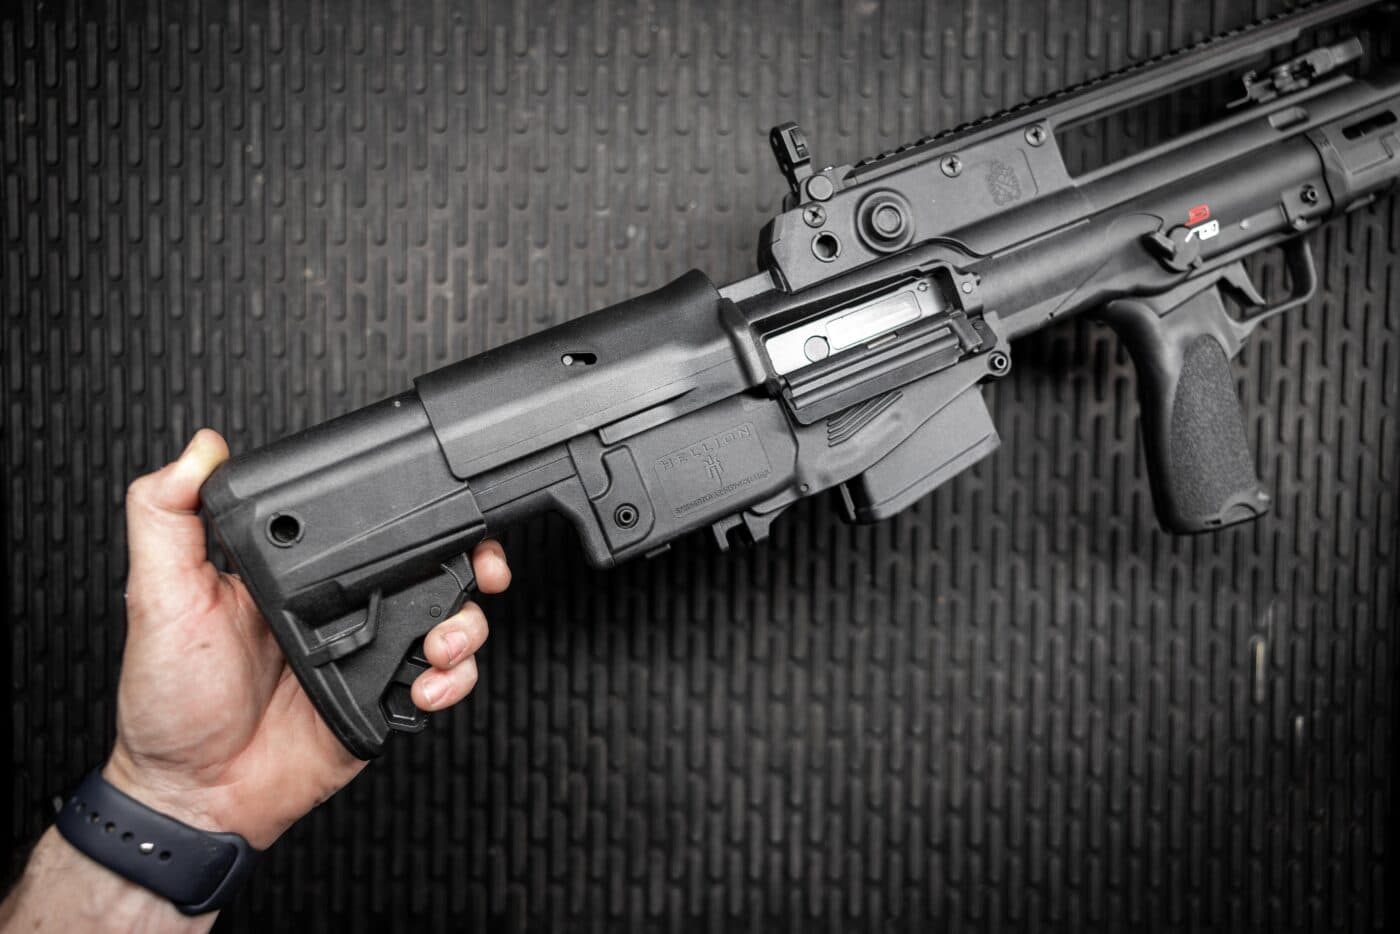
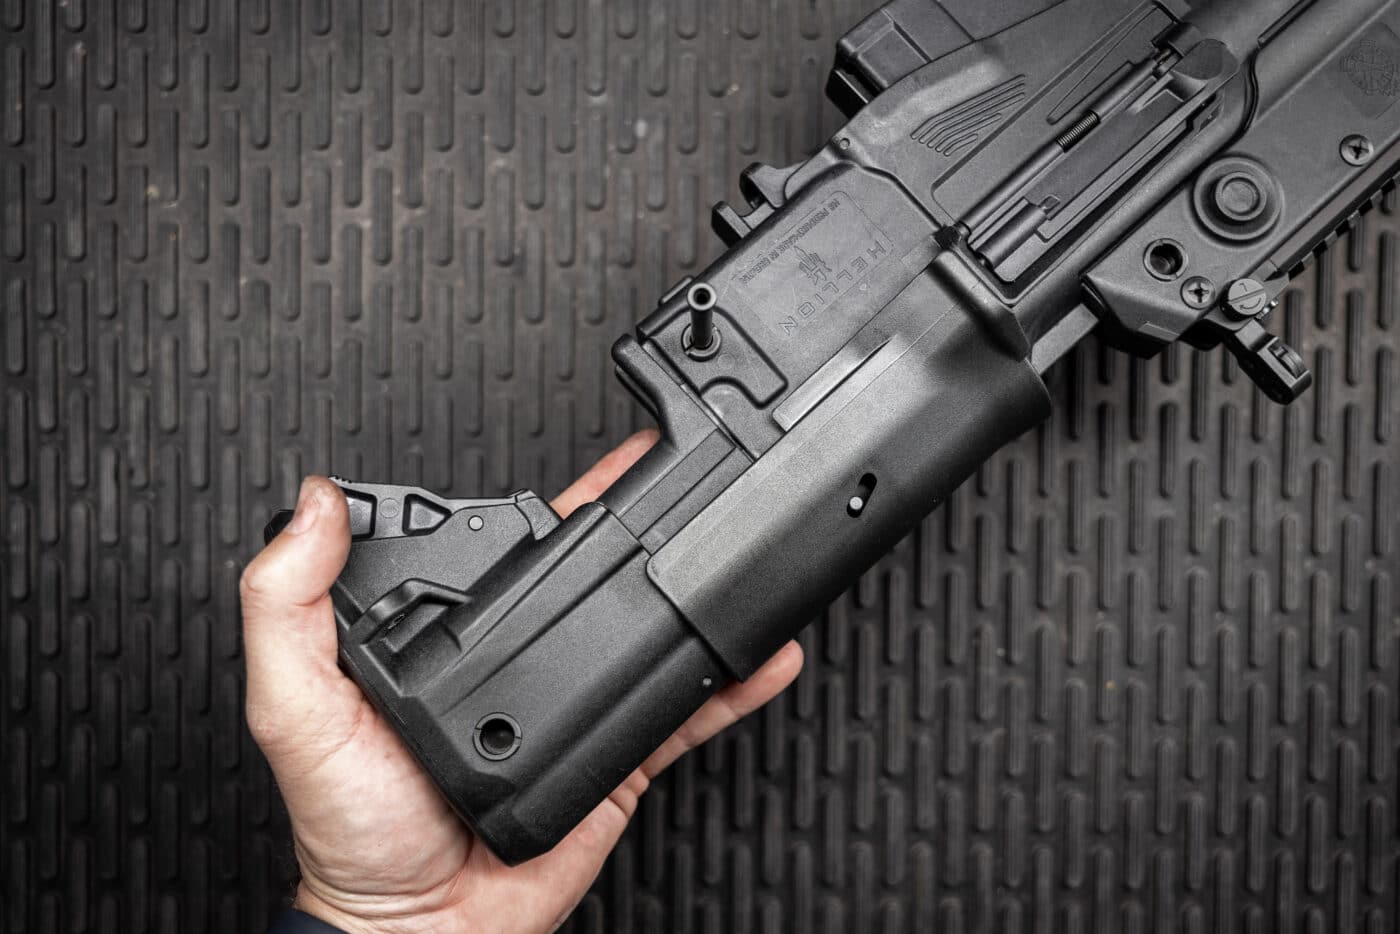
Next, retract the cheekpiece to the rear about 12 and rotate the rear of the cheekpiece downward.
you could do this by applying upward pressure to the frontmost part of the cheekpiece.
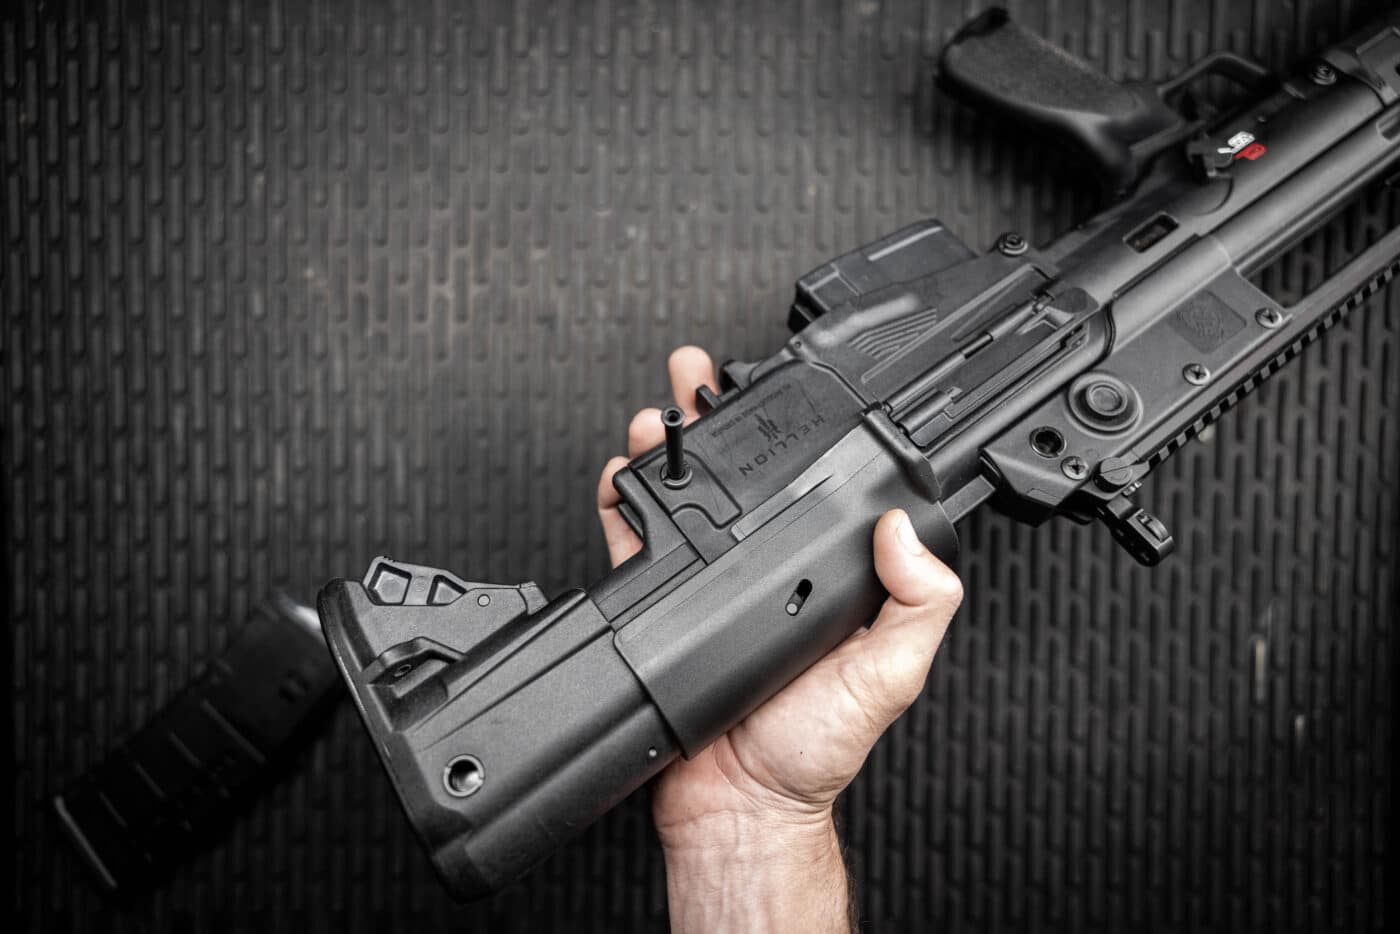
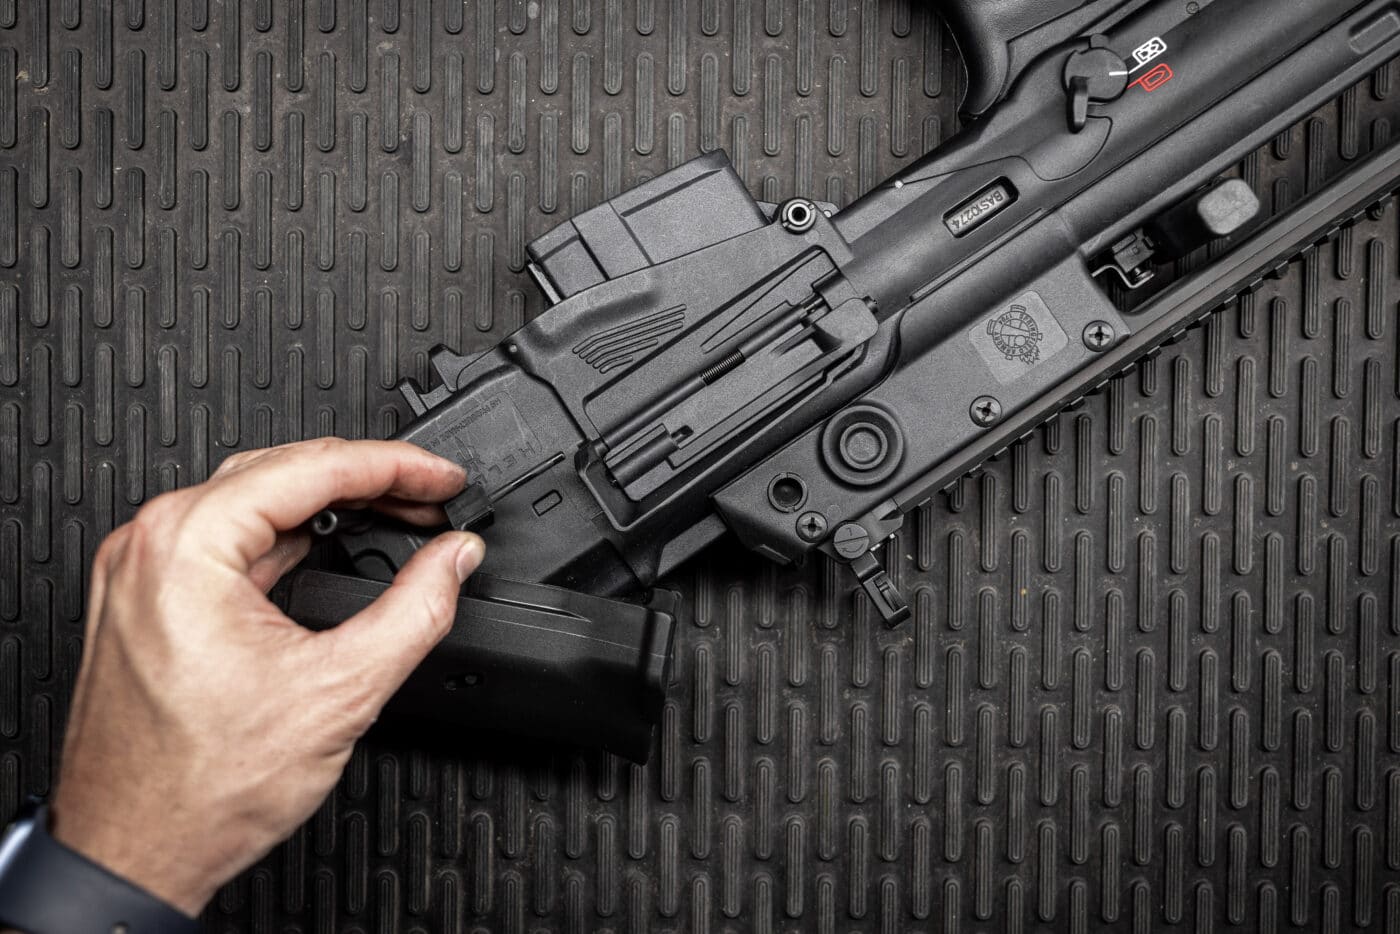
Push the buttstock retaining pin out and to its fully extended position.
You will now have access to the port cover locking pin on the unused port.
Slide the pin rearward to remove.
The Right Tools
A nice feature of this process is that it requires no additional tools.
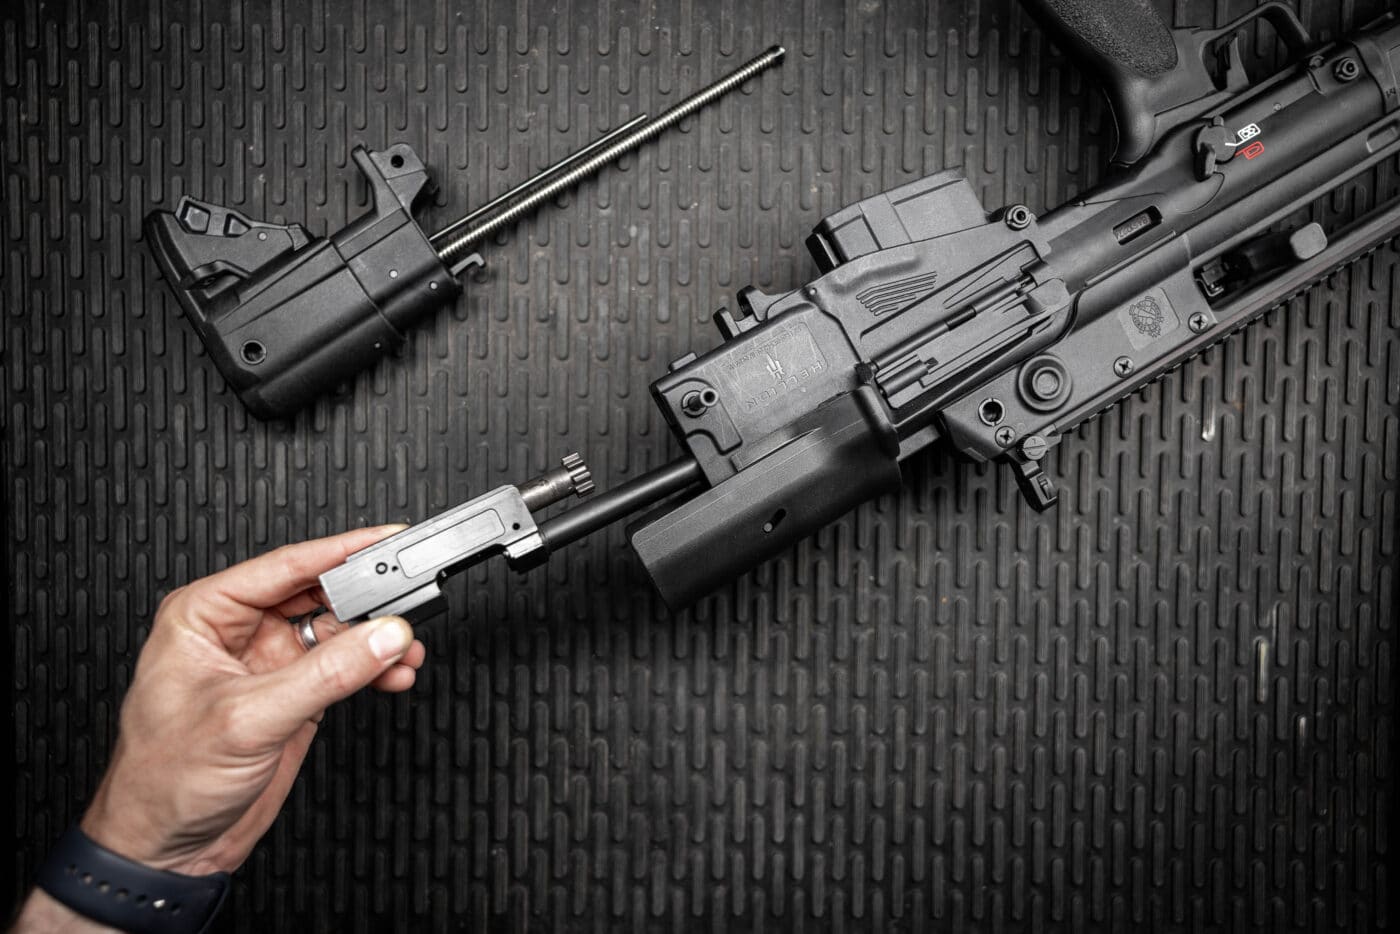
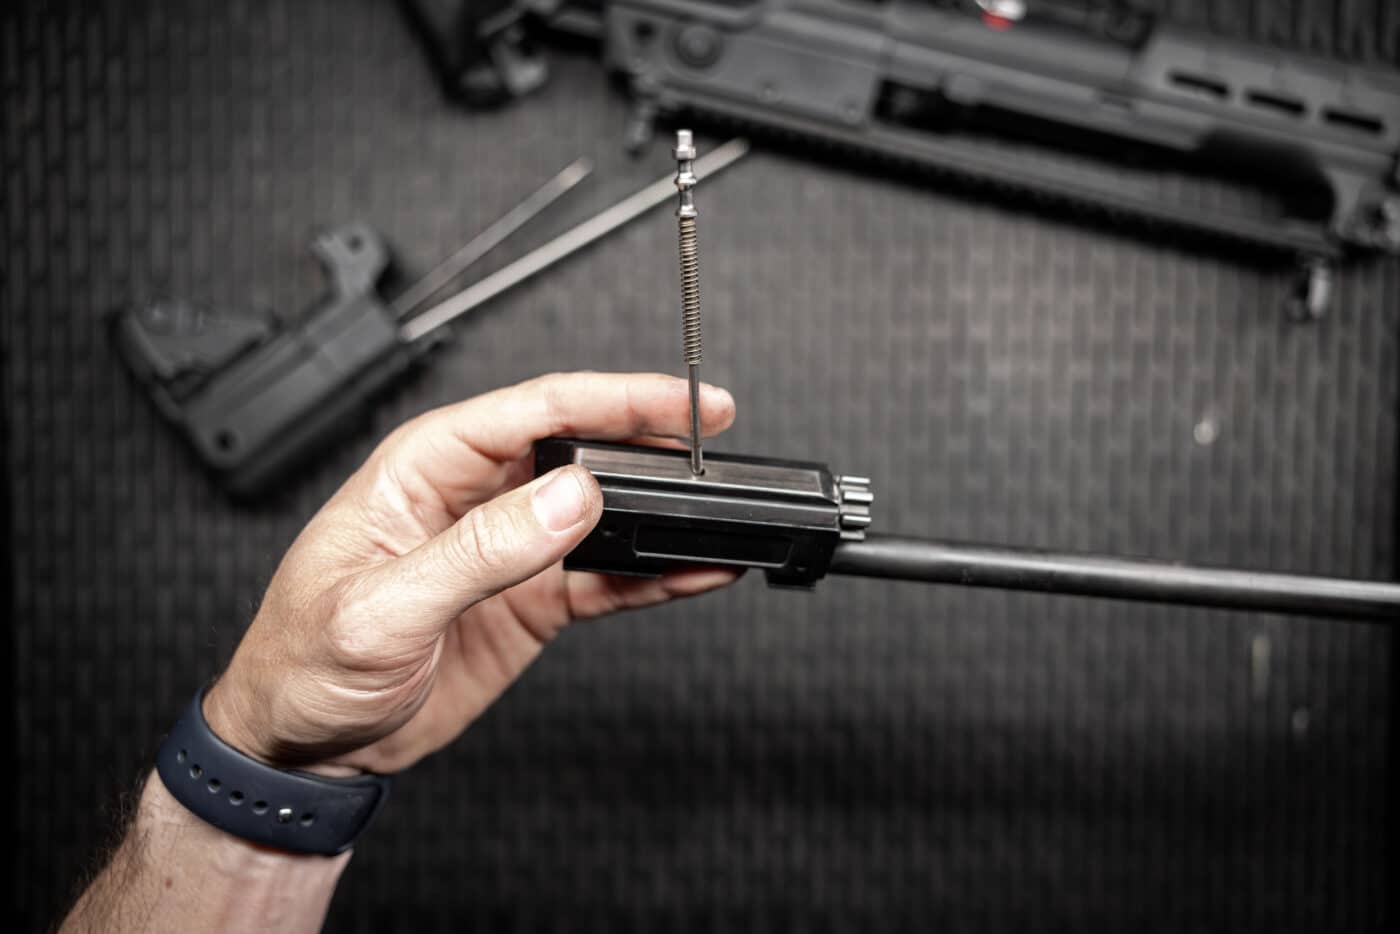
Remove the bolt carrier group from the rear of the rifle.
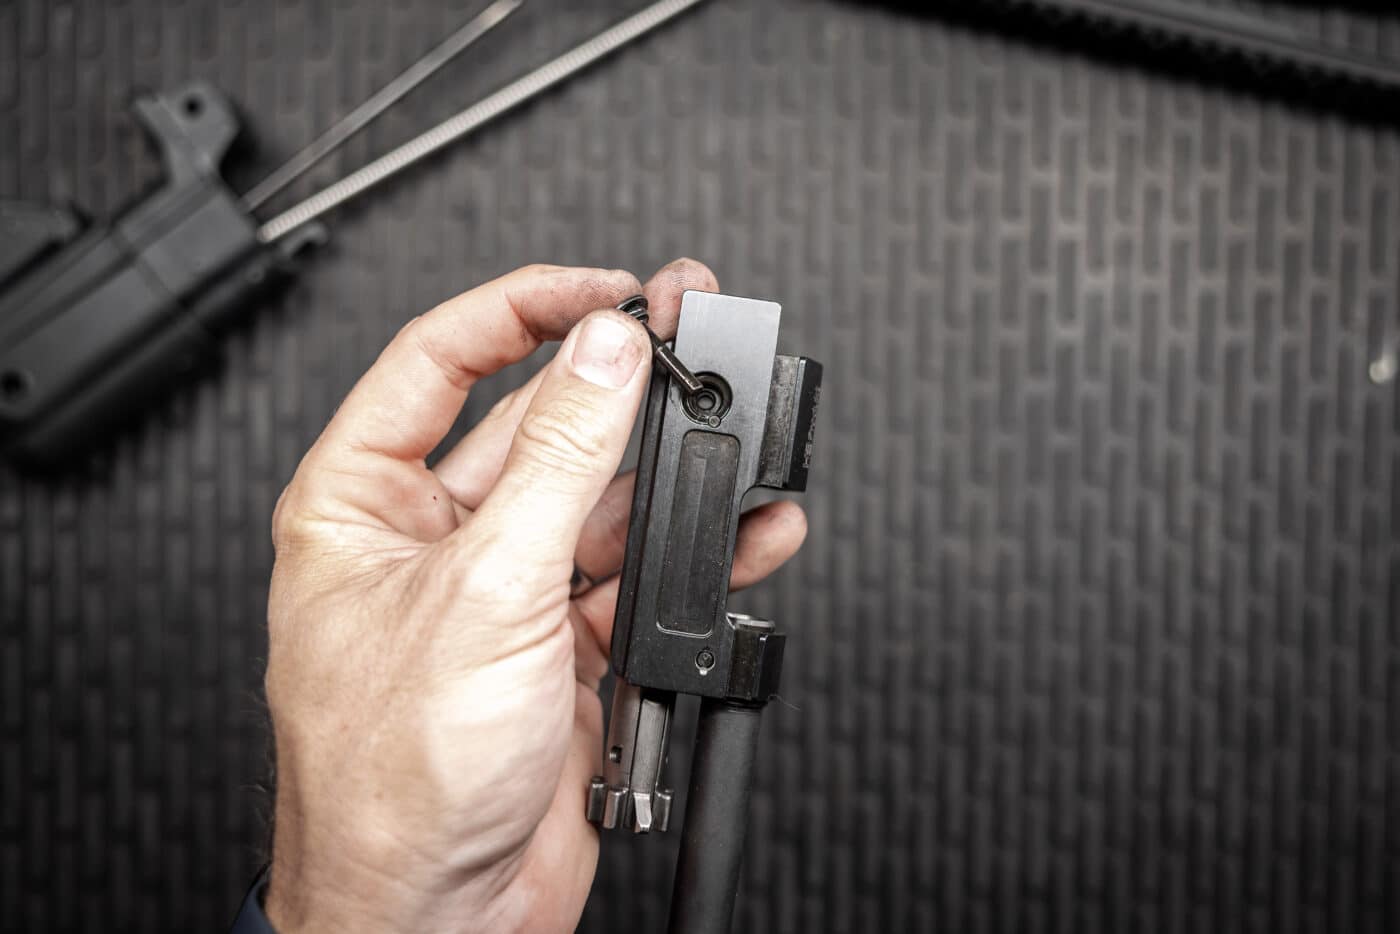
The next step uses the port cover locking pin as a tool to remove the firing pin retainer.
Simply slide the locking pin into the bolt carrier to remove the firing pin retainer.
The bolt is now free to be removed from the carrier.
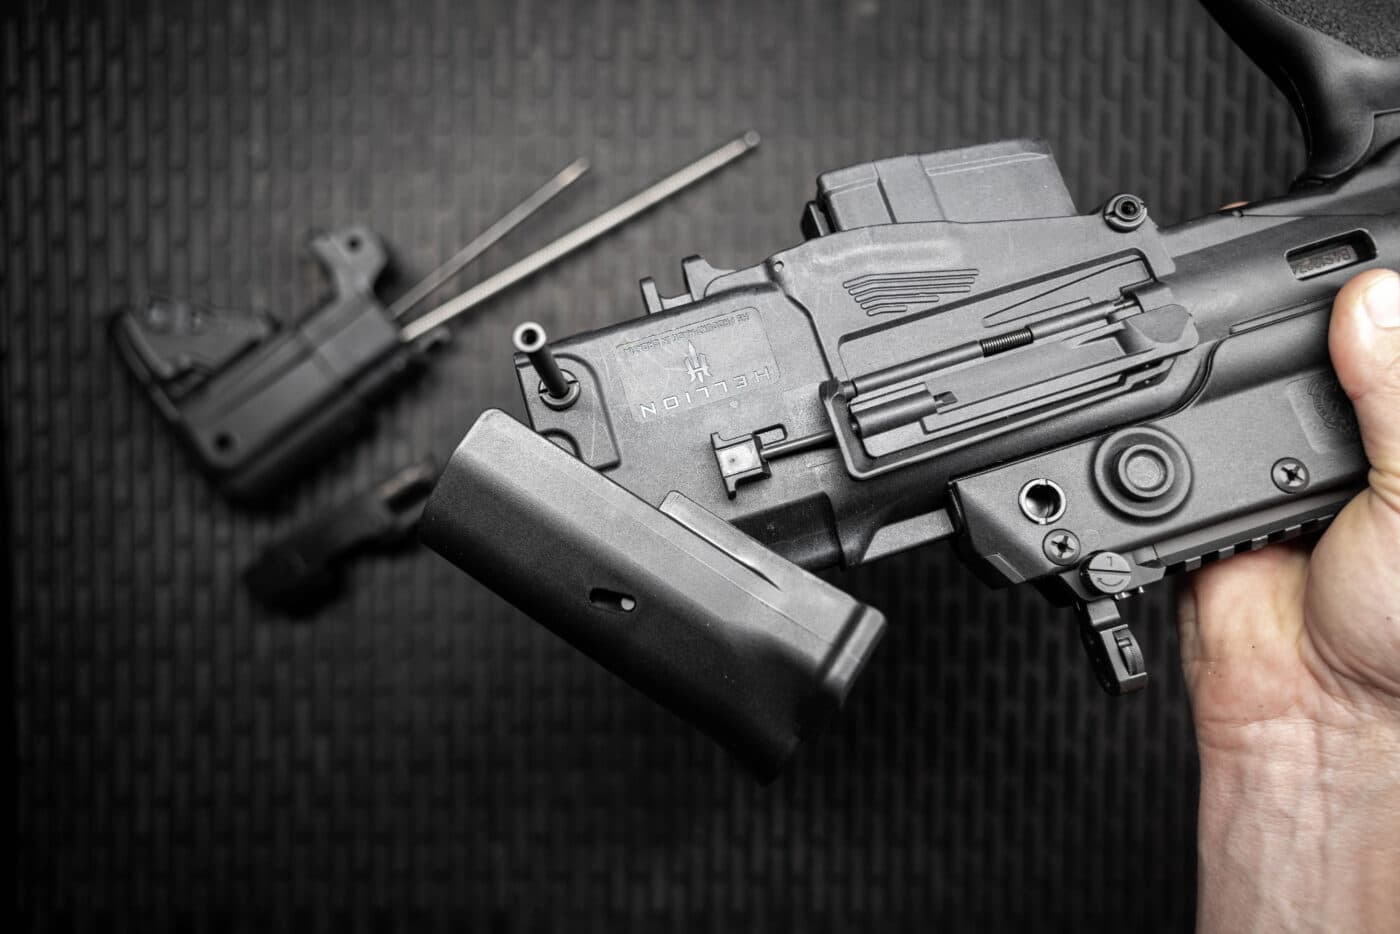
Pull the cheekpiece to the rear slightly and then apply upward pressure to rotate the cheekpiece as shown. This will expose the port cover locking pin.
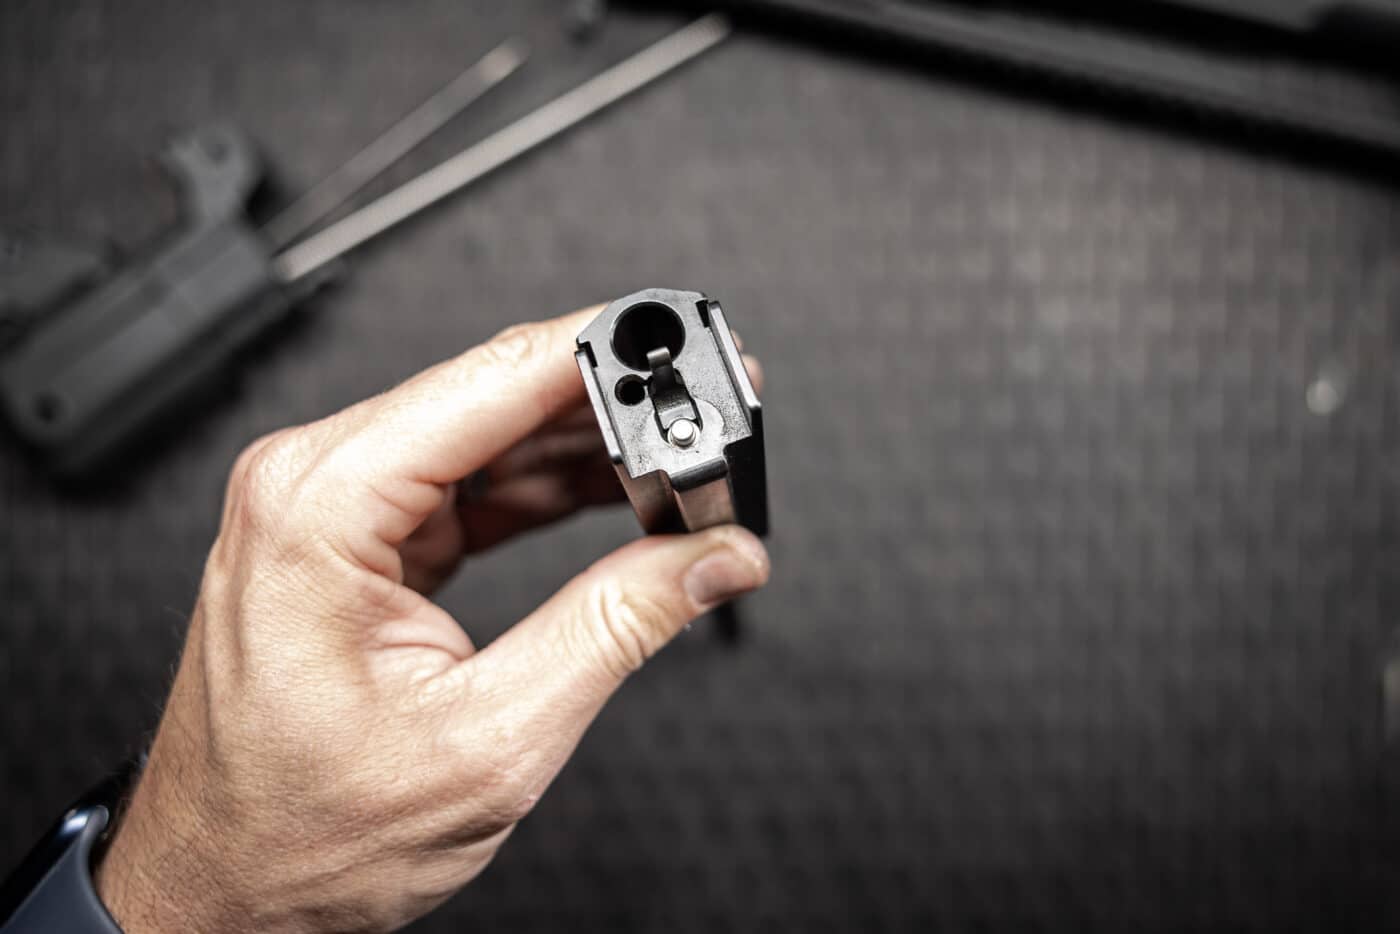
For left-side ejection, insert the bolt into the carrier with the extractor in the two oclock position.
implement the firing pin and spring into the bolt and insert the firing pin retainer.
Rotate the front of the cheekpiece downward and then slide forward about 12 until it locks into place.
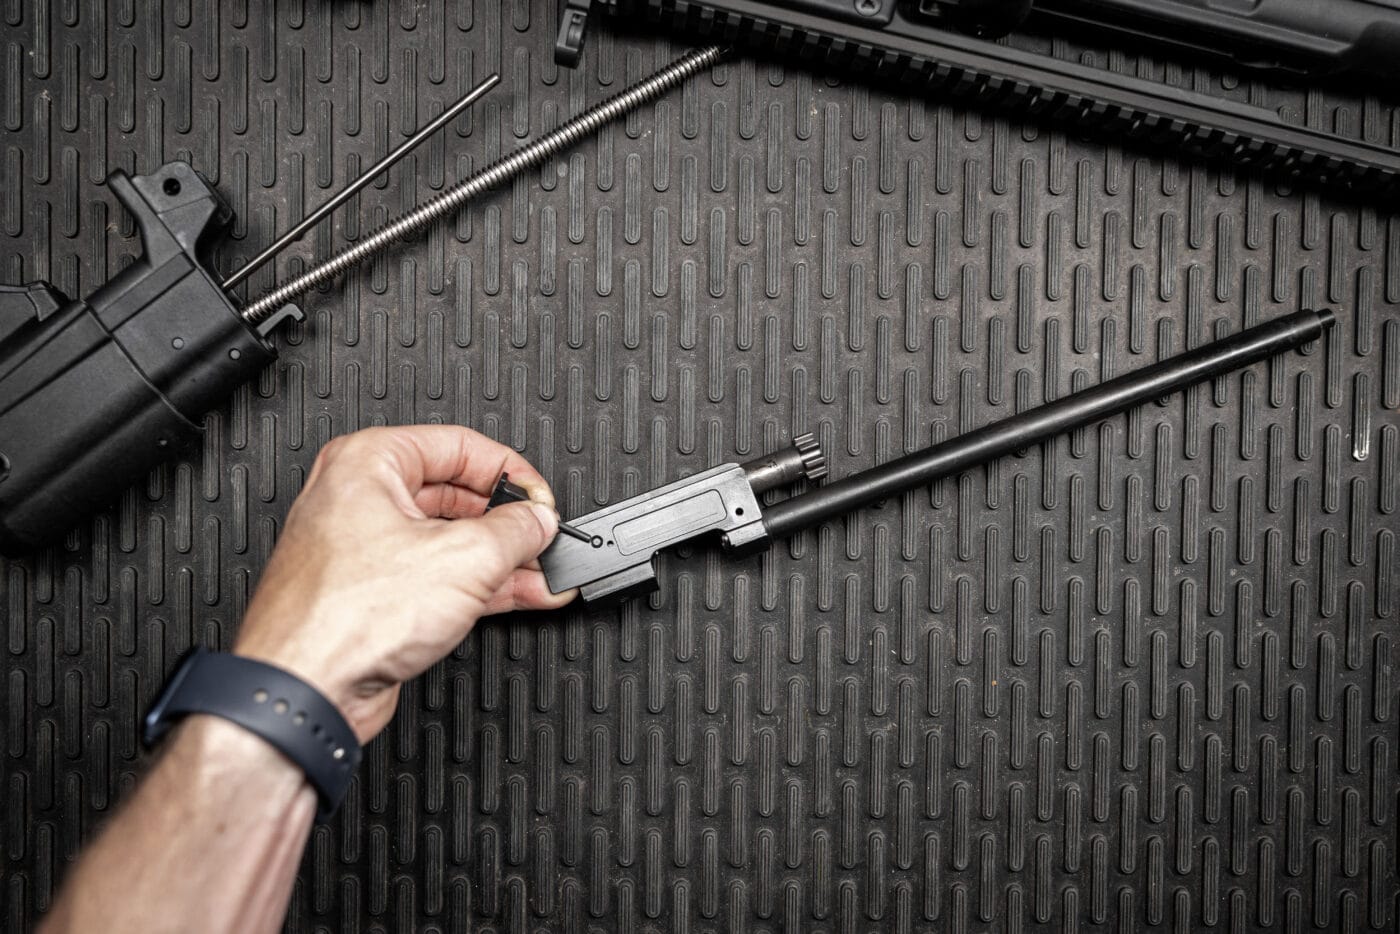
Use the port cover locking pin to help with removing the firing pin retainer. The retainer can be accessed from the side of the bolt carrier.
Then, push the stock into position.
Press the retaining pin into its hole, and you are finished!
check that to function check your firearm once complete.
Lift the firing pin safety lever to allow you to remove the firing pin and spring.
Lefty or righty, the Hellion is ready to run from either shoulder depending on your needs.
Go to forum thread
HellionTM
Use the firing pin to remove bolt cam key by inserting it into the hole on the bottom of the carrier and pressing.
With the bolt cam key removed, you can remove the bolt from the carrier.
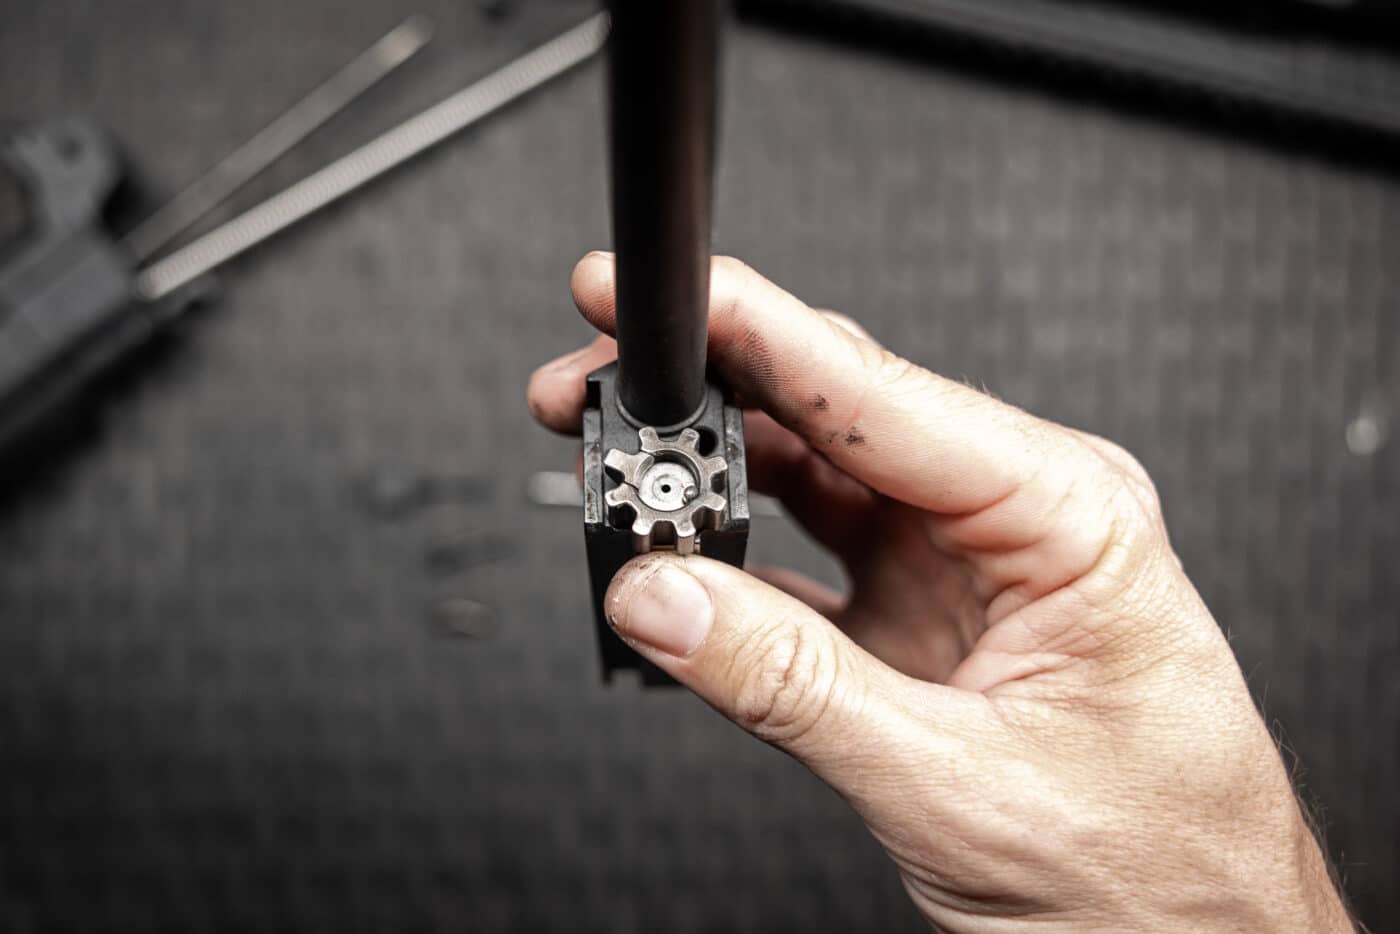
Note the orientation of the bolt head forright-side ejection.
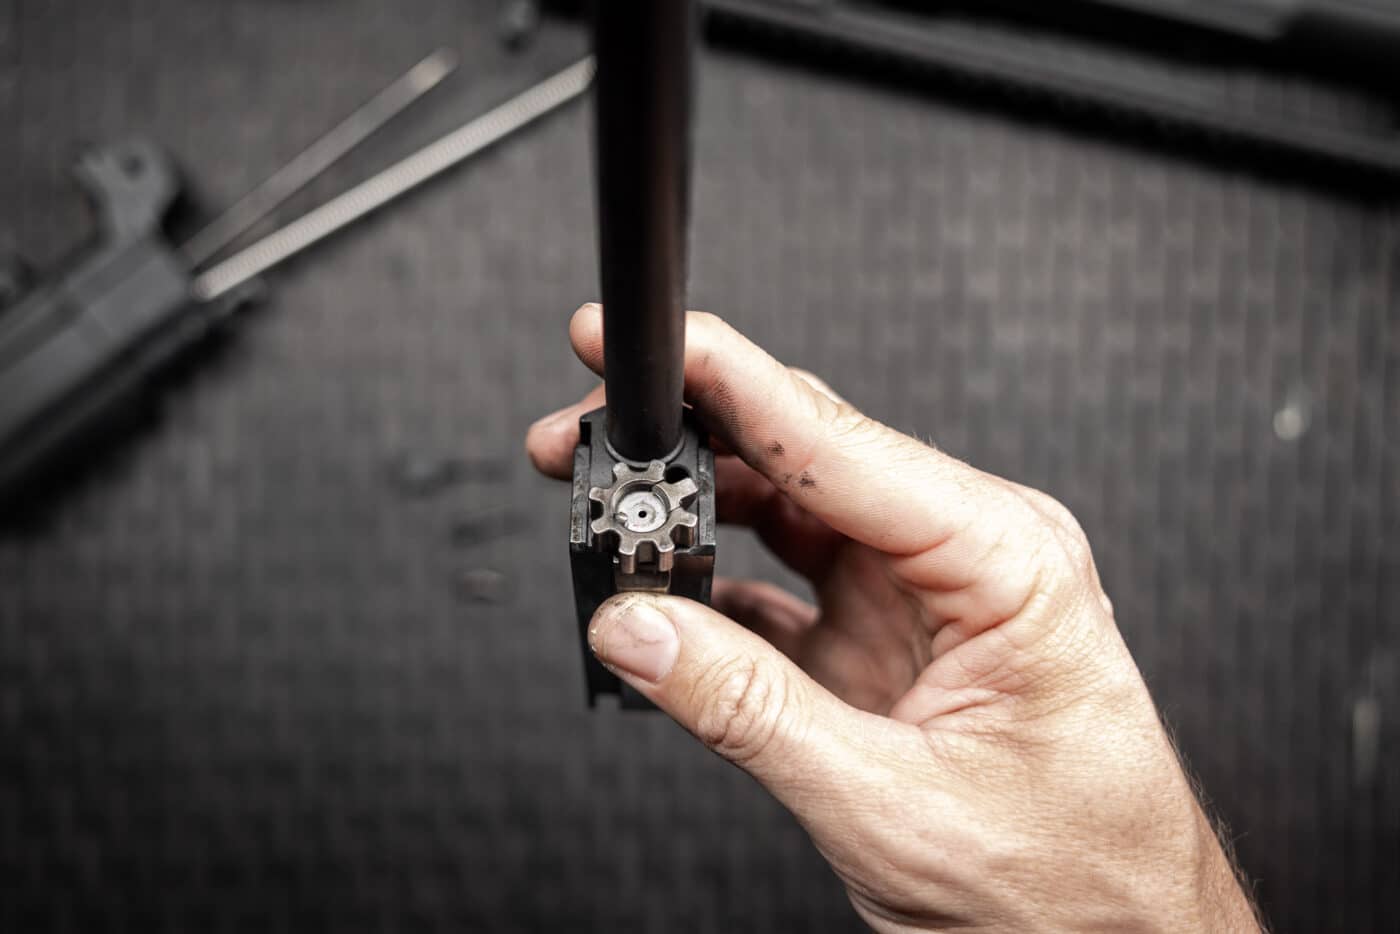
Note the orientation of the bolt head forleft-side ejection.
Install the firing pin and spring into the bolt and insert the firing pin retainer.
Insert the port cover locking pin into the unused port cover on the opposite side of the ejection port.
Once the buttstock is back into position, push the retaining pin down to secure the assembly.

Once the rifle is fully assembled, function test the Hellion without ammunition.