January 23rd, 2024
7minute read
There is satisfaction in creating a project or completing a job.
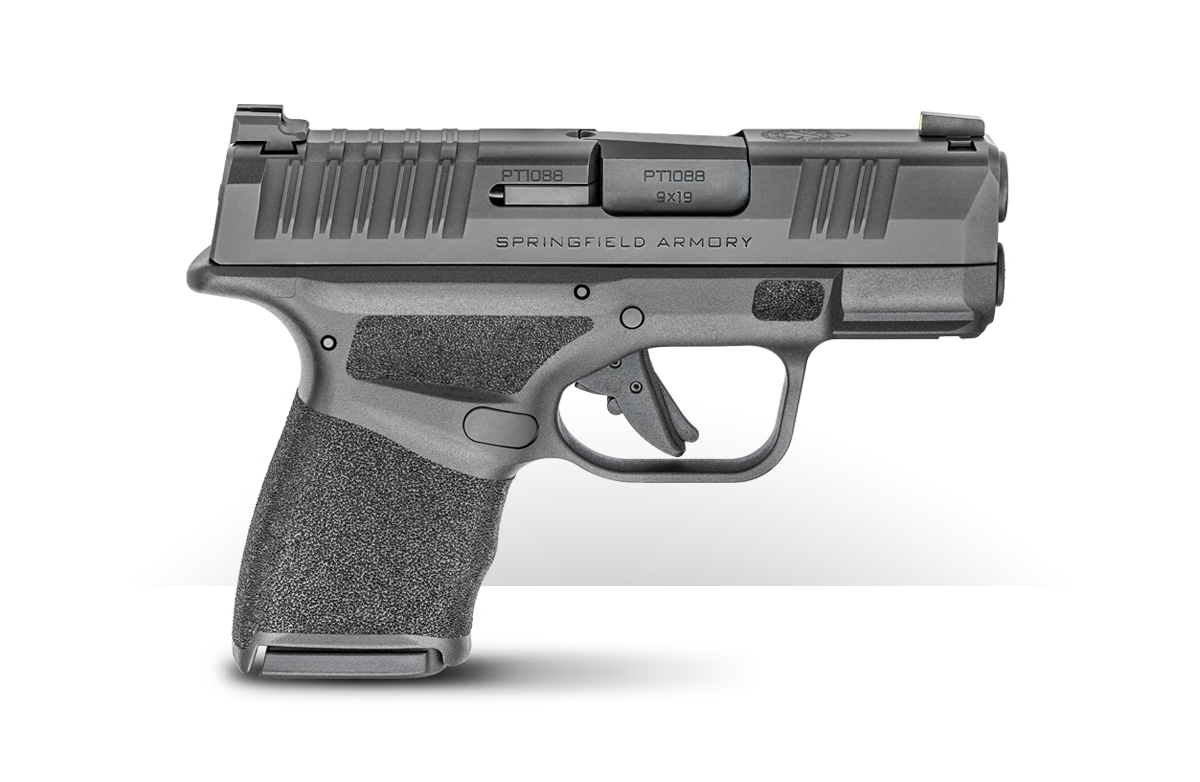
I made a custom holster for my Springfield Armory Hellcat and it was a thoroughly pleasing project.
My avocation has been making knives.
If you’ve ever wanted to make your own holster, the process has never been easier than right now. Kydex is a relatively easy material to work with, and the author shows us how its done.
But you cant just build a knife; the blade has to have a sheath for its safe carry.
I tried my hand at leatherwork.
Im not so good there, but still working at it.
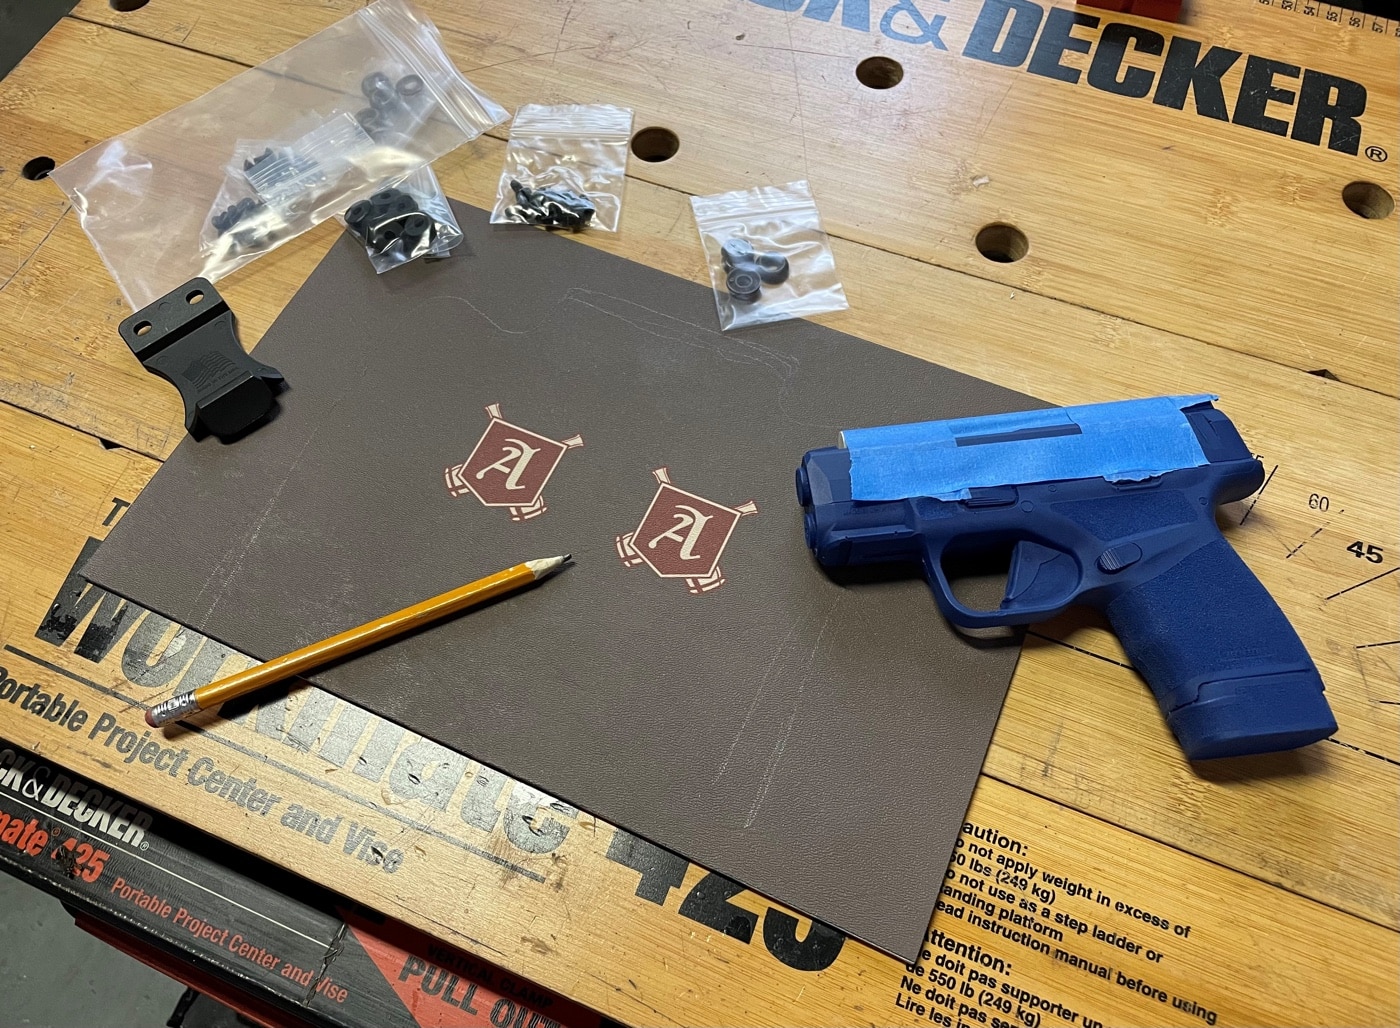
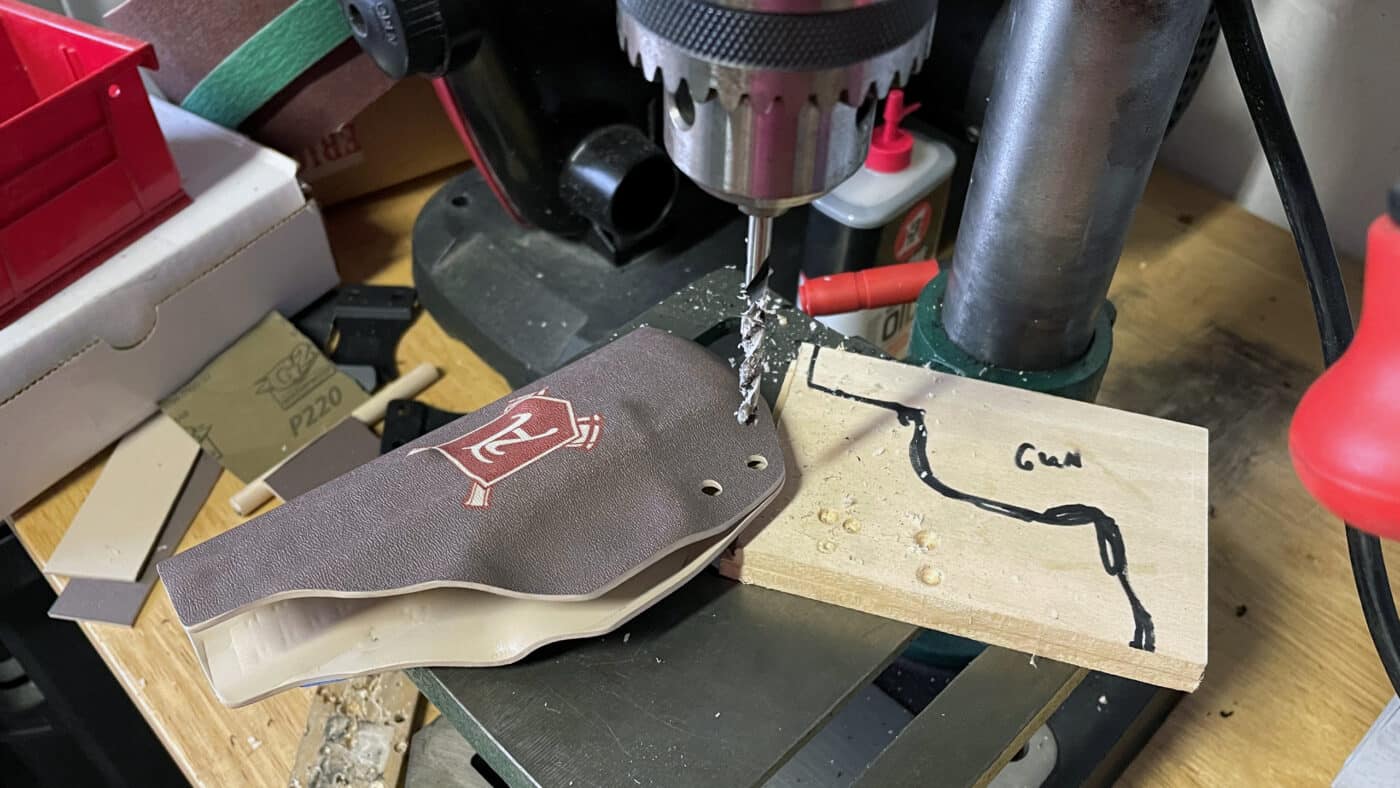
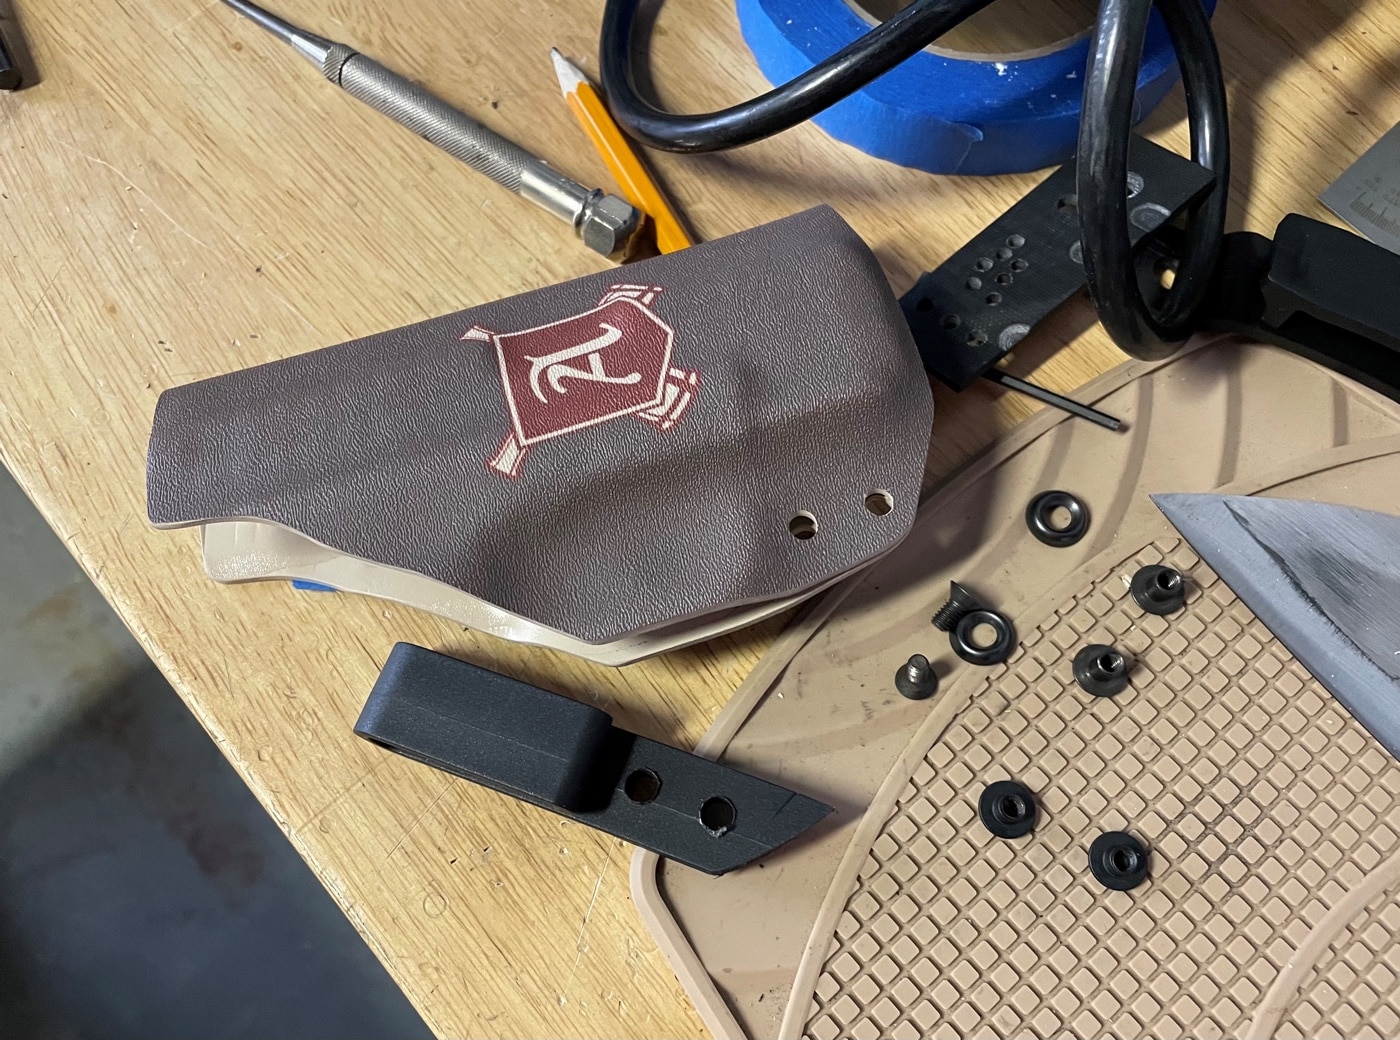
To start the process to make your own Kydex holster, start with a clean workbench and check to make sure you have everything you need: Kydex sheets, mold, belt clip and fasteners.
A material I did learn to apprentice with is thermoplastic sheet.
I opened a freeware graphics program and went to work on the design.
Thermoplastics can be purchased in many colors, patterns, and textures.
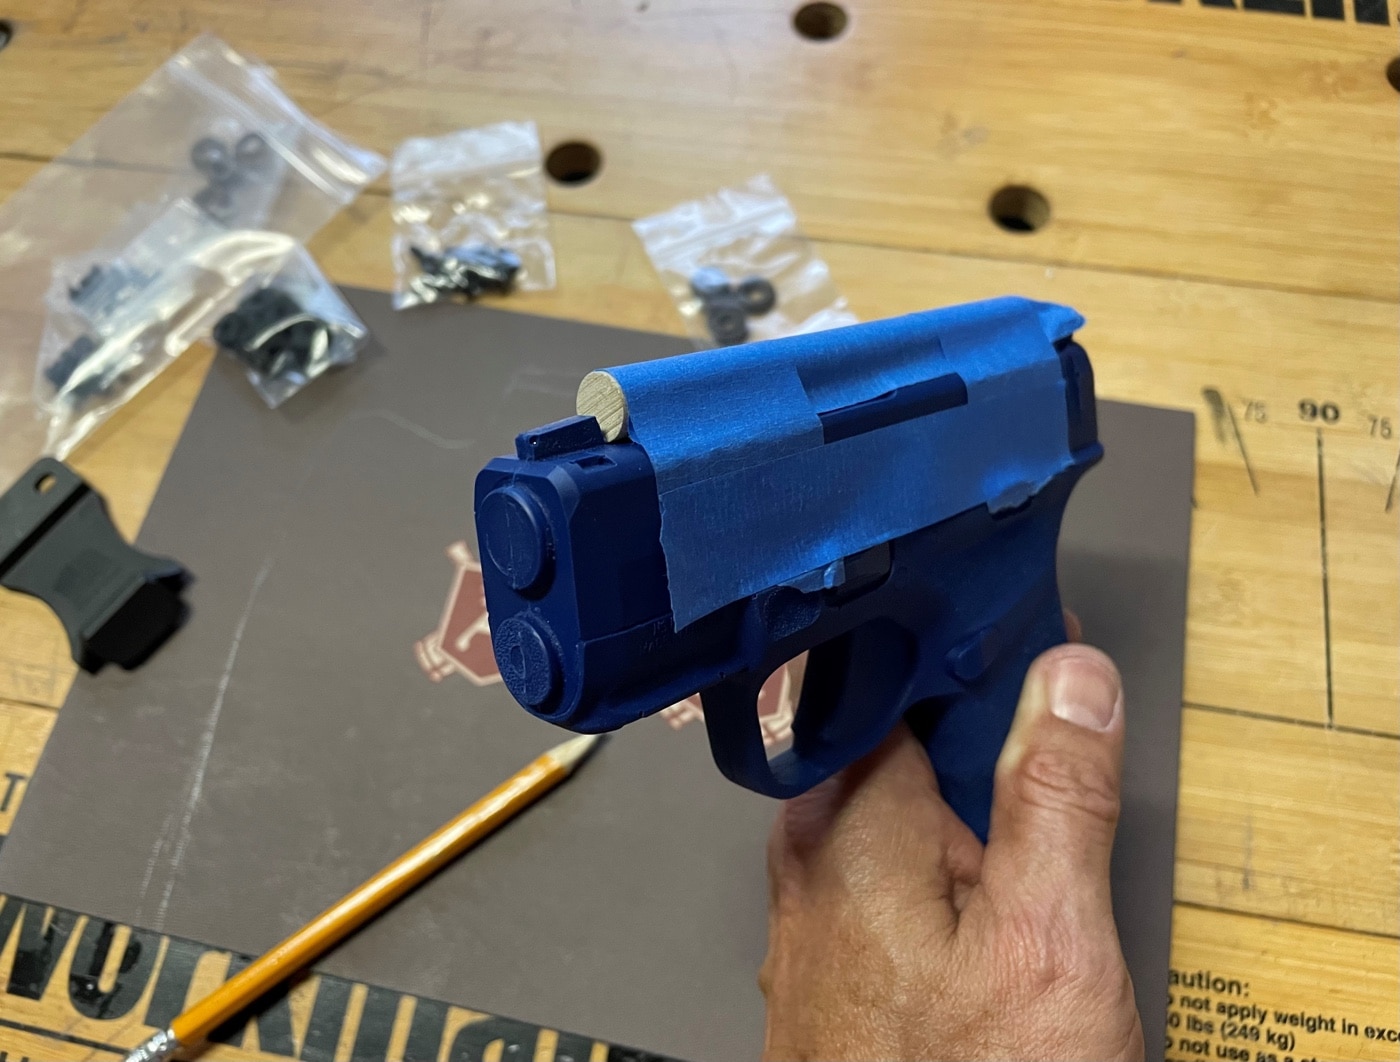
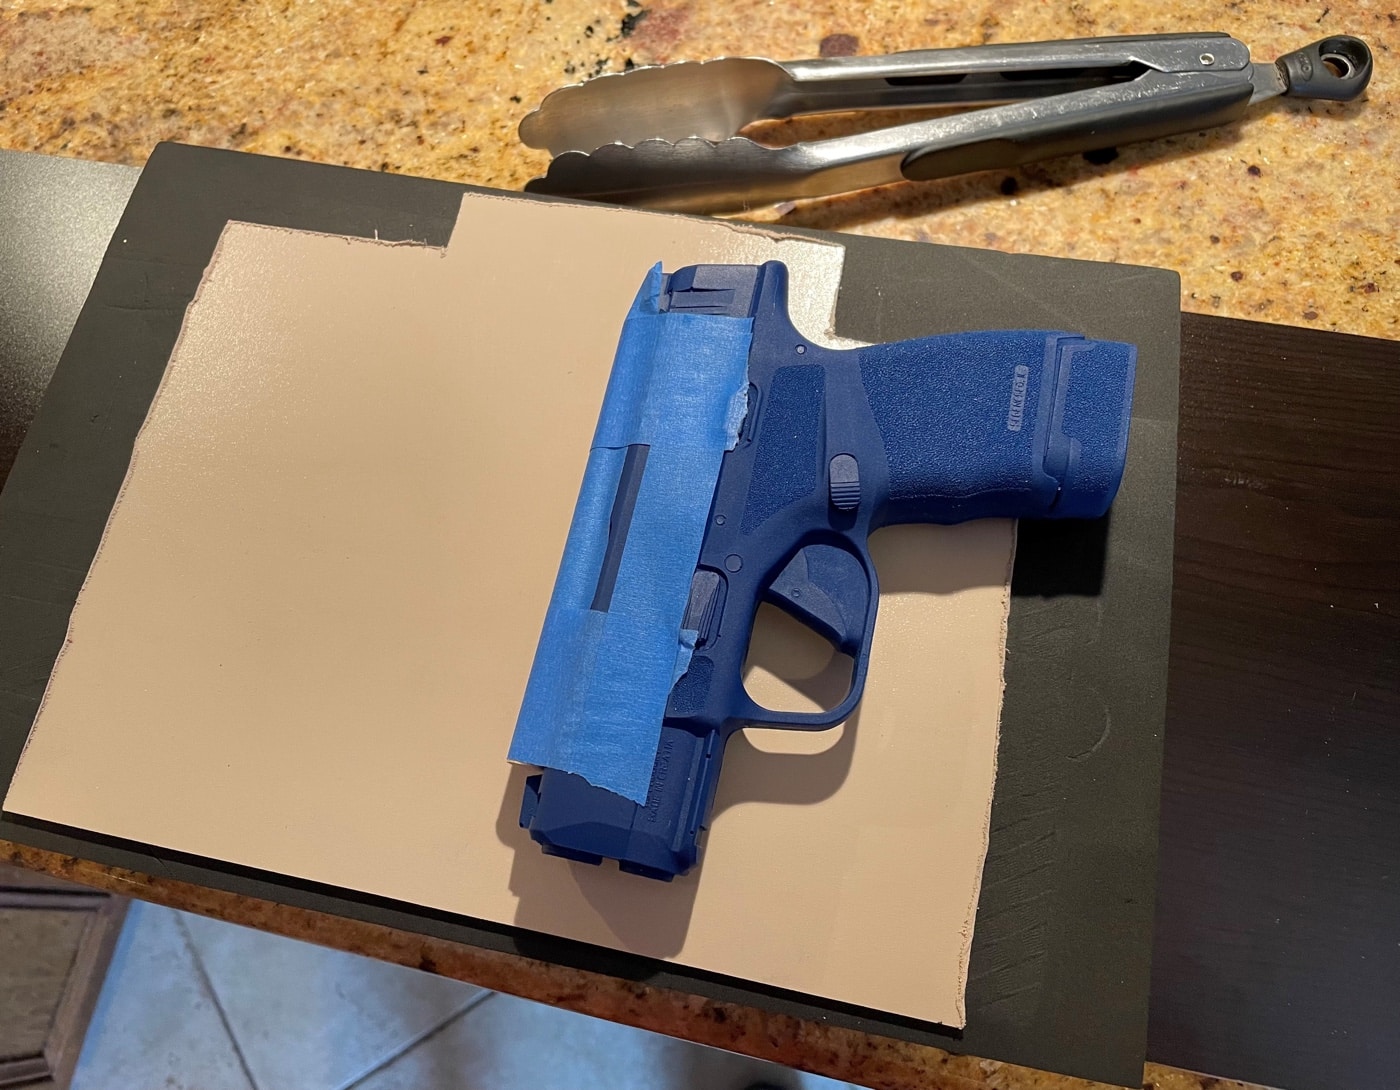
A key aspect to forming the Kydex is to use a good mold. The author used a Ring’s Manufacturing Blue Gun. On the top, he taped a wooden dowel to ensure it would make a properly sized sight channel.
They may also be infused with custom images.
After shopping a few companies, I eagerly collaborated with Dan Wichers at Tacticalinfusions.com.
Once I completed the designs, I emailed them to Tactical Infusions.
Prior to heating the Kydex, the author trimmed the material down. First mark where you want to cut the Kydex with a pencil then carefully make your cuts. Make sure that you leave a little extra space.
I ordered four sheets, in two different designs, and several additional holster-making parts.
When the custom sheets arrived, I was thrilled with how they turned out.
The details of TAL logo were crisp and the hues perfect.
Prior to heating the material in the oven, the author did some dry-fitting to make sure his measurements were correct.
A single-color 12 x 12 sheet of Kydex in .080 thickness cost $6.25.
I paid about 11 bucks for each custom sheet of Kydex from Tactical Infusions.
This was friendly to my wallet.
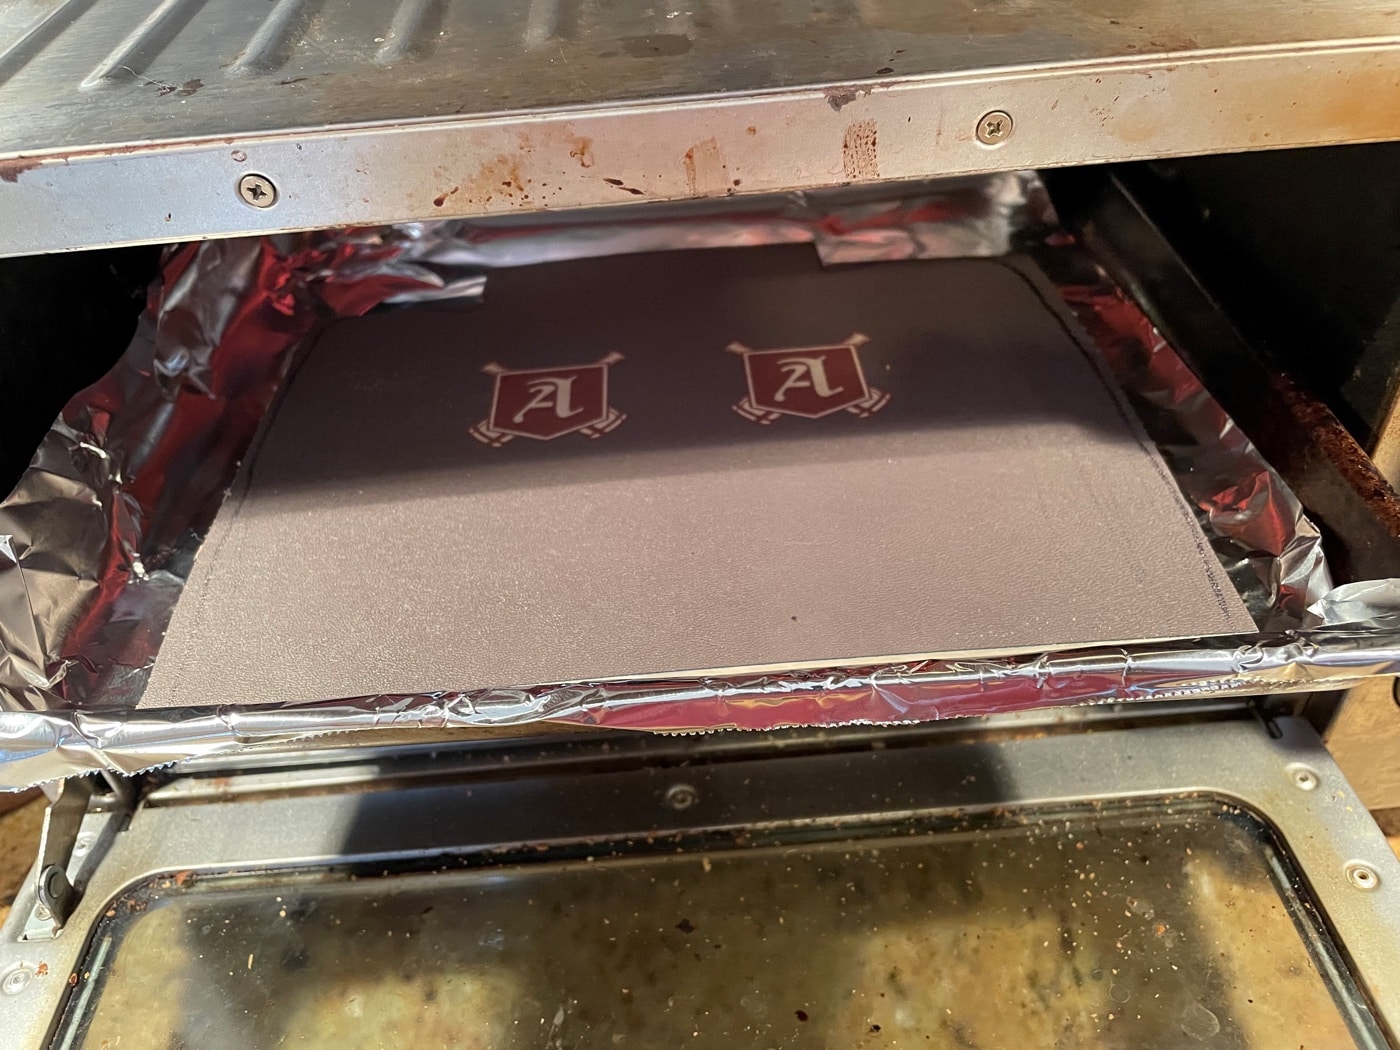
When it is time to heat the Kydex in the oven, take care to stay within the temperature and time guidelines. Kydex can scorch and burn if you aren’t careful.
Ready to Make a Kydex Holster
Making a holster begins with preparation.
I could have used my Hellcat to make the holster.
The heat of thermoforming is much less than that generated when firing the gun.
When shaping the hot Kydex to the pistol mold, you may wish to use gloves to avoid burning your hands.
I taped a dowel rod on the top of the pistols slide.
This created a channel so the front sight does not hang up on the plastic when drawing the gun.
Next, I sketched an initial layout of the holster on the inside of the Kydex.
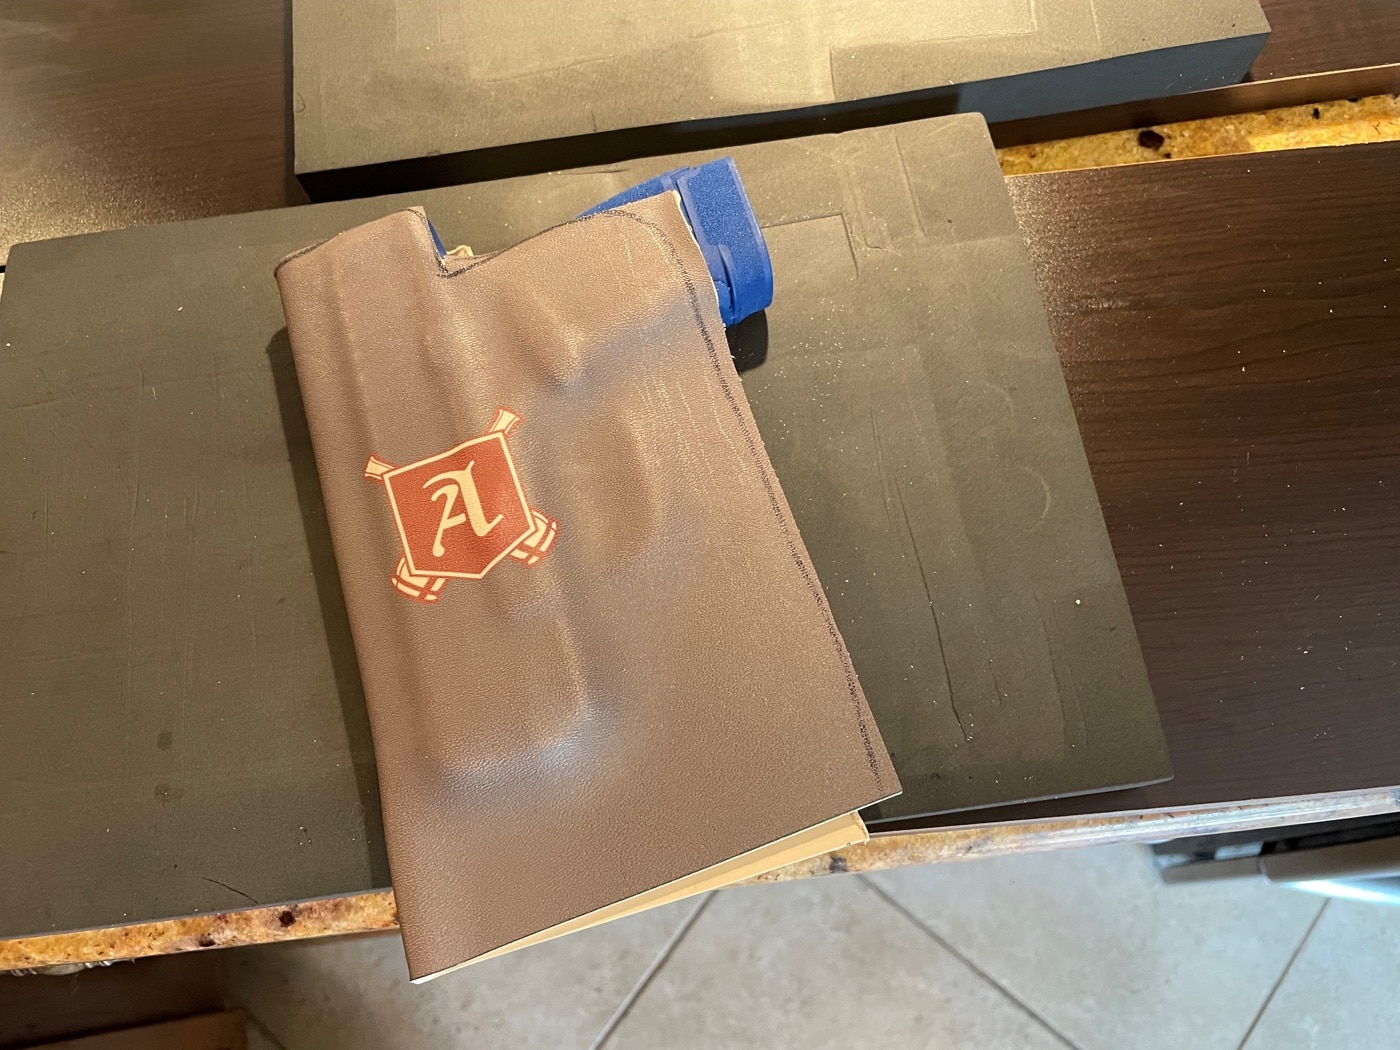
Once the Kydex is molded around the gun, trim the outline of the holster to the correct shape. Don’t worry about the rough edges as you’ll take care of those in the next step.
I was making whats called a taco sheath for the Hellcat.
This is a single piece of thermoplastic folded over like your favorite South-of-the-Border handheld snack.
The preliminary outline was very rough since I would be trimming off the unneeded portions later.

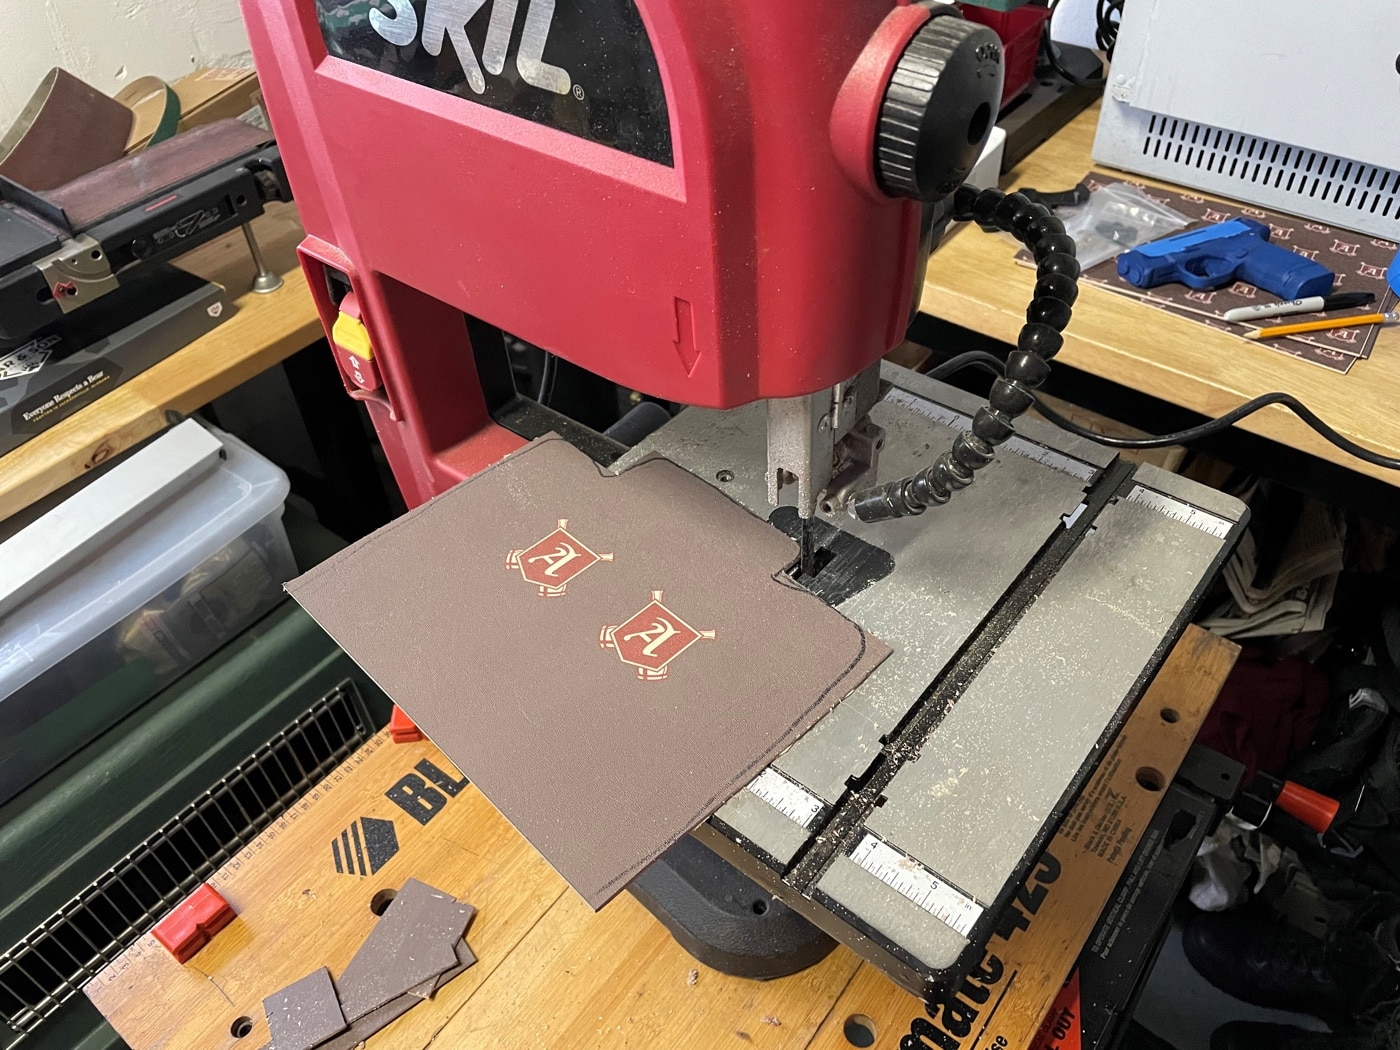
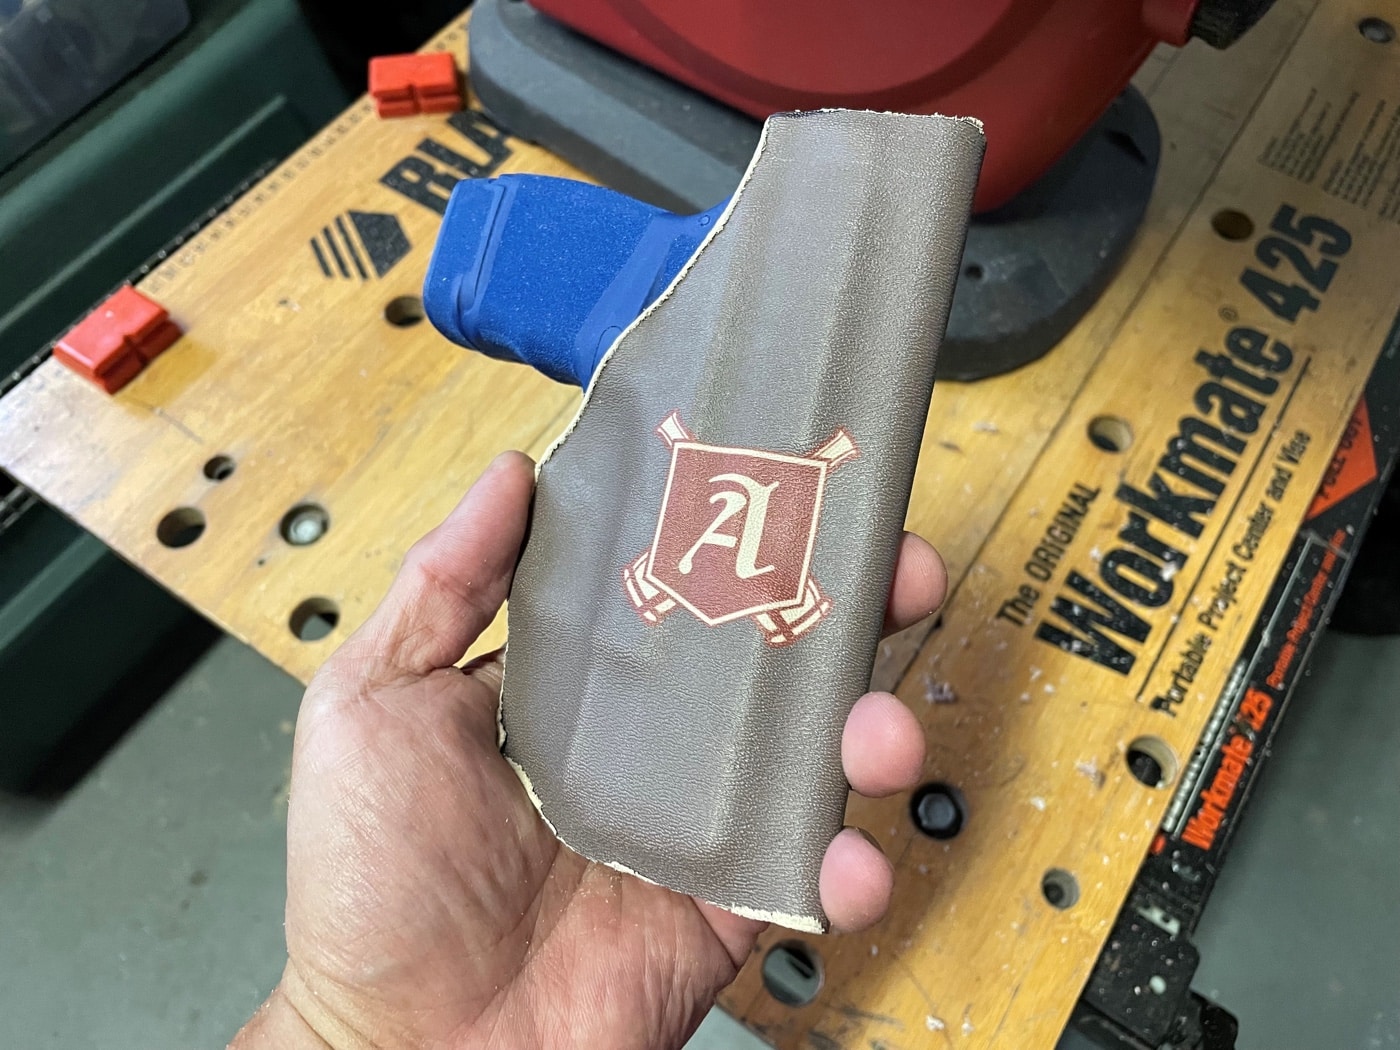
You can use a variety of methods to clean up the edges of your holster. Here, the author demonstrates using a bench sander to even the sides. He followed with hand sanding for the perfect beveled edge.
These thermoplastics can be heated in a full-sized oven or smaller toaster oven.
I used the latter with the Kydex placed on a small baking sheet.
The oven should be set between 330 and 400 degrees, but not any higher.
Once the shell of the holster is complete, you will need to add a belt attachment so it can be used to carry your defensive handgun.
Thermoplastics will burn when too hot.
It becomes very pliable when manipulated with tongs so you will know when it is ready to go.
If you see the edges begin to curl, it is on the verge of burning.
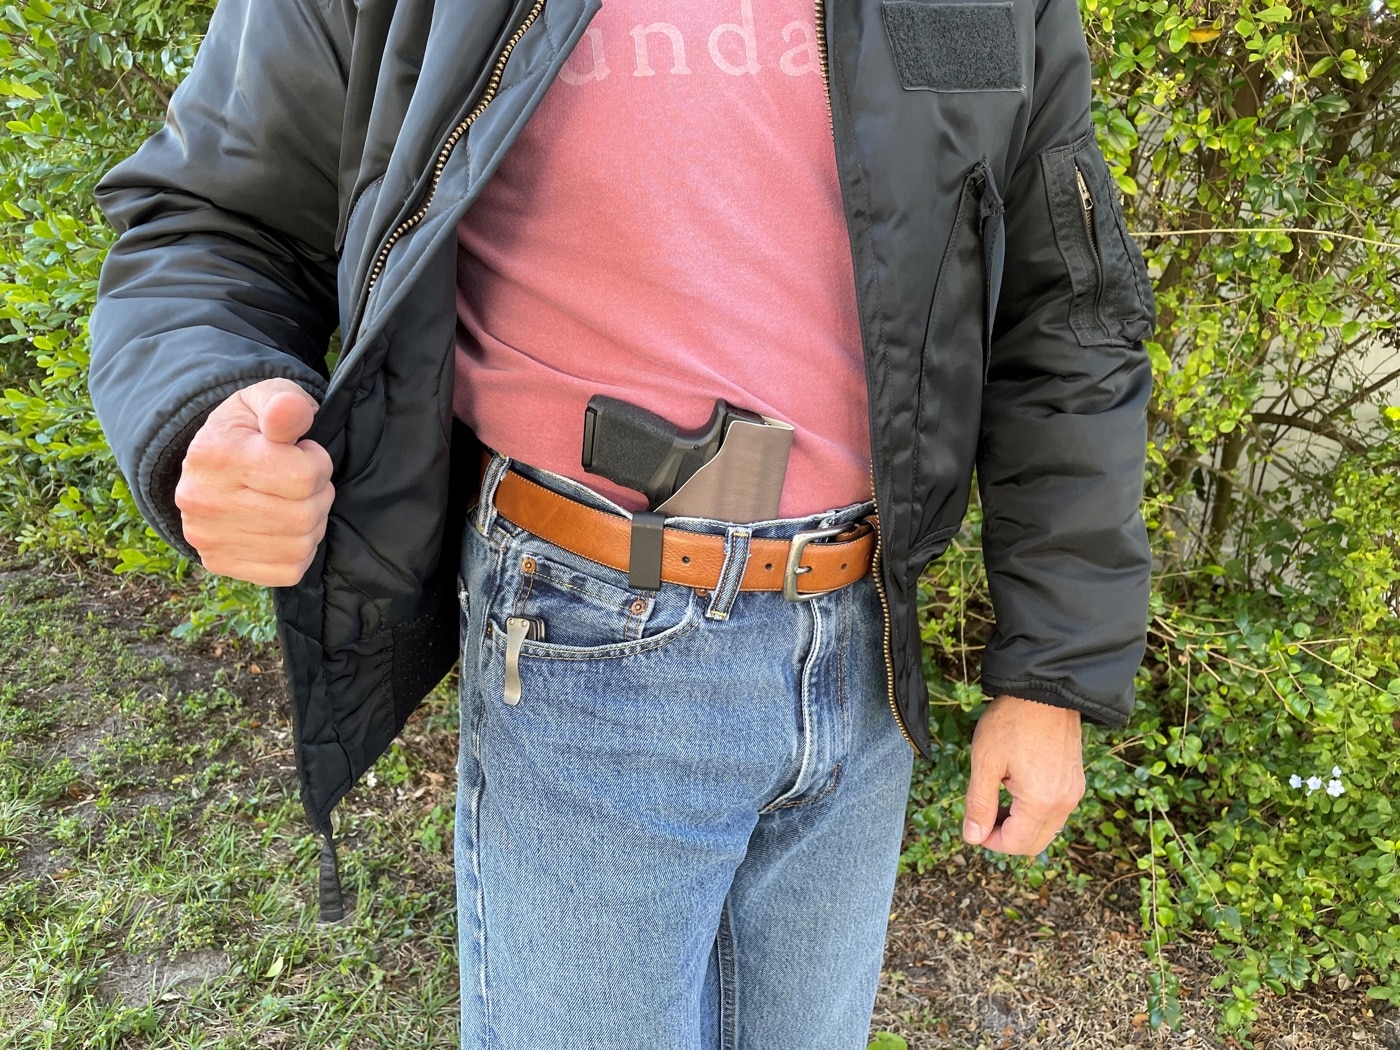
The author demonstrates wearing his new holster. He thinks it works as well as any holster purchased in a store, and it offers the satisfaction of knowing you made it yourself.
Get it out of there!
Time is of the essence, so get them pressed together quickly.
You need a decent amount of pressure to get the right impressions of the guns surface into the Kydex.
I used two thick wooden cutting boards and clamps.
There are commercial presses available for holster-forming.
Some are very nice indeed.
Other DIY folks make their jigs by gluing the foam to boards and building their hinges and clamps.
I do not make many sheathes and so my low-tech methods are sufficient for me.
The most important point is to buy foam made to withstand the high heat used in this procedure.

I used a tabletop bandsaw for this.
I started hand sanding at 220 grit and ended with 400 grit.
Nothing fancy here in the deburring and shaping.

My Armory Life holster was made with inside-the-waistband (IWB) carry in mind.
I left enough Kydex material in front of the trigger guard to drill holes for a carry clip.
The clip was also thermoplastic.

I mounted it using blackened hardware and color-matched brown washers.
I like the versatility.
In addition to the taco design, a two-piece Kydex sandwiched holster is also infinitely useful.

The Kydex can also be radiused to fit your torso.
you’re able to construct carriers for your toys that match your homemade pistol holster.
There is a dizzying array of colors and designs from which you to choose.

Let the internet catalogs fuel your creative fire.
It is handmade and one-of-a-kind.
While my skill level in the workshop might be average, my pride of ownership is well above that!

Go to forum thread
