May 15th, 2021
7:51 runtime
People love to personalize their stuff.
The downside of customizing a gun is that most often it can be expensive and permanent.
The Why …

The folks at Talon Gun Grips have been feeding the need for practical modifications for years.
And best of all, these are inexpensive, non-permanent and easily DIY.
Ive been installing them on most of my polymer-framed handguns for years.
That was not because all those handguns reallyneededan improved grip, though.
So why make the change?
Under certain conditions, like extreme heat or wet conditions, some added grip texture can be appreciated.
… and the How
So, thats the why.
You might have a different why or just be curious about the process.
So lets get to the how.
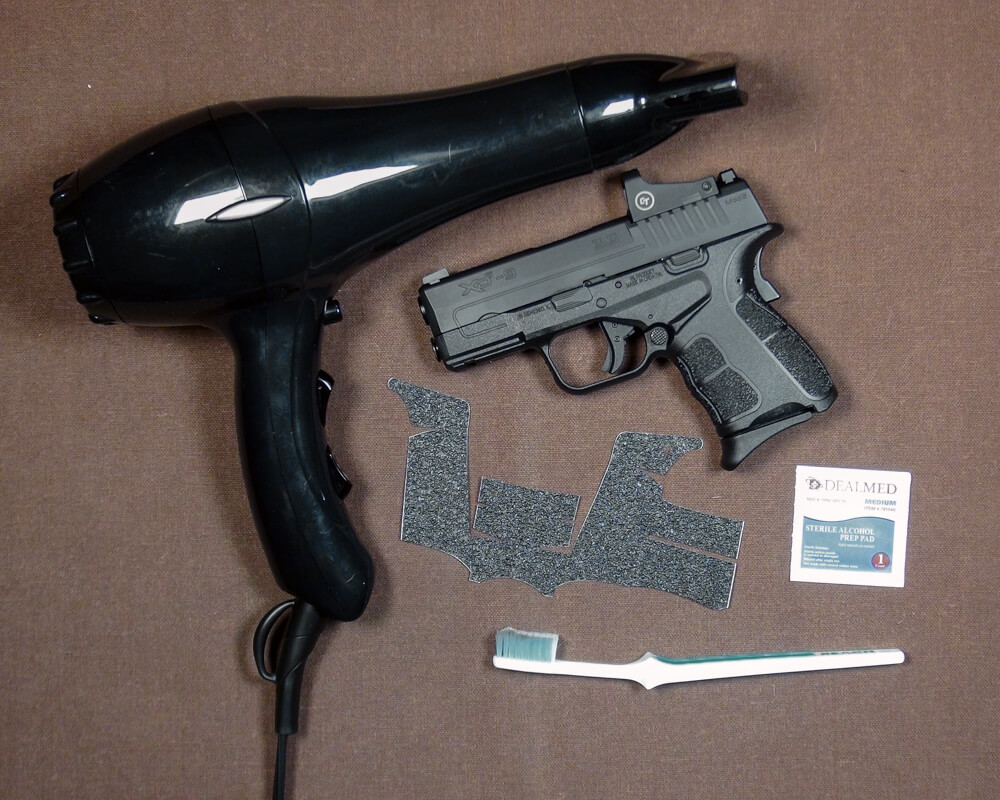
Before starting I call this Step Zero make the gun empty and safe.
Take my advice, just remove the slide and magazine and be done with it.
Besides, youll be able to handle the lighter empty frame much easier for the utility.
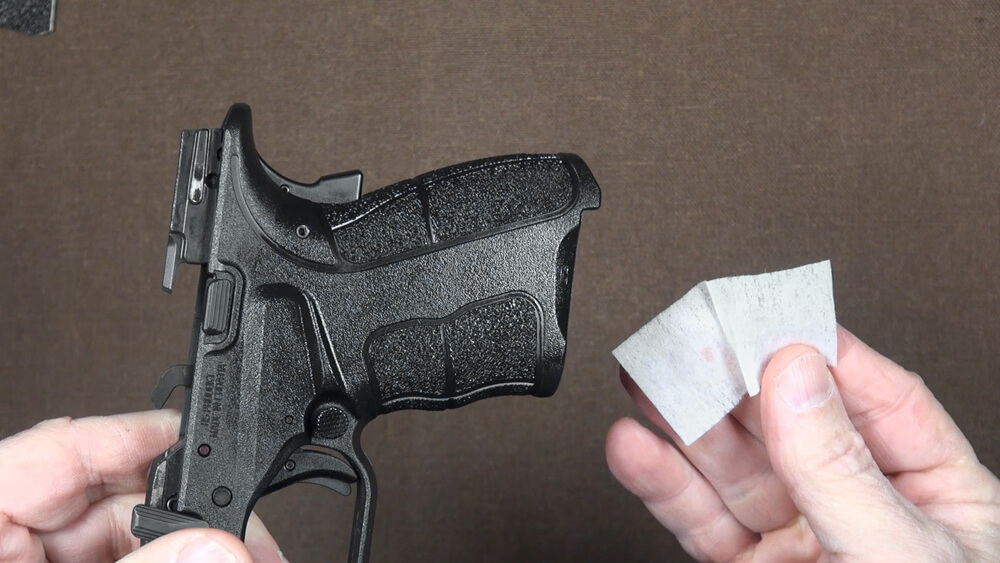
Step 1:The official first step is to clean the substrate.
Use the little alcohol wipe to thoroughly clean the area to be covered by the Talon grip.
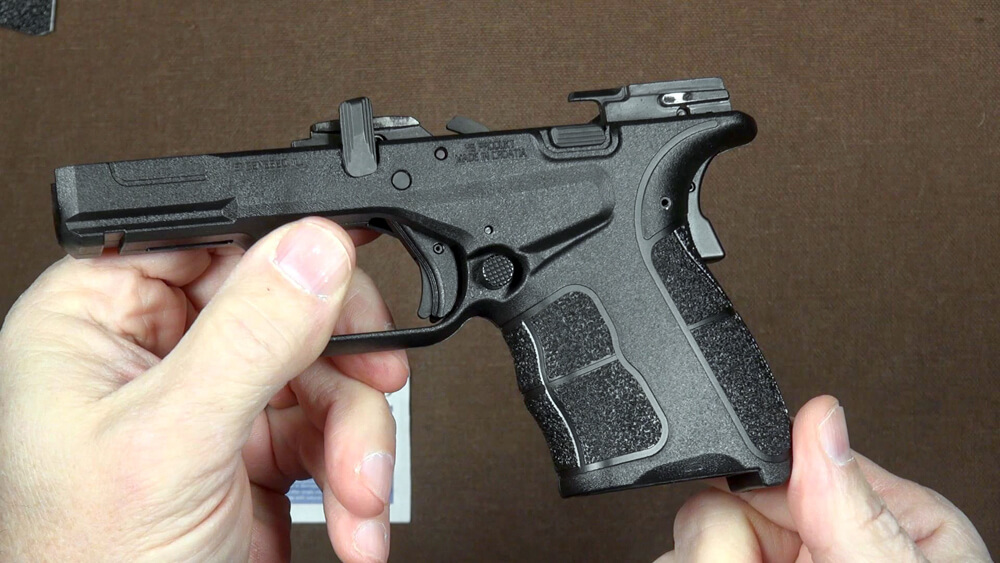
Step 2:This is the big step.
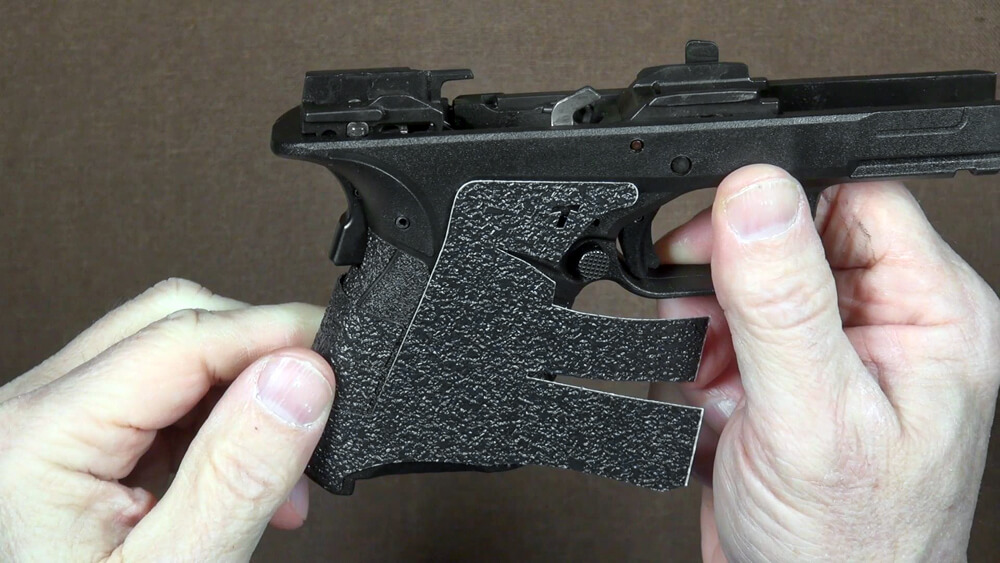
Then, recover the left panel edge and seal.
The accompanying video will show this in better detail.
Definitely watch the video!
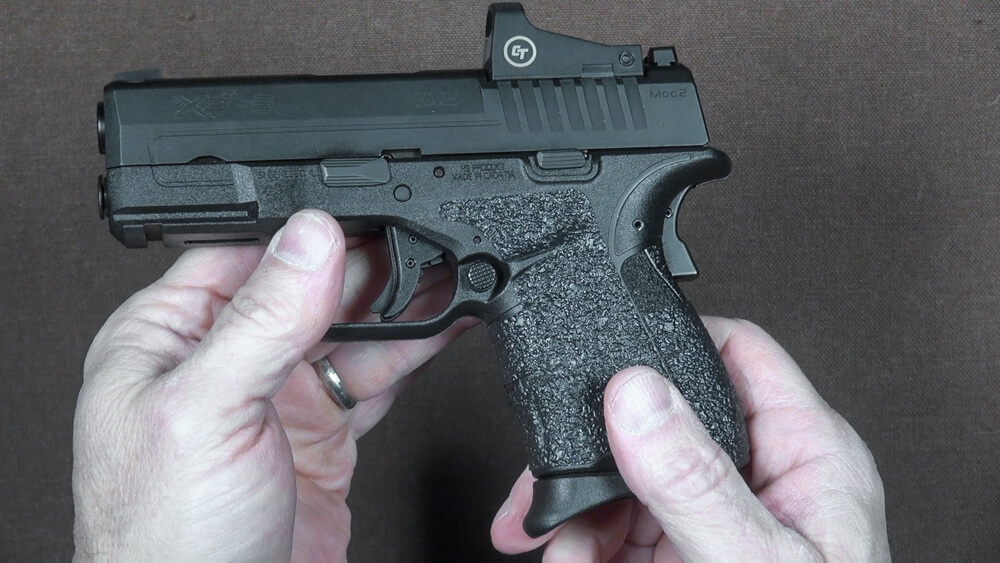
Step 3:When youre satisfied with the utility, the next phase is one of the most important.
Do not skip this if you want a long-lasting program of the grip panel.
Then press down firmly all over the applied grip to push the softened adhesive into the texture below.

I call this the smoosh process, and it is the key to a great install.
Go to forum thread
Talon Grips
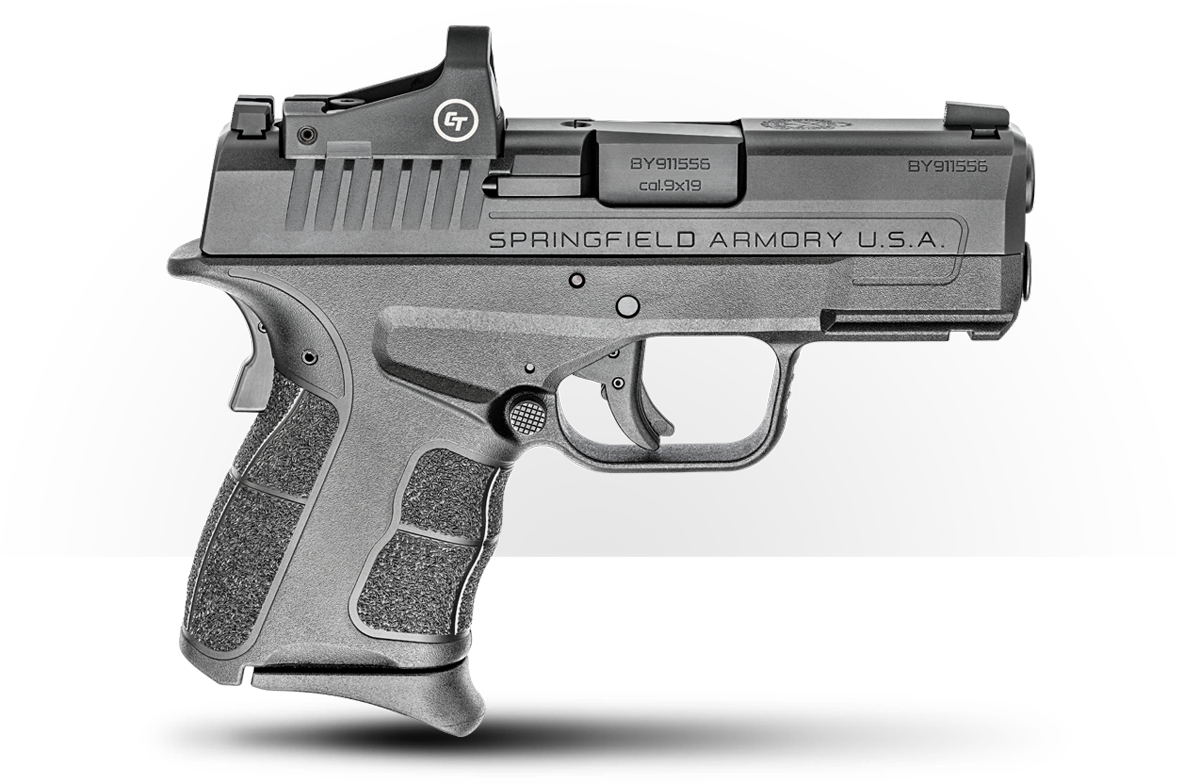
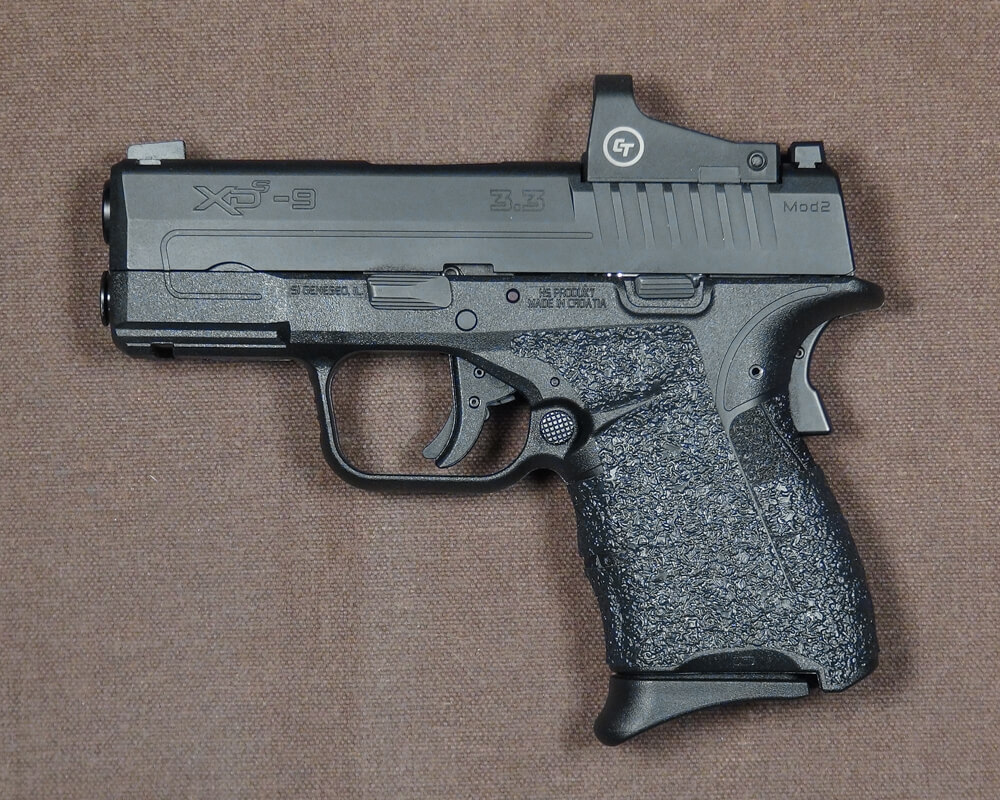
XD-S Mod.2 OSPTMSeries