September 10th, 2022
5:24 runtime
Maintaining your pistol in a ready and operable state is paramount.
Safety always being first and foremost, so youll want to unload and verify that your pistol is empty.
However, dont completely unscrew the rod.
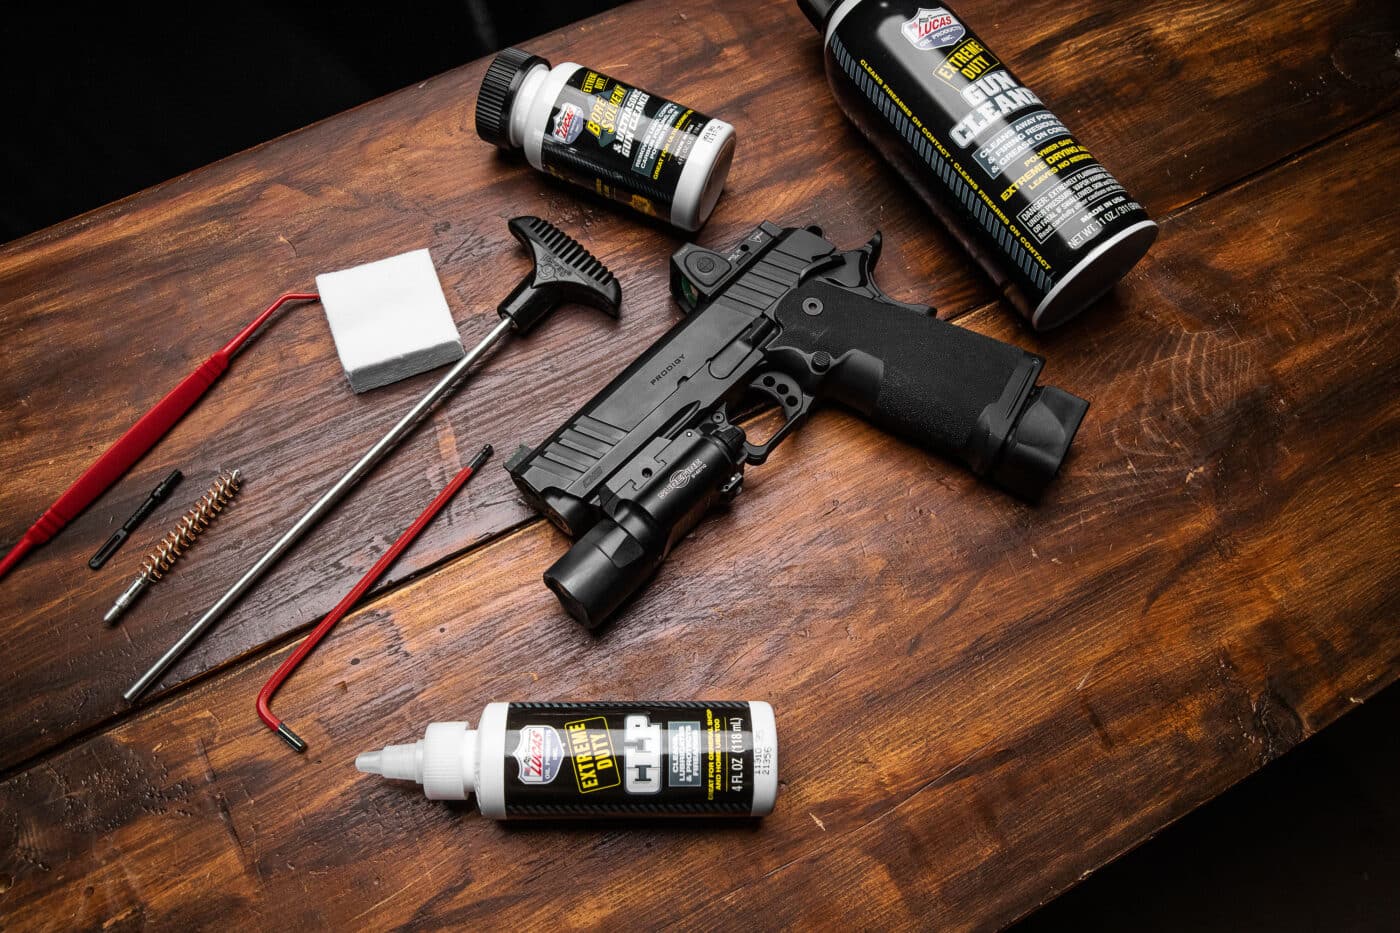
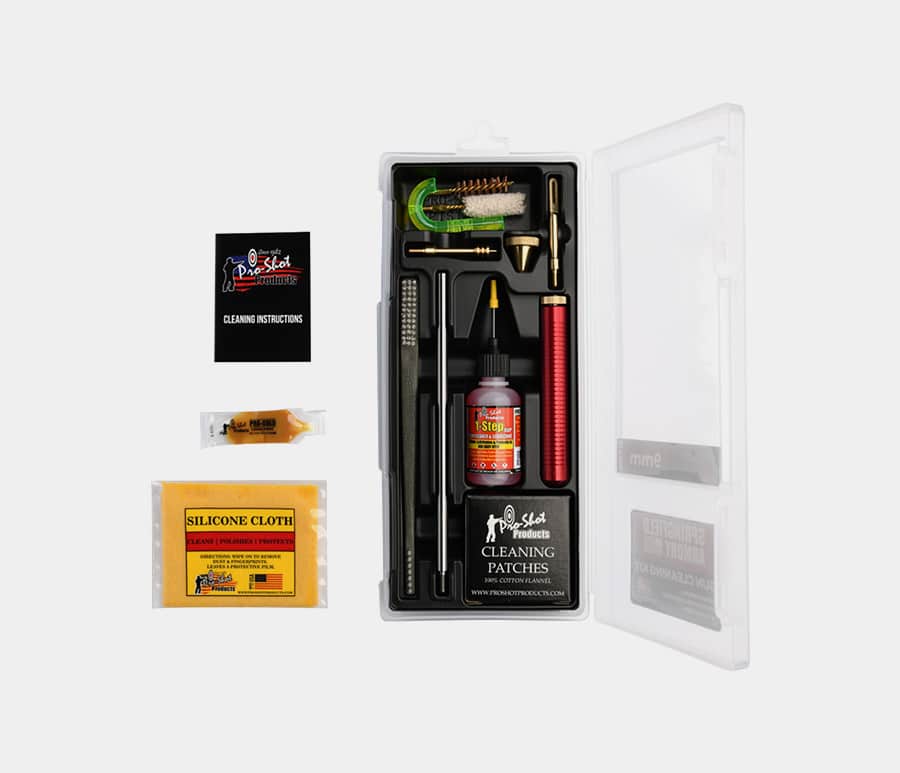
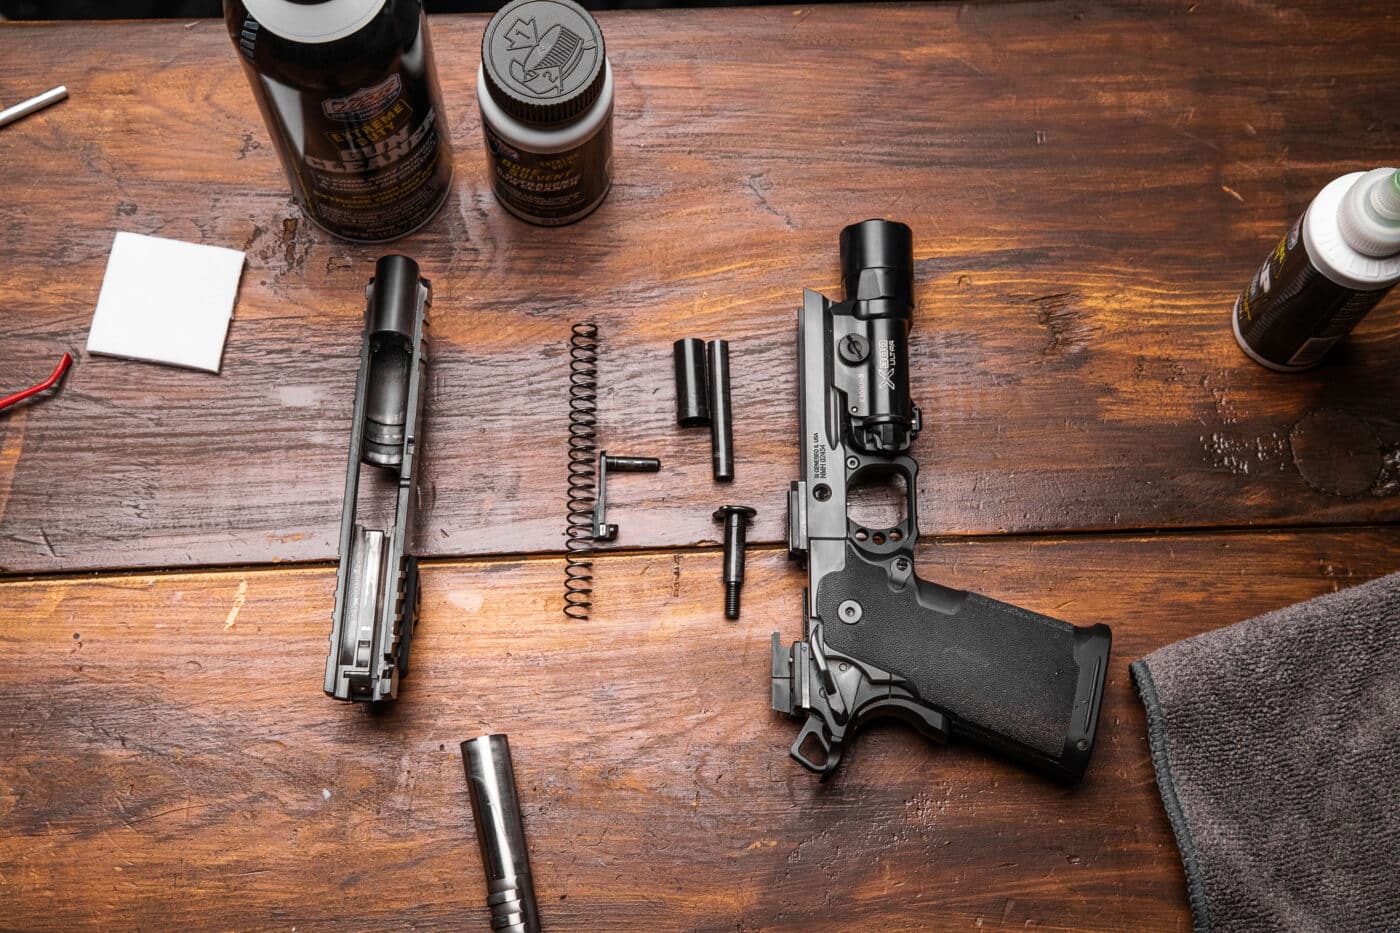
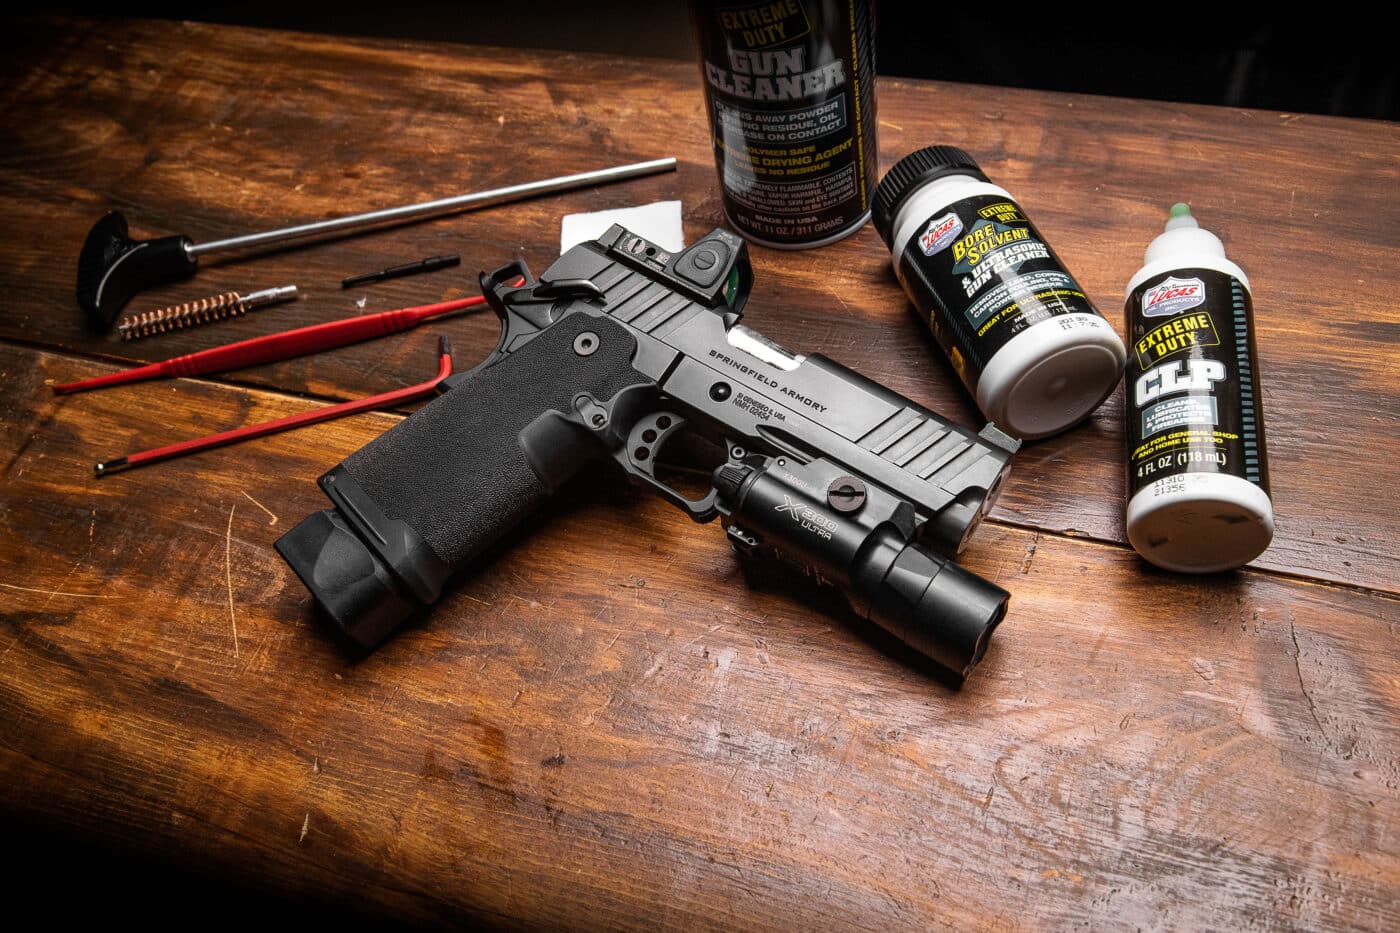
Cleaning the Prodigy will ensure a long life of reliable service. The author shows us how to field strip and clean the pistol in an efficient manner.
Lets continue with the slide.
Be careful, as the recoil spring will be under some tension.
Lift and remove the guide rod head and recoil spring from the slide and spring plug.
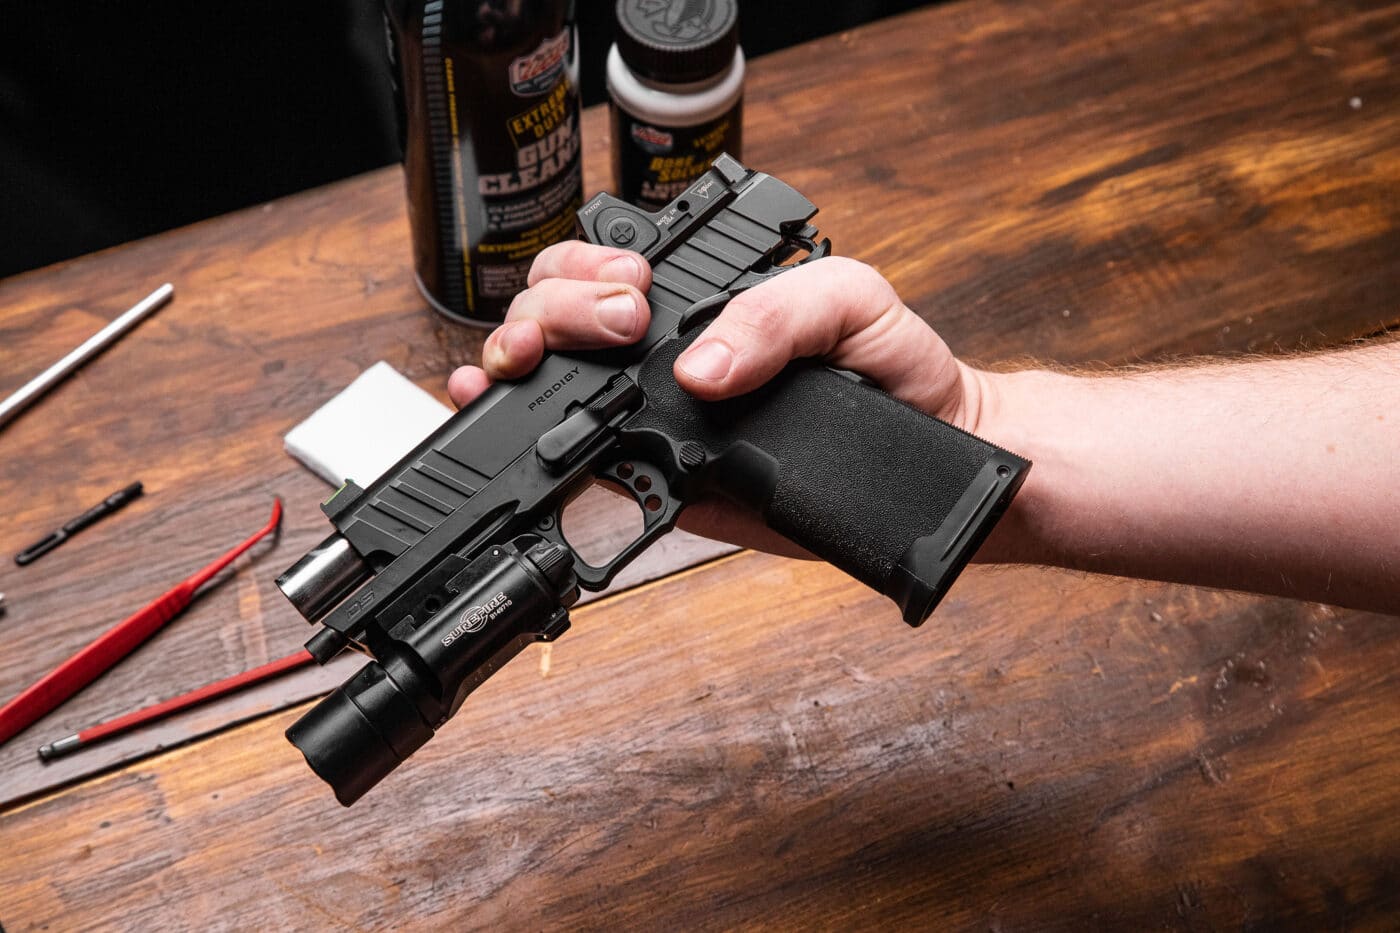
Before you clean the Prodigy, you want to make sure the gun is unloaded and safe to work on.
Field stripping is complete, and now we can clean it.
Cleaning the Prodigy
Using a cleaning rod, run several clean, solvent-soaked patches through the barrel.
Clean the barrel with a couple dry patches and examine it.
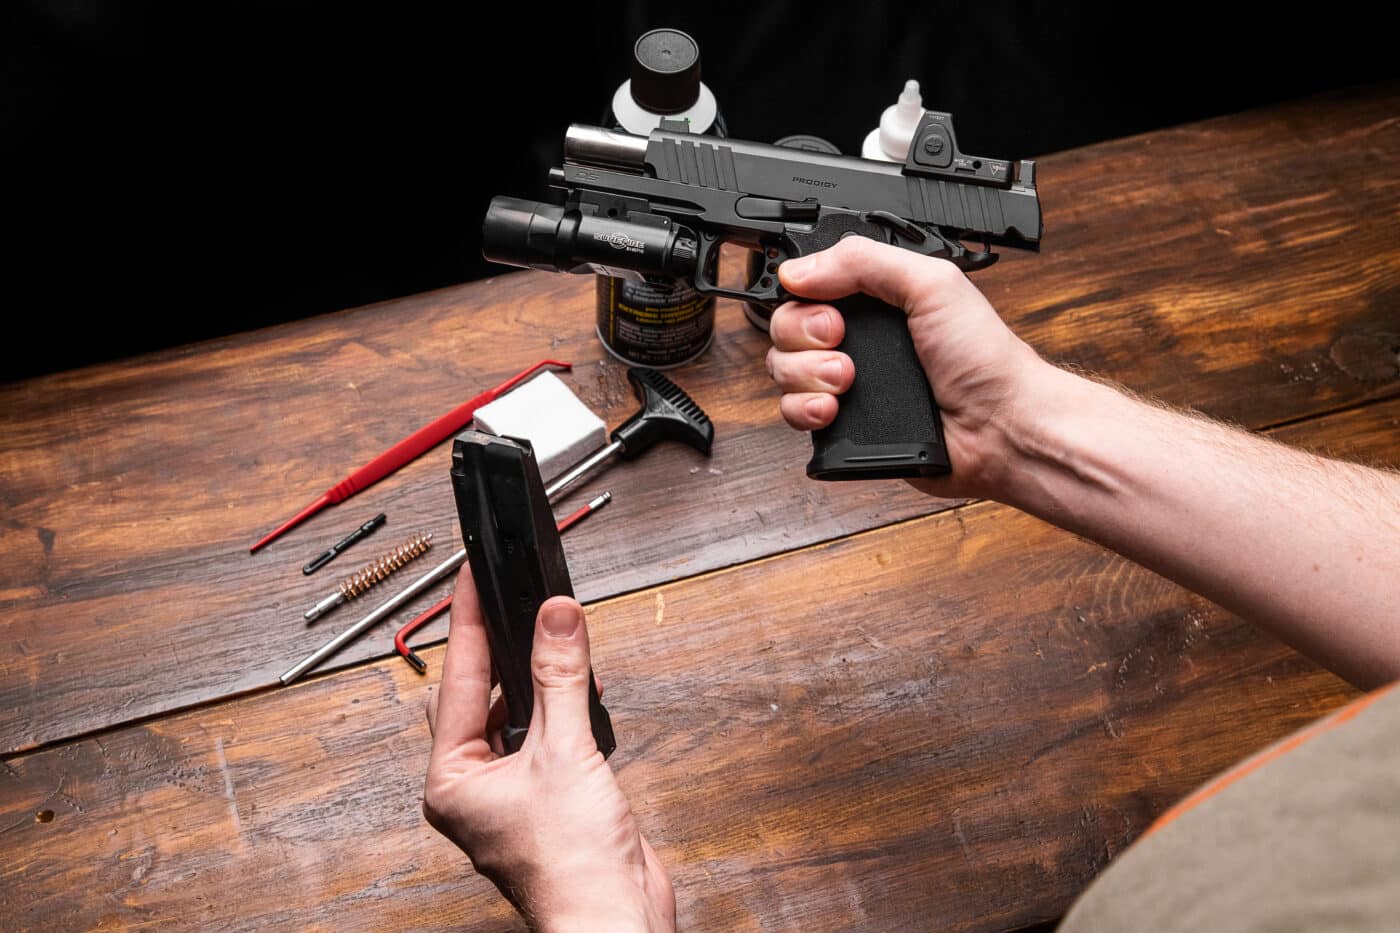
After locking the slide to the rear, remove the Prodigy’s magazine and check the pistol’s chamber.
If necessary, scrub the barrel again and repeat the process.
Once clean, run a dry patch down the barrel, then follow it up with alightlyoiled patch.
Prodigy Reassembly
Now that the 1911 DS Prodigy is clean, lets reassemble the pistol.
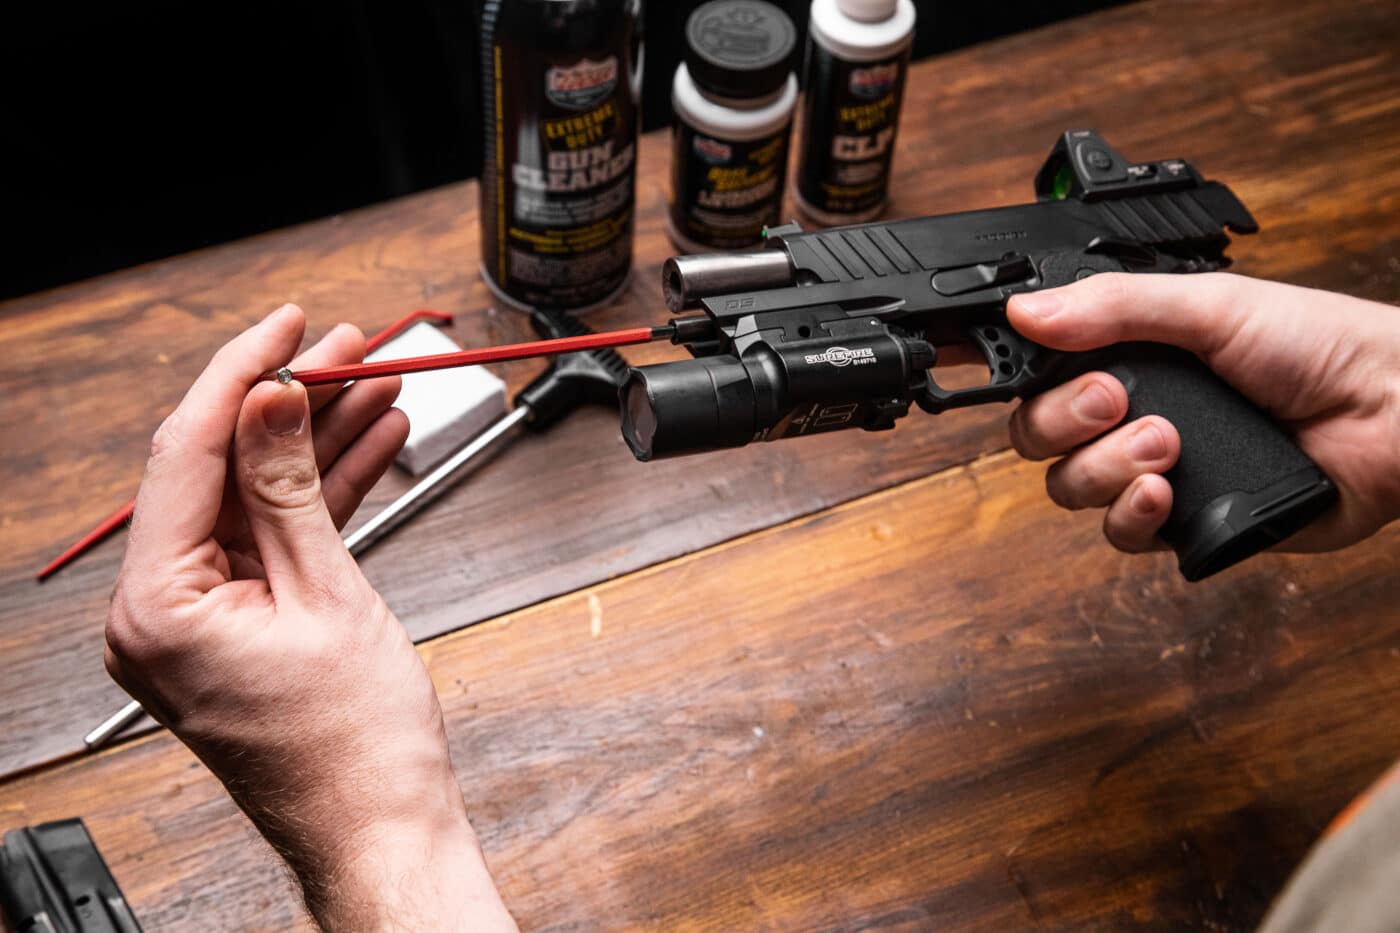
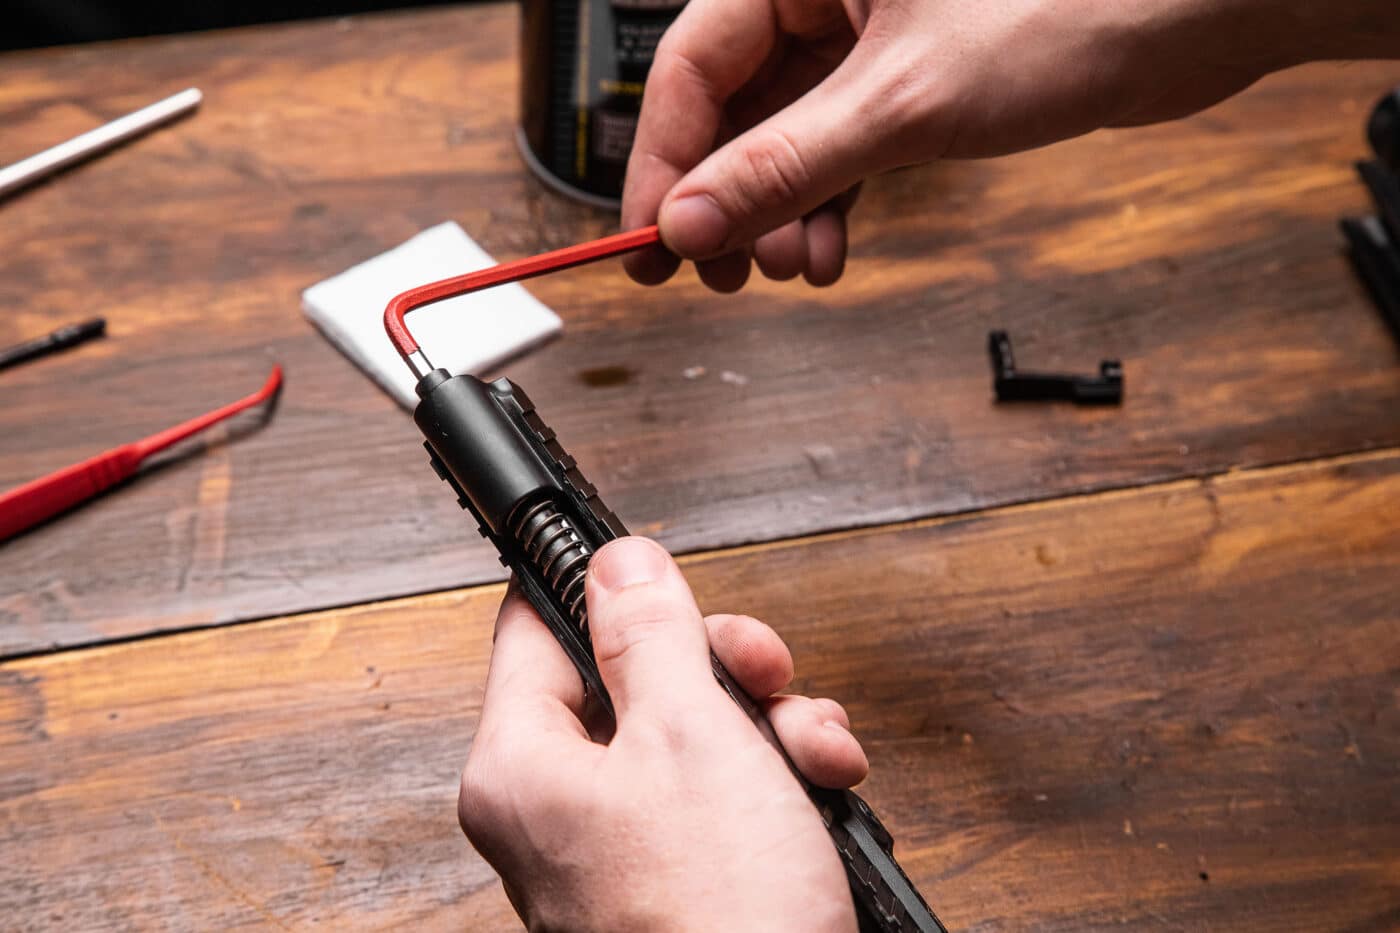
Use the 5/32 hex wrench to loosen the guide rod. Do not completely unscrew the guide rod yet.
load the reverse plug into the recoil spring tunnel on the interior of the slide.
Check now that the guide rod head is still in its correct orientation near the barrel lug.
you’re free to now drop in the entire slide assembly onto the frame.
Align the notch in the slide with the slide stop and pull out the slide stop from the frame.
Never force the slide onto the frame during this step, as it can damage the pistol.
If everything is correctly seated, no additional force should be necessary.
Itll be under some tension from the recoil spring at this point in travel.
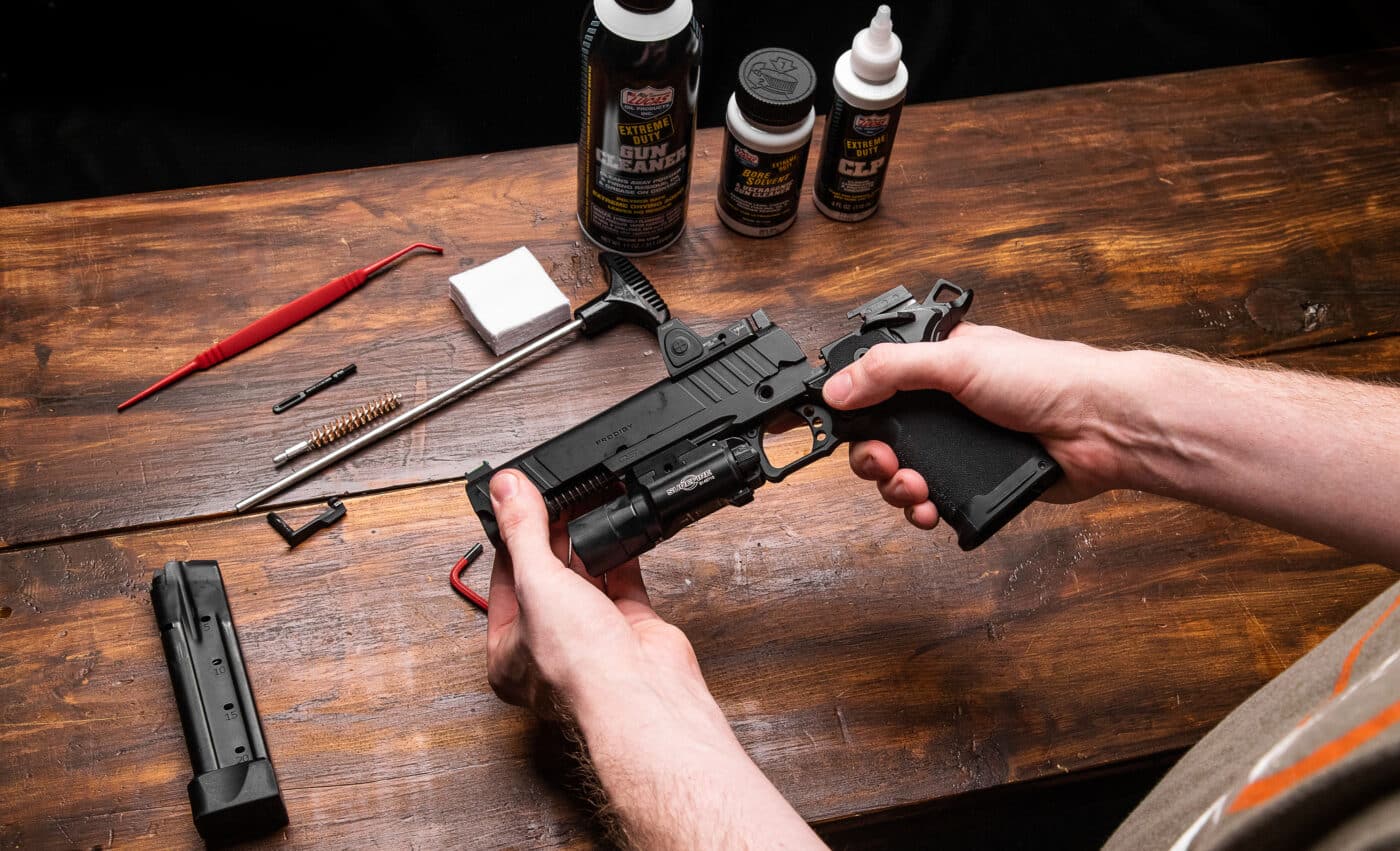
Once you remove the slide stop from the Prodigy frame, move the slide forward — in a controlled manner — and off of the frame.
roll out the slide stop pin into the frame and through the barrel link.
If needed, use a soft tool such as a toothpick to compress the slide stop plunger during install.
The assembly should be snug.
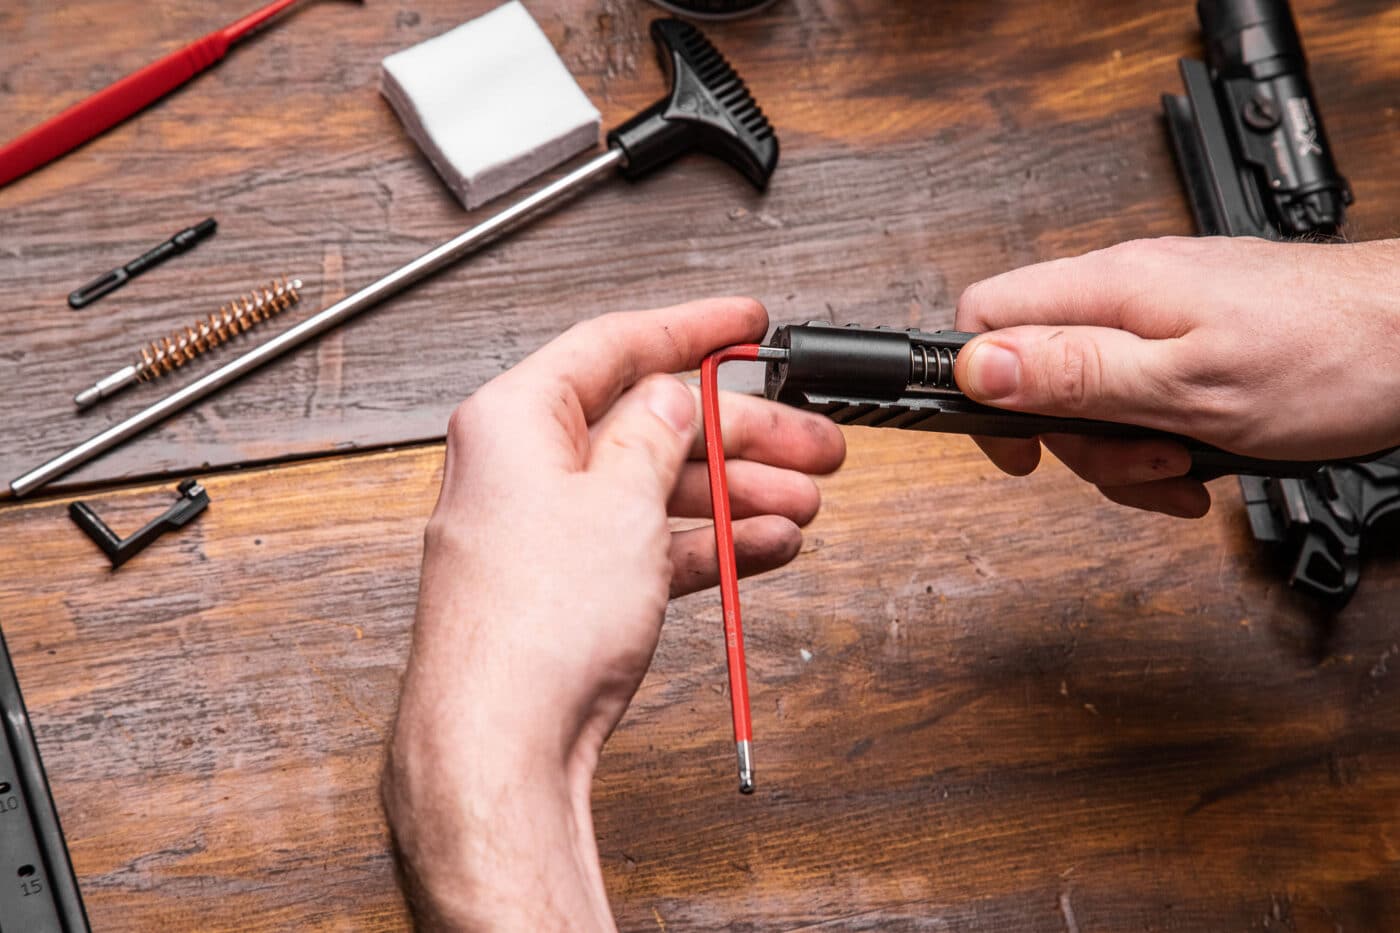
Next, unscrew and remove the guide rod from the front of the Prodigy slide using the 5/32 hex wrench.
Reassembly of your Springfield Armory 1911 DS Prodigy pistol is now complete and youre ready to hit the range.
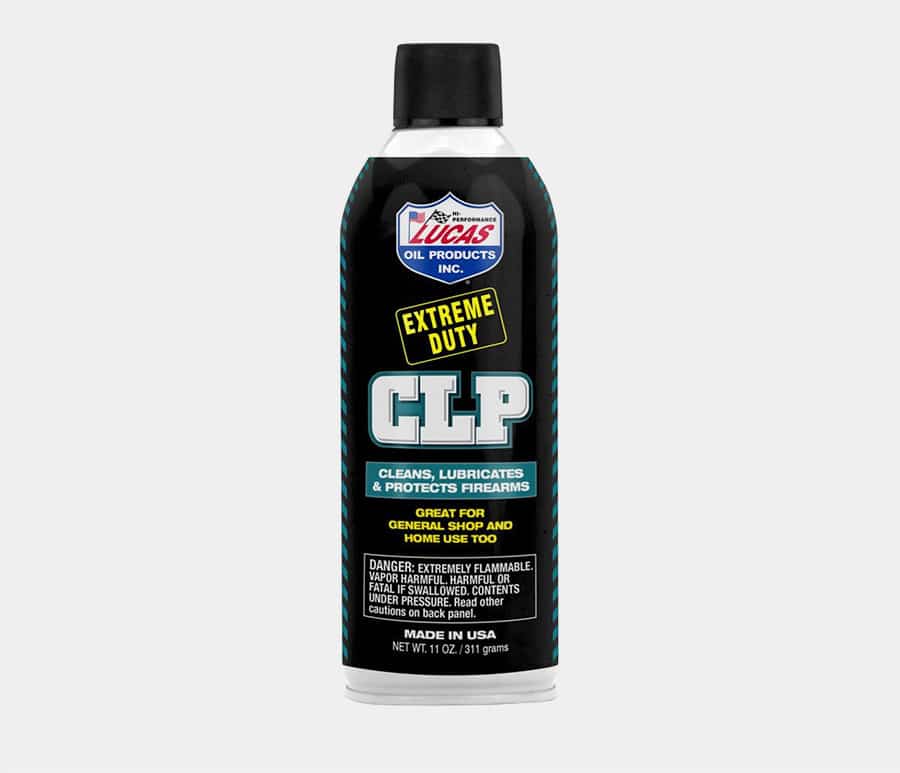
Lucas OilExtreme Duty CLP Aerosol, 11 oz.
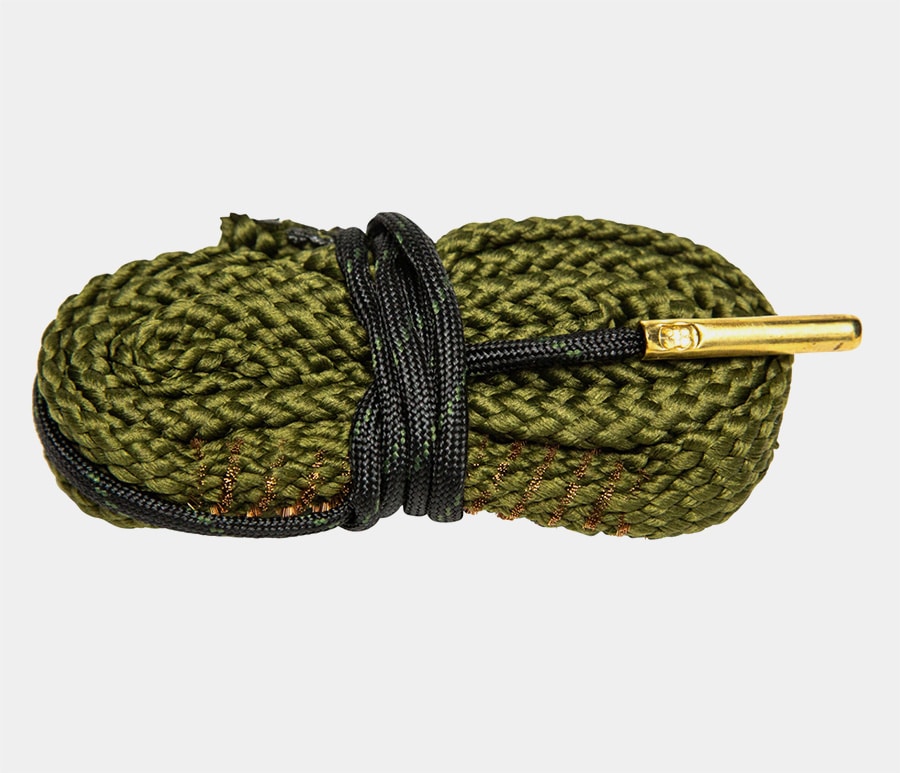
Springfield ArmoryRope Cleaner for 9mm Handguns
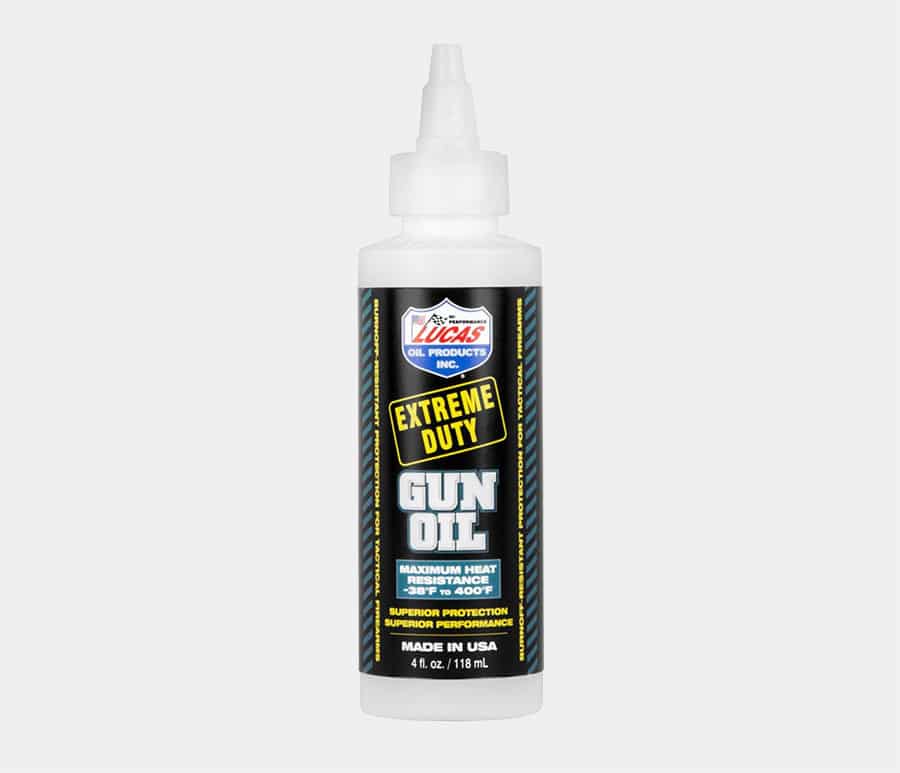
Lucas OilExtreme Duty Bore Solvent, 16 oz.

Carefully lift and remove the guide rod head and recoil spring from the slide and spring plug.
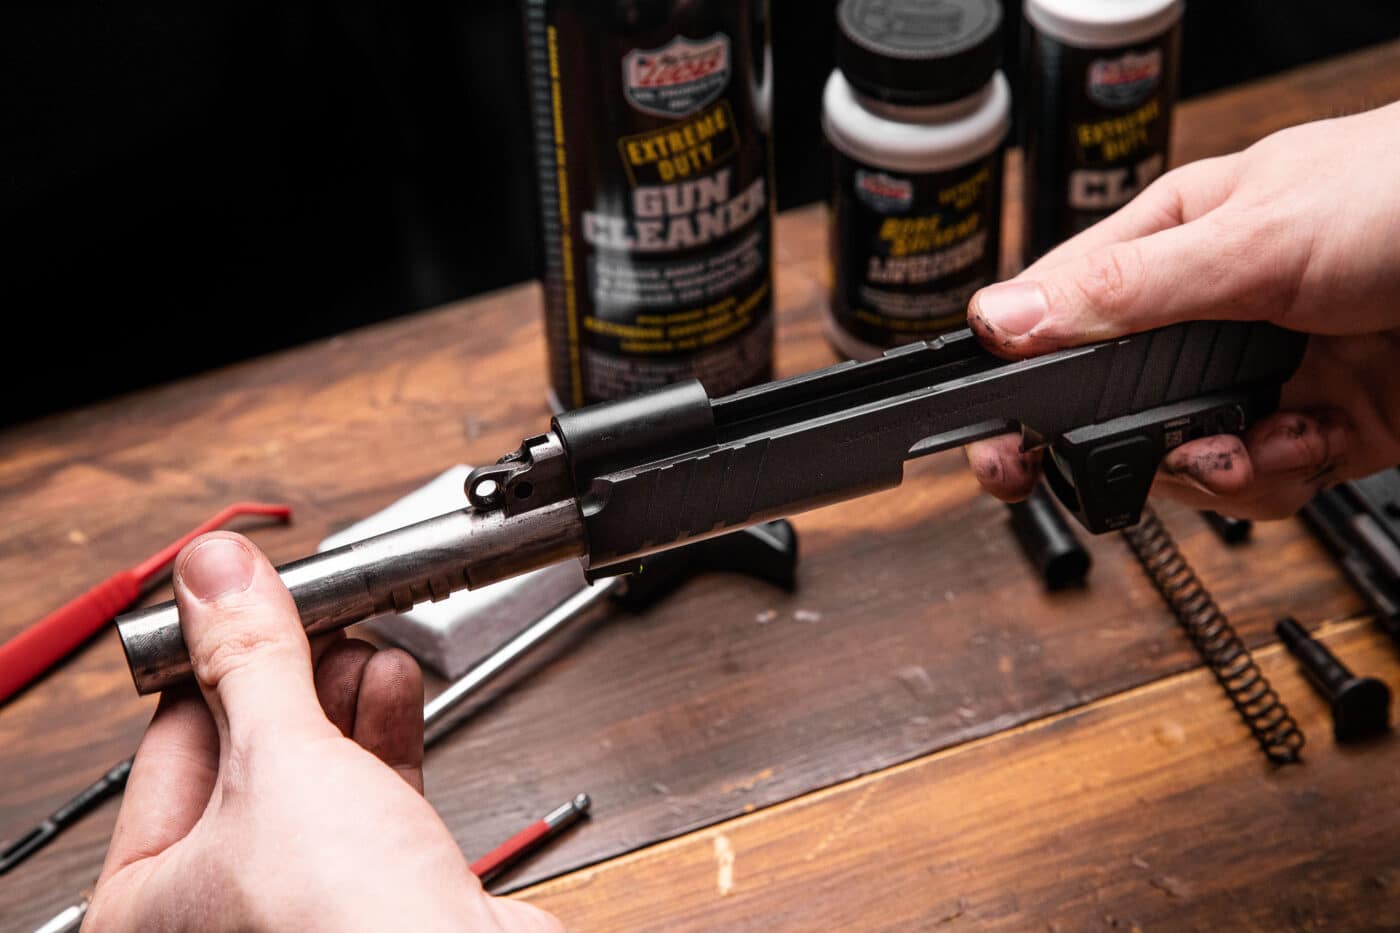
To remove the barrel, lift it slightly and pull it forward while keeping its lug in a vertical position.

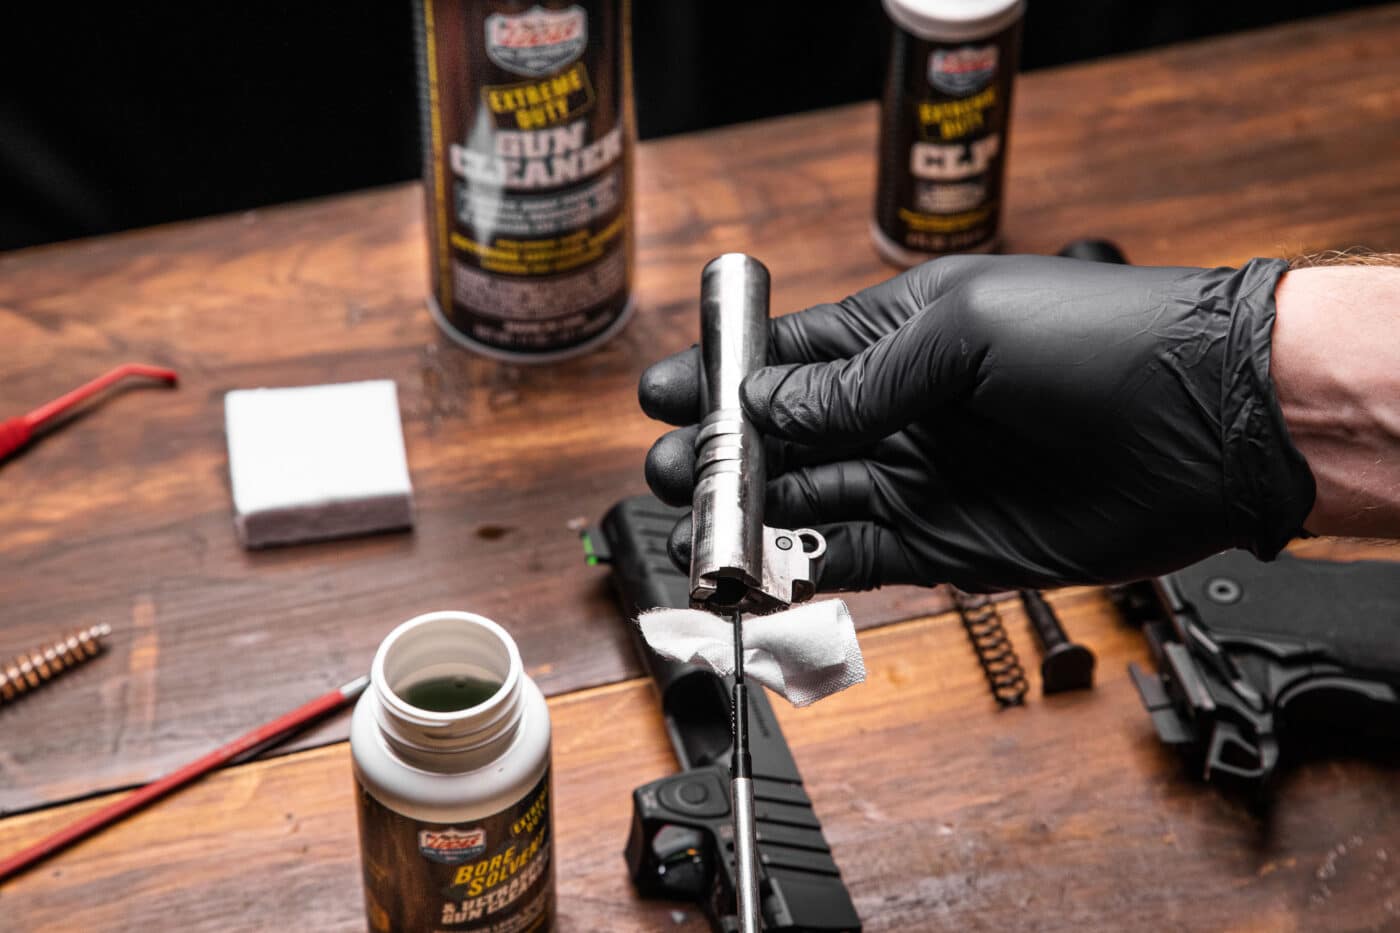
To start the cleaning process, run several solvent-soaked patches through the barrel. In this article, the author used Lucas Oil products.
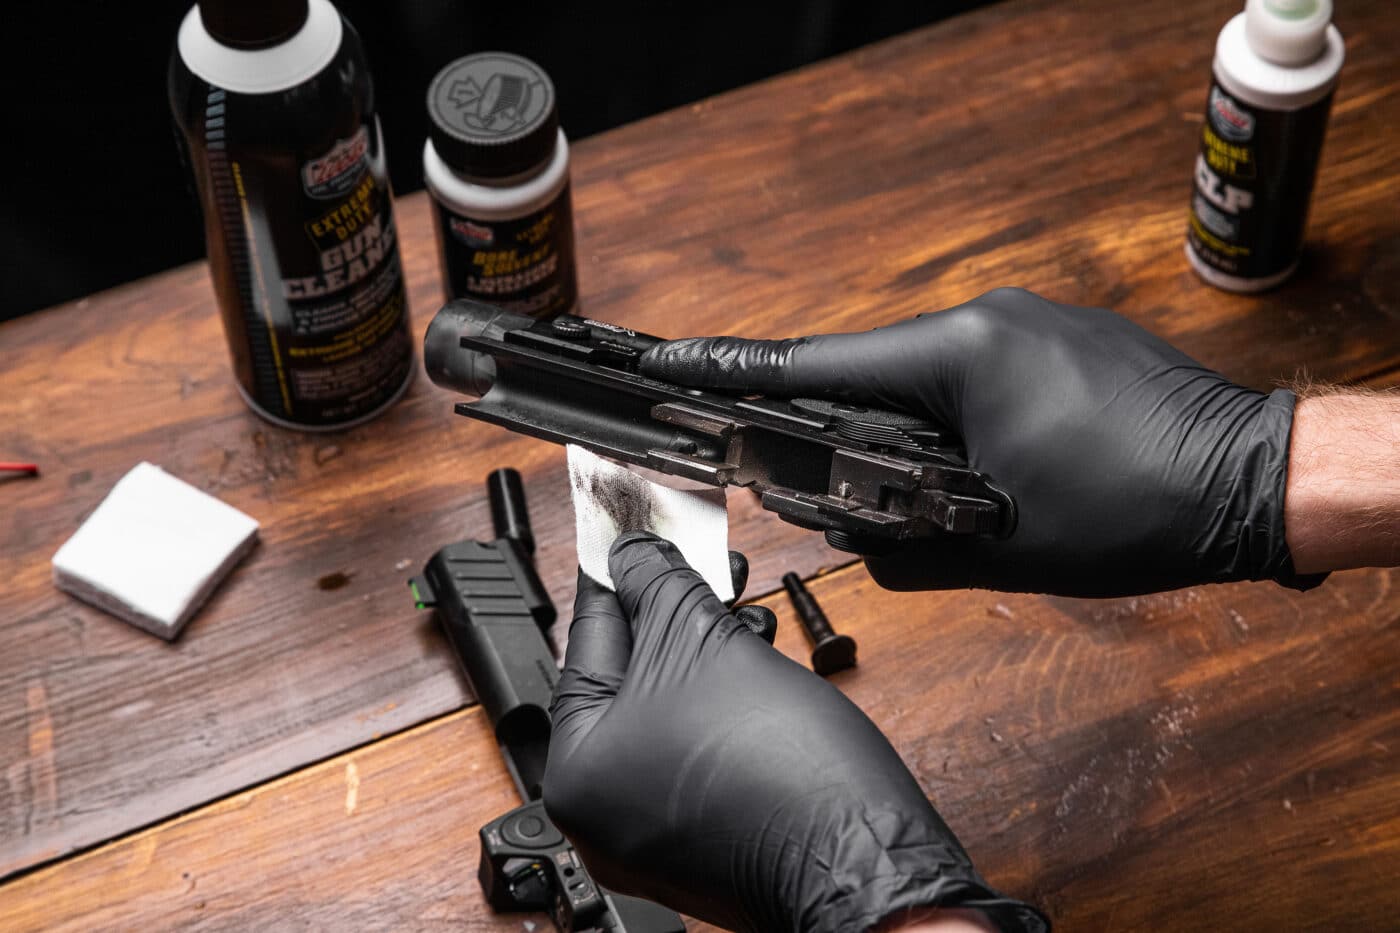
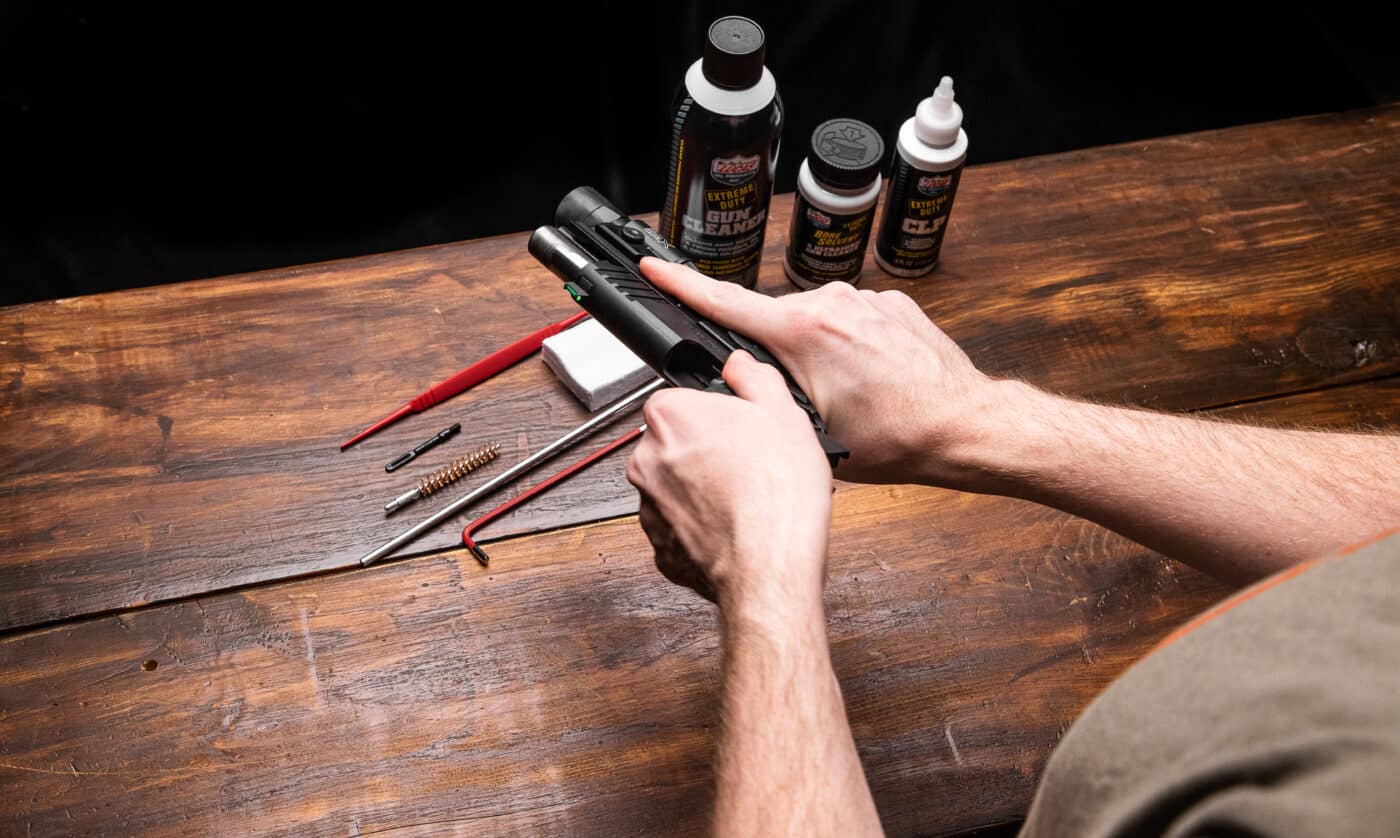
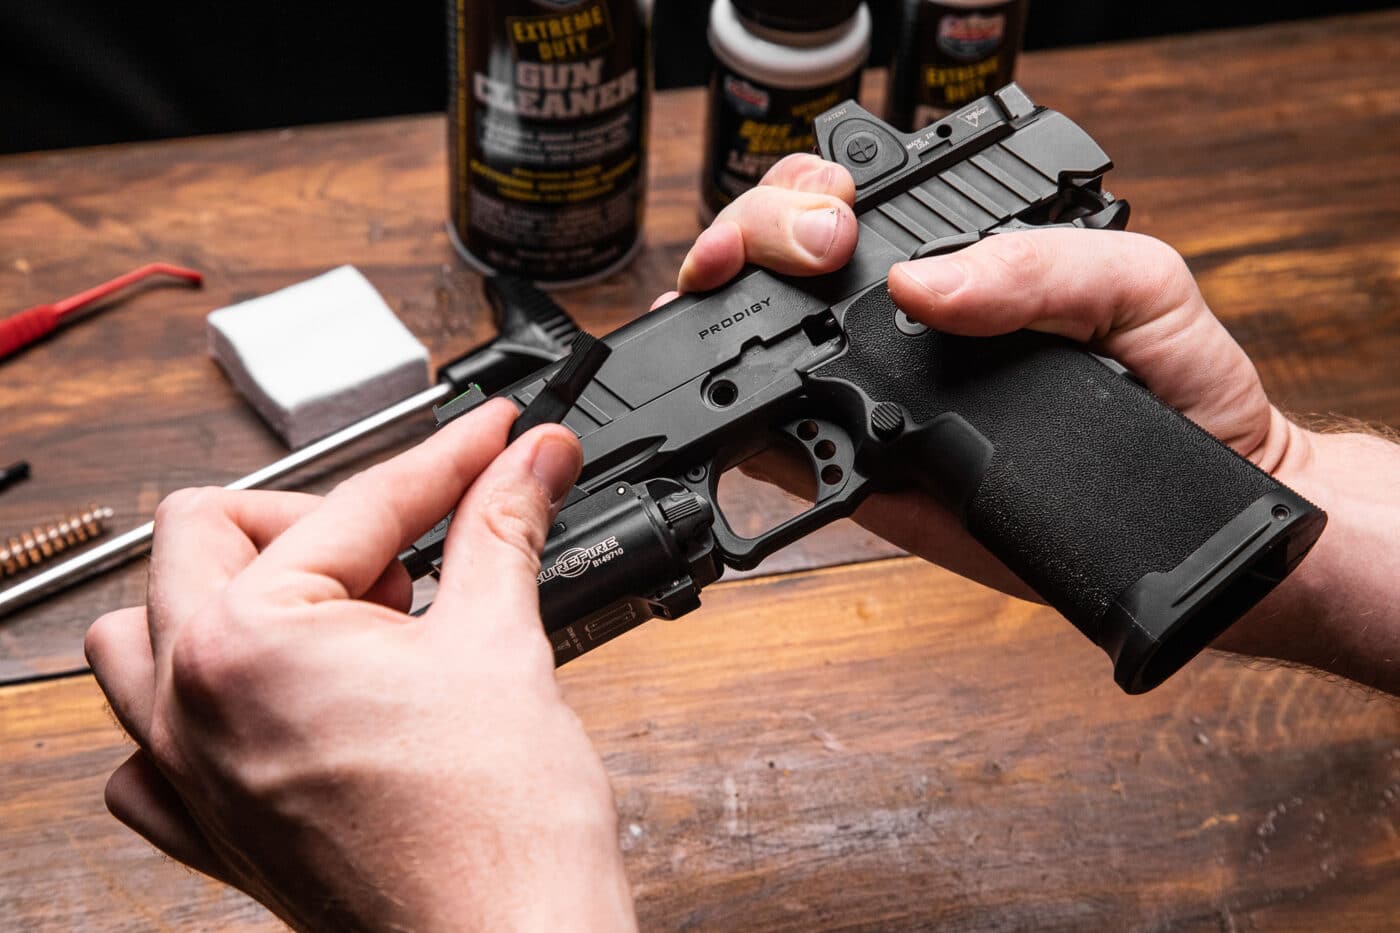
Make sure the frame is cleaned of dirt and debris so that the slide will run smoothly during shooting.
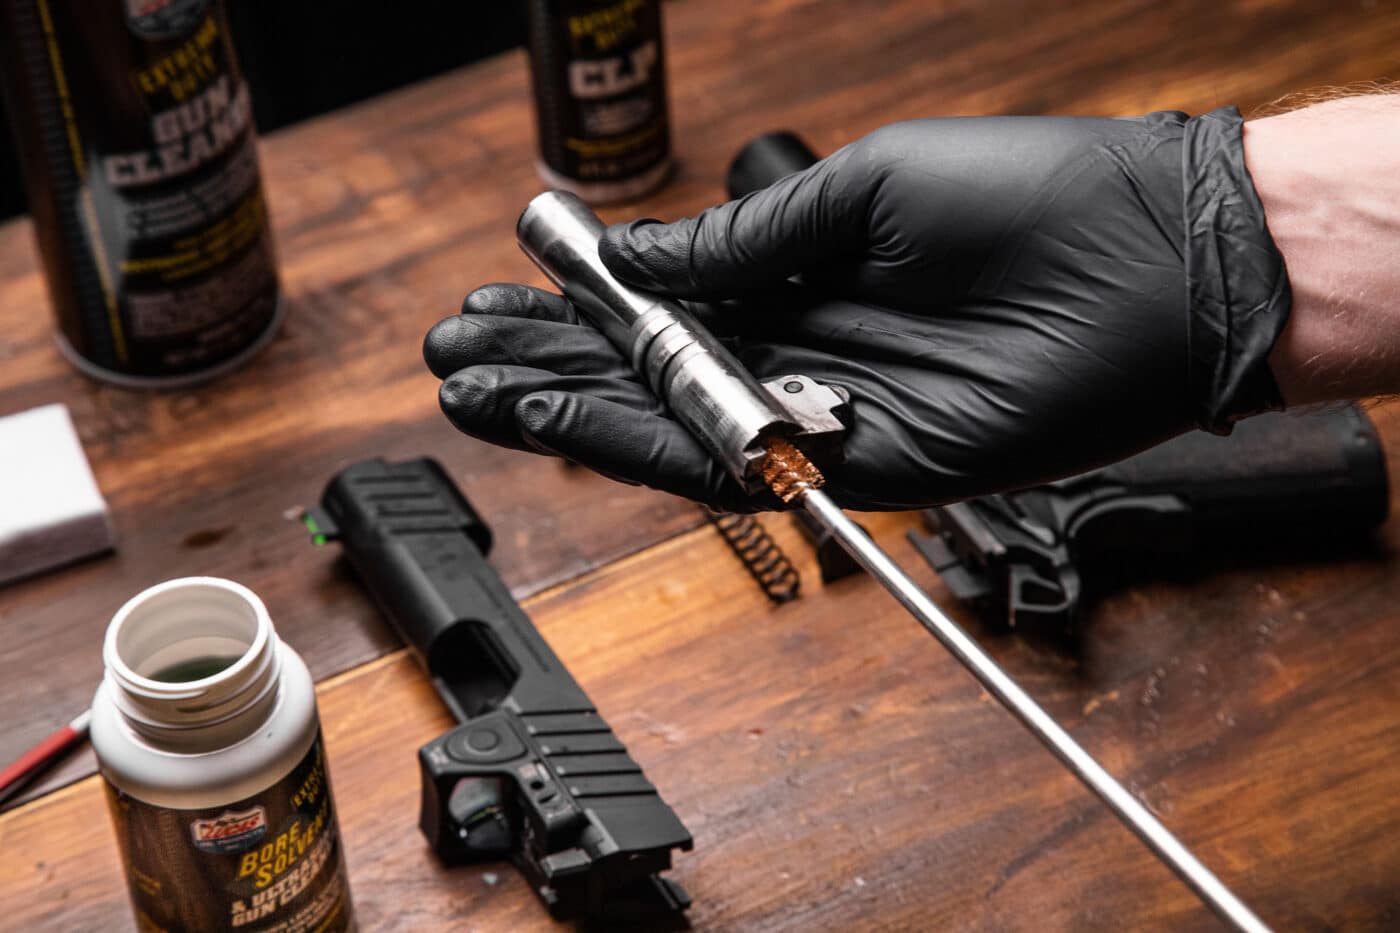
When you do a lot of shooting, you might want to use a bore brush to help clean the barrel. A good bore solvent like those from Lucas Oil also helps.
Reassembling the Prodigy is an easy process. The author takes you through the steps starting here.
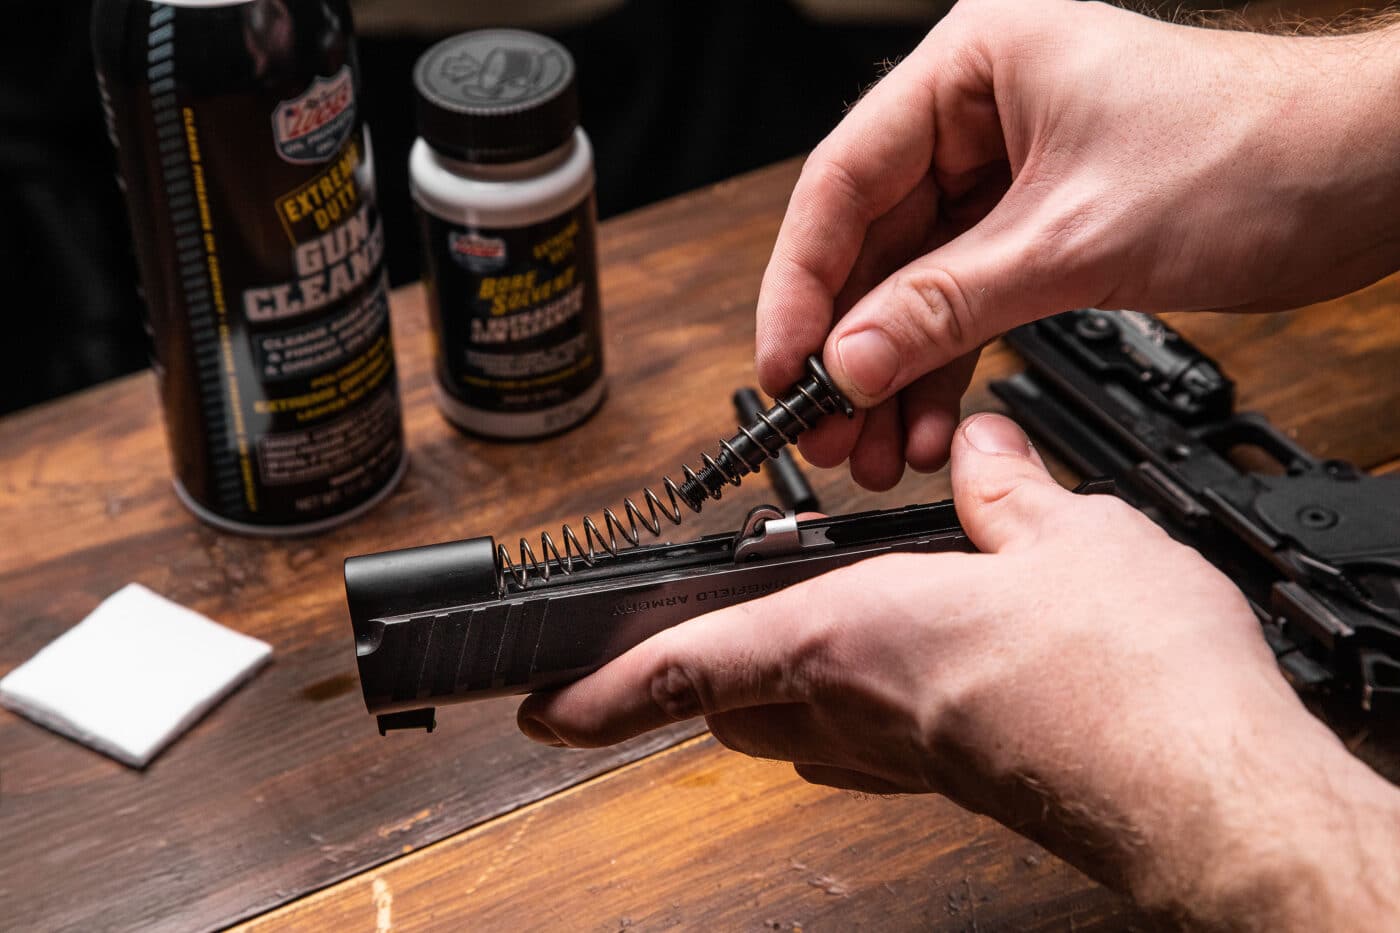
The recoil spring will be under pressure when you are reassembling the Prodigy.
Install the second piece of the guide rod from the front through the center of the recoil spring. Then thread it into the other half of the rod.
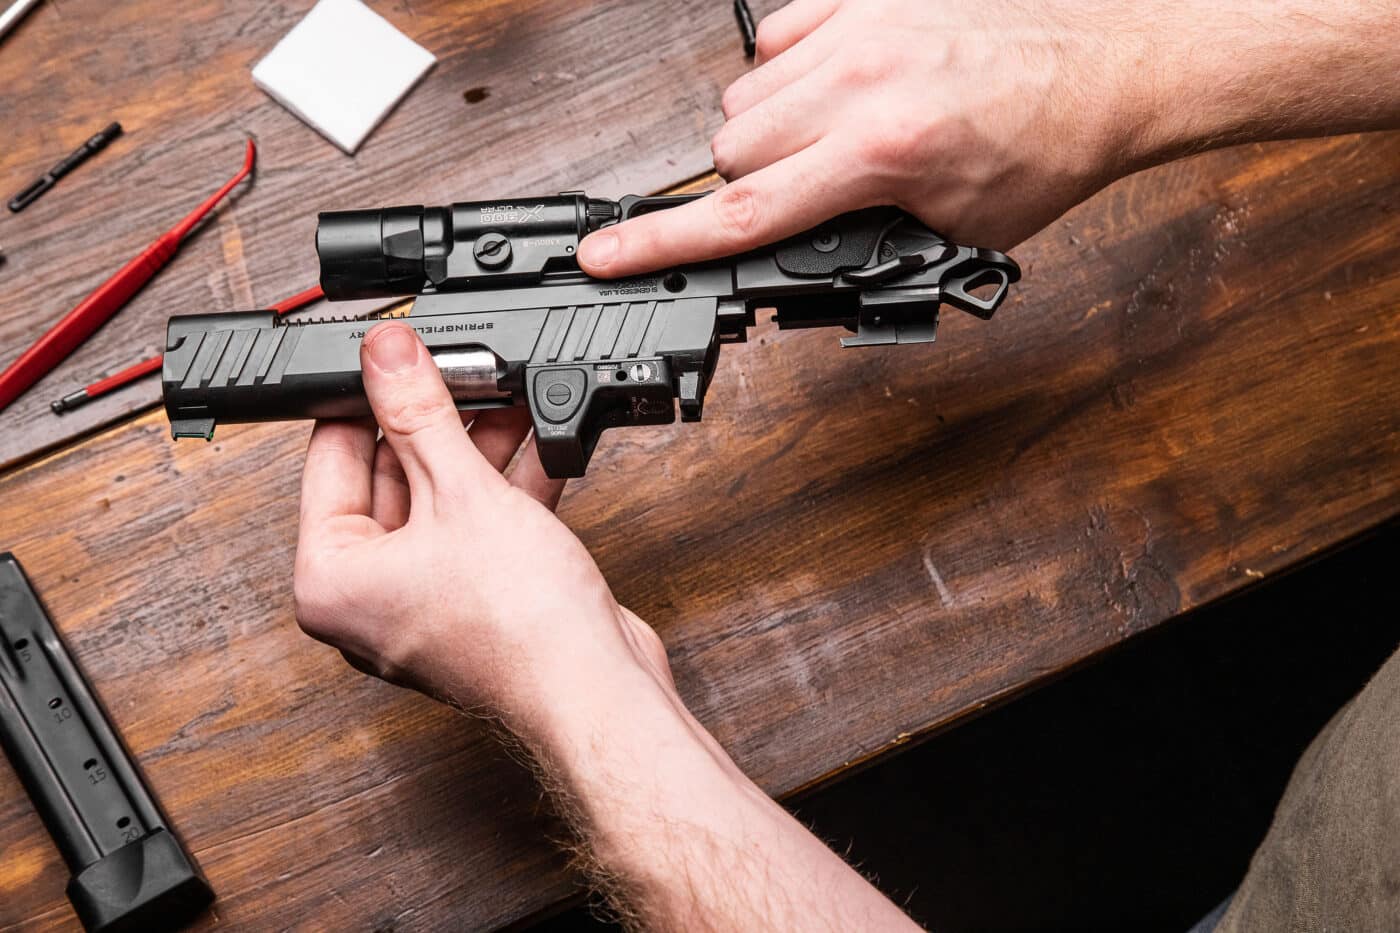
Once everything is reinstalled into the slide, it should slip onto the frame with no resistance. If you encounter resistance, stop and check everything.
With the slide retracted to align the notches, the slide stop can be inserted into the Prodigy.
Once the Springfield Prodigy is reassembled and the guide rod snugged down, function test the pistol before placing it into service.