Sorry Cerekote lovers, but its true.
Cerekote is great for nice clean paint jobs where you want a specific camo pattern.
In the 2nd amendment world, we call it a rattle can.
Here are some things to mention that will address initial concerns.
Yes, this comes off easy with something like mineral spirits.
No, it will not mess up the actual finish of your AR.
It will not have a sticky feeling or come off on your hands as you use the gun.
That being said, I would spray paint the action part of your gun at your own risk.
Personally, I would never paint a bolt or any of the moving mechanical parts.
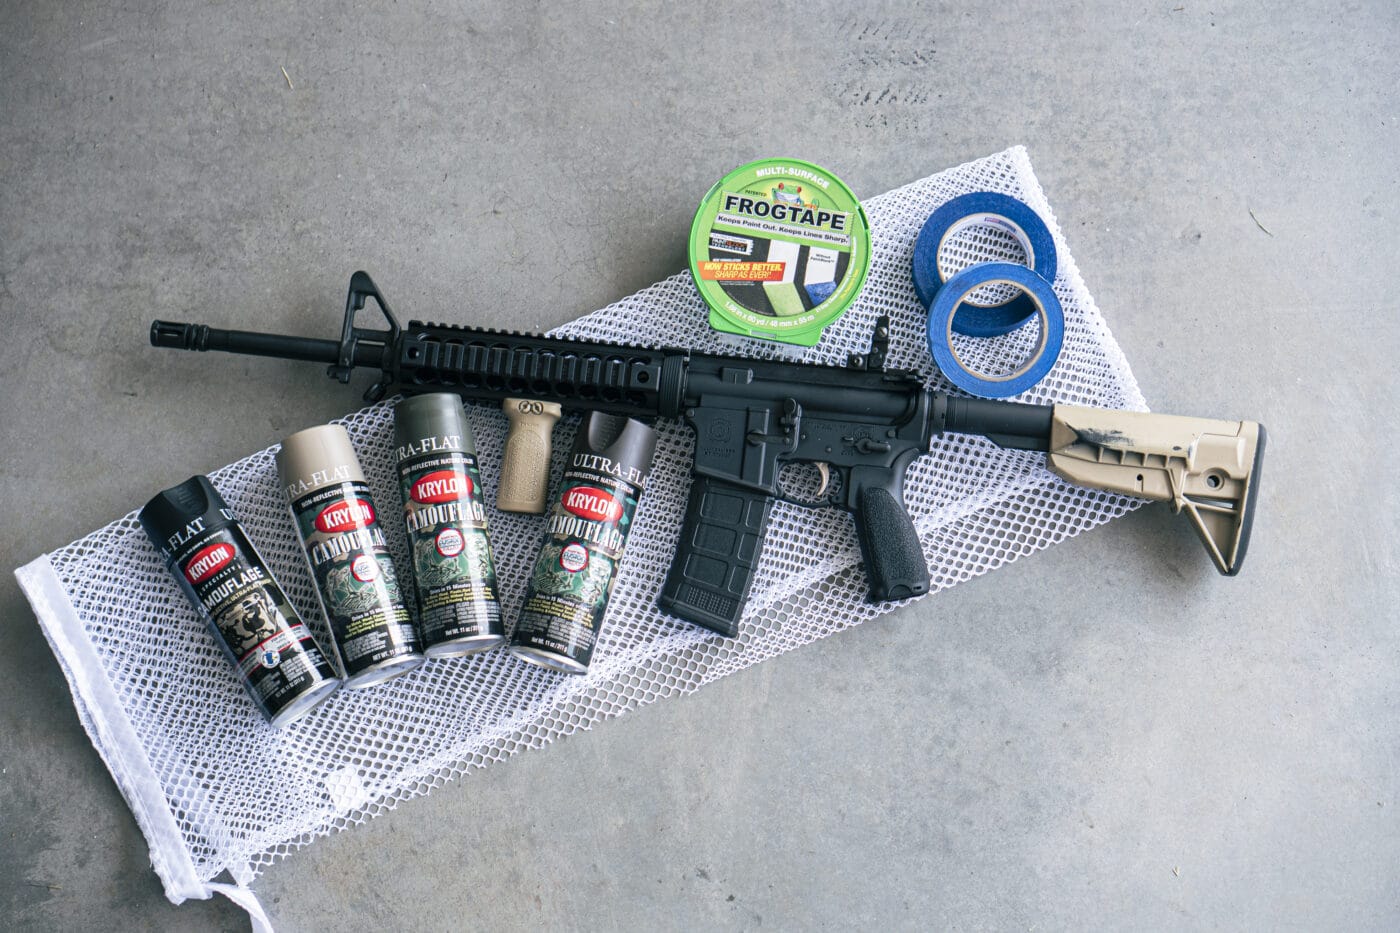
What You Need
You dont need a lot of materials for this pop in of project.
see to it you have a well-ventilated area.
I chose my garage for this.
Then, have a way to place your gun for paint.
I have a piece of gear for holding up AR rifles that I use.
It is a heavy steel chunk with a vertical piece of rebar welded to it.
This bar goes in the hollow grip and holds my gun up so I can paint both sides.
But its perfectly okay to lay it down flat and paint one side at a time.
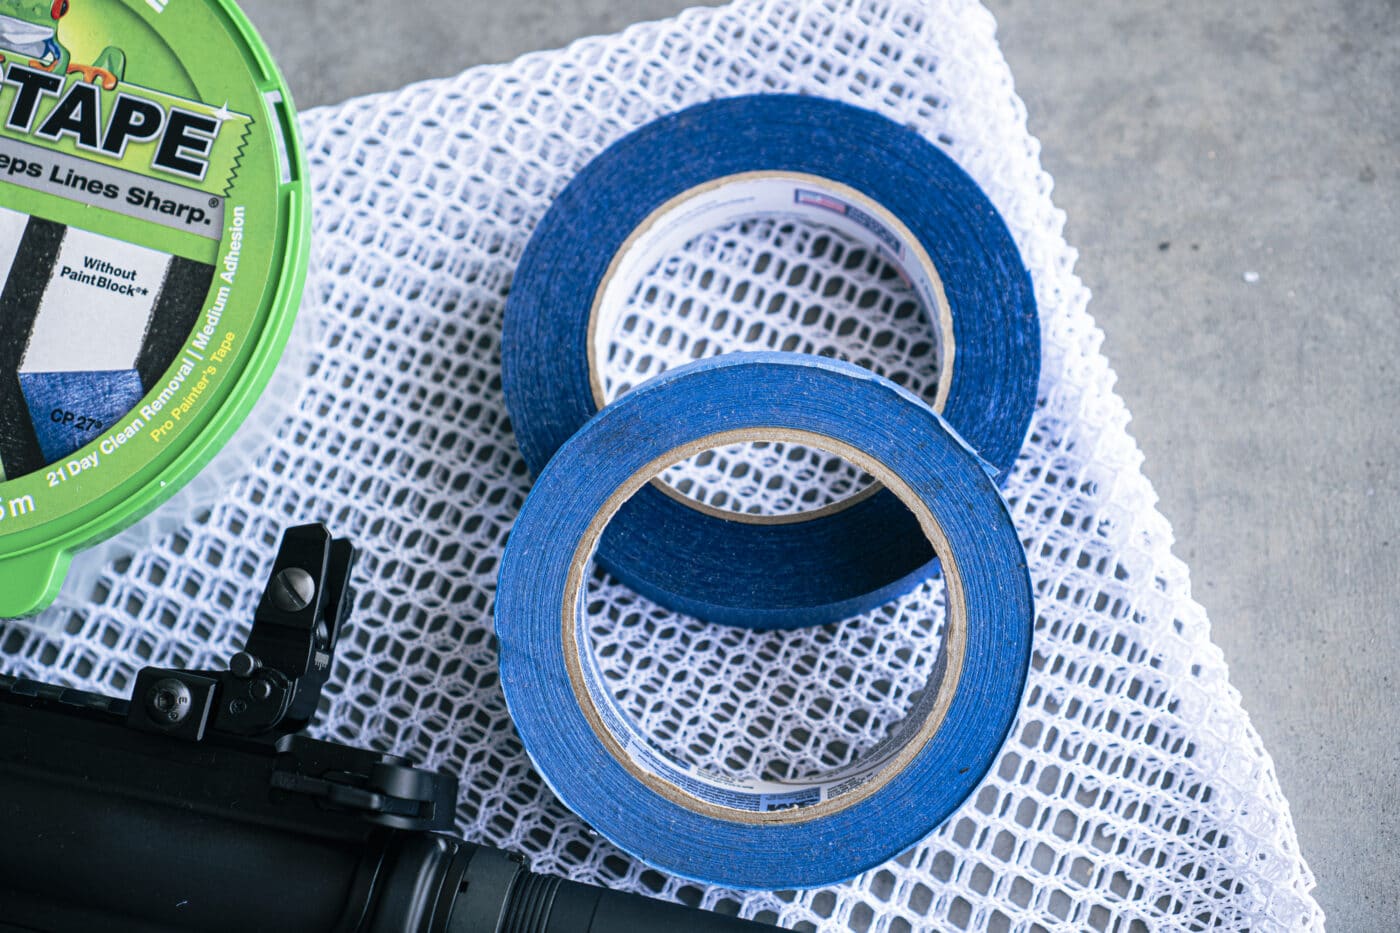
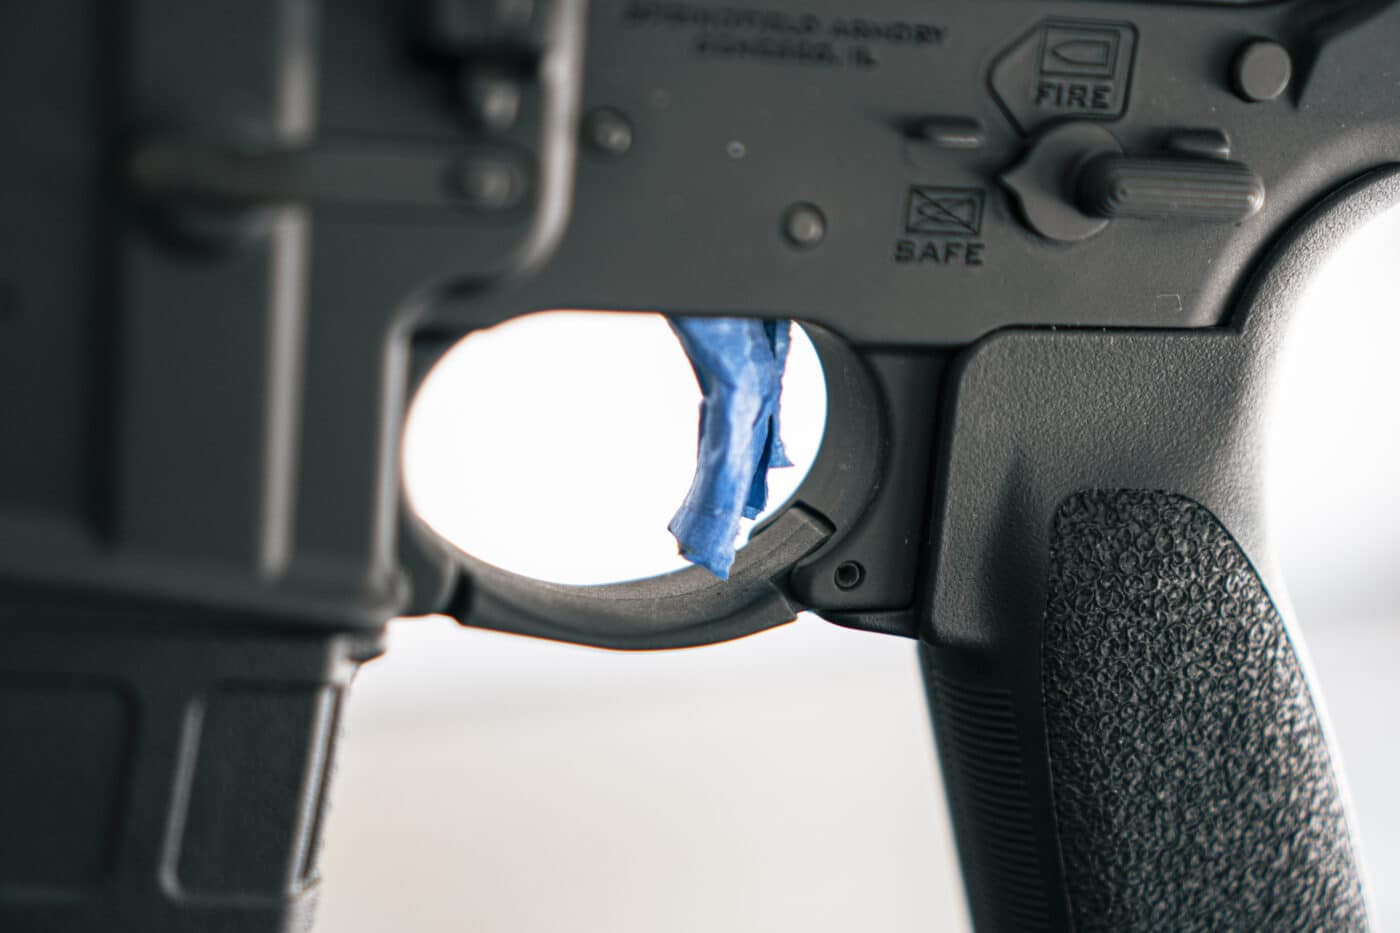
Next up is masking tape, which you’re gonna wanna mask off the no-paint areas.
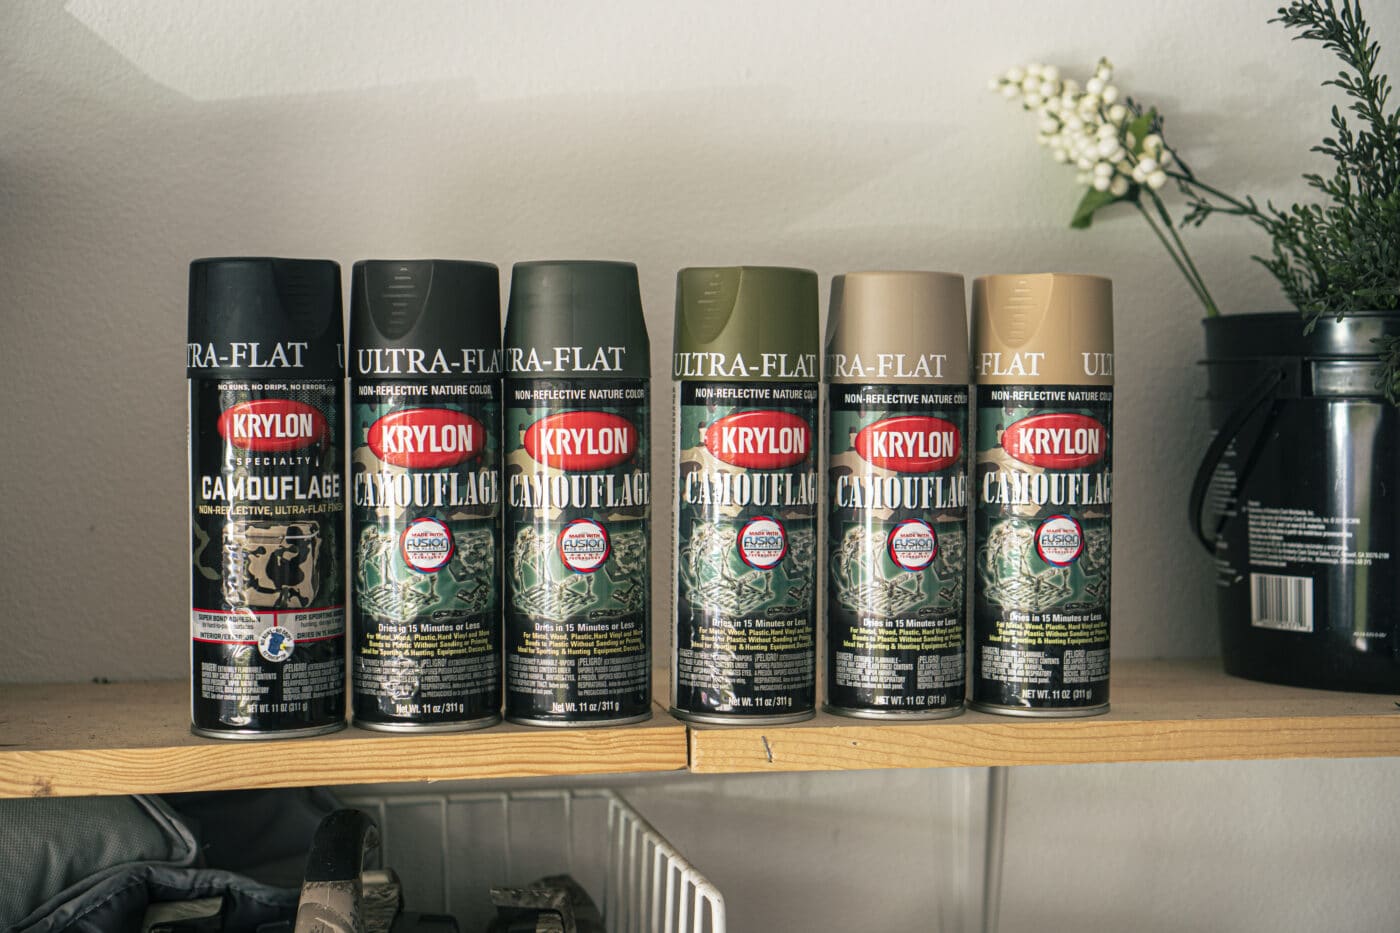
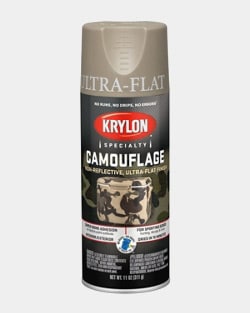
Then you need the paint itself.
I like Krylon camo paint, but Rustoleum makes camo paint that is pretty good as well.
These will be in stores marked specifically for camouflage use.
Another option is to buy stencils or wrap a string around your rifle in sections to add a pattern.
Truly, the options are limitless.
Alright, now we are ready to start.
Wipe It Down!
First off, I wipe down my gun to remove any surface oil.
Sometimes you will have oil seep from your inner parts onto the outside of your gun.

A real quick wipe down is all you need.
I never do this because what I personally love about spray paint is its impermanence.
Tape It Up!
Our next step is to tape off sections of the gun with masking tape.
Suppressors need a good, solid fit to prevent baffle strikes.
Dont let some $6 spray paint ruin your suppressor with a baffle strike.
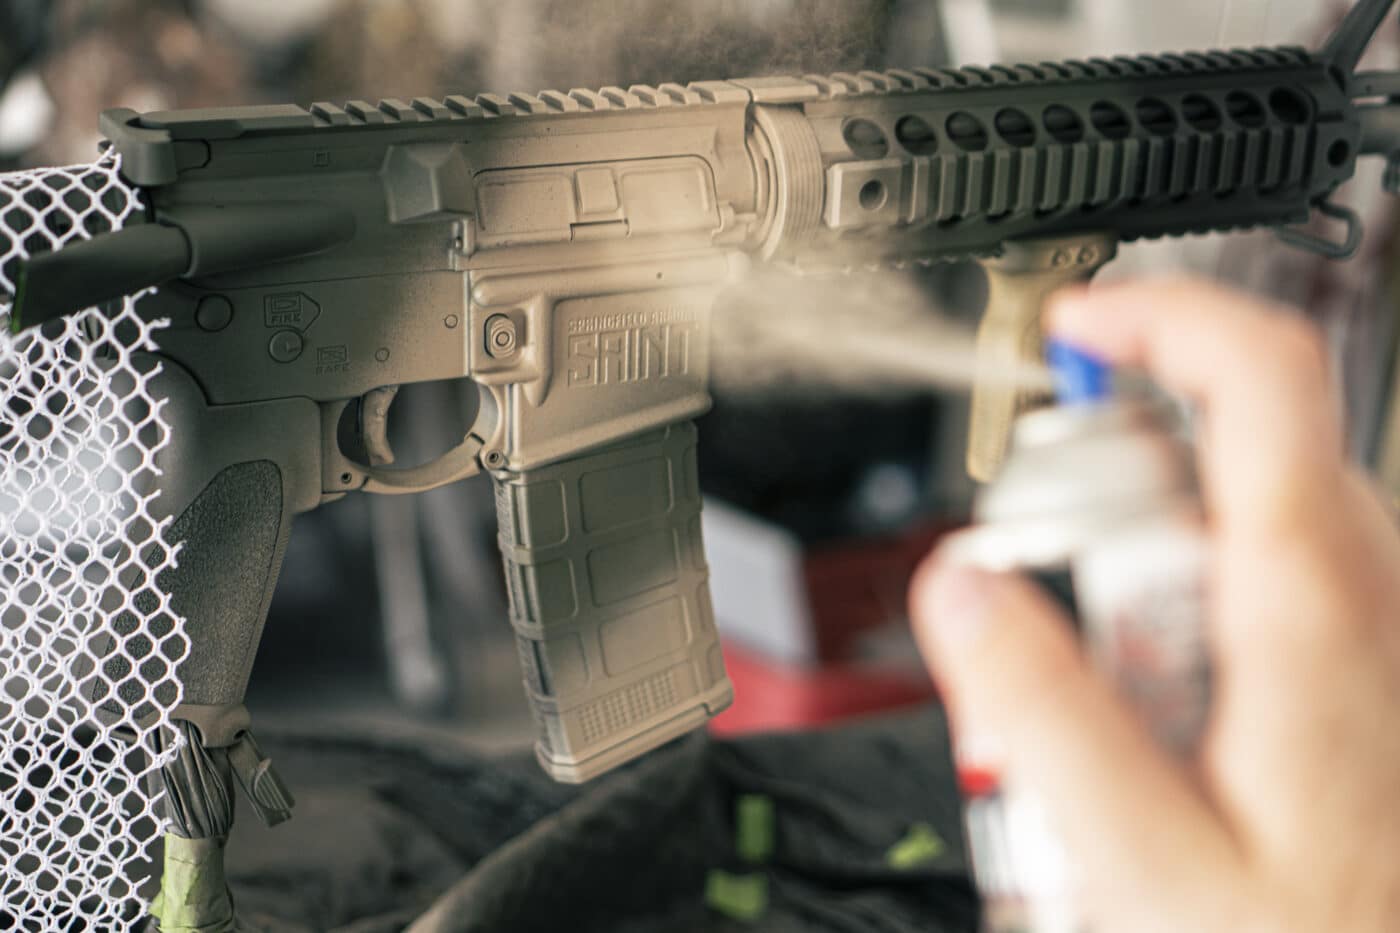
Okay, after its taped, its time to paint!
Paint It Up!
This is the fun part!
Here is how I paint a rifle.
Over and over until I reach the end of the weapon.
you could keep a pattern or mix it up; either way, its gonna look good!

When youre finished, you have a rifle with tiger-like stripes all along it.
Do this for both sides of your rifle and give it five to 15 minutes to dry.
The longer you let it dry, the less gummy the finish will feel.

The Krylon will be dry to touch after five minutes.
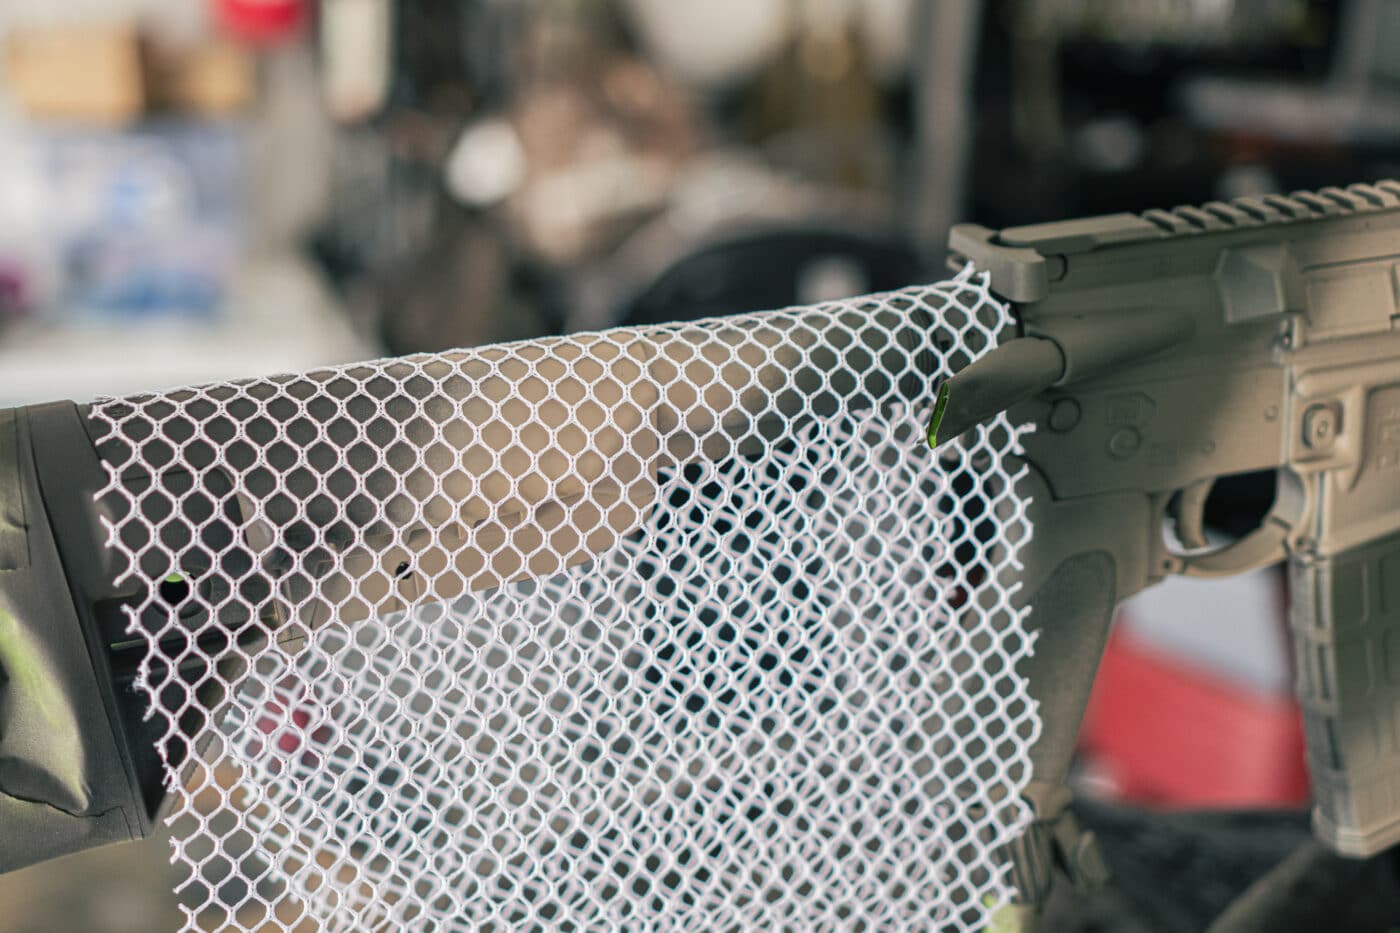
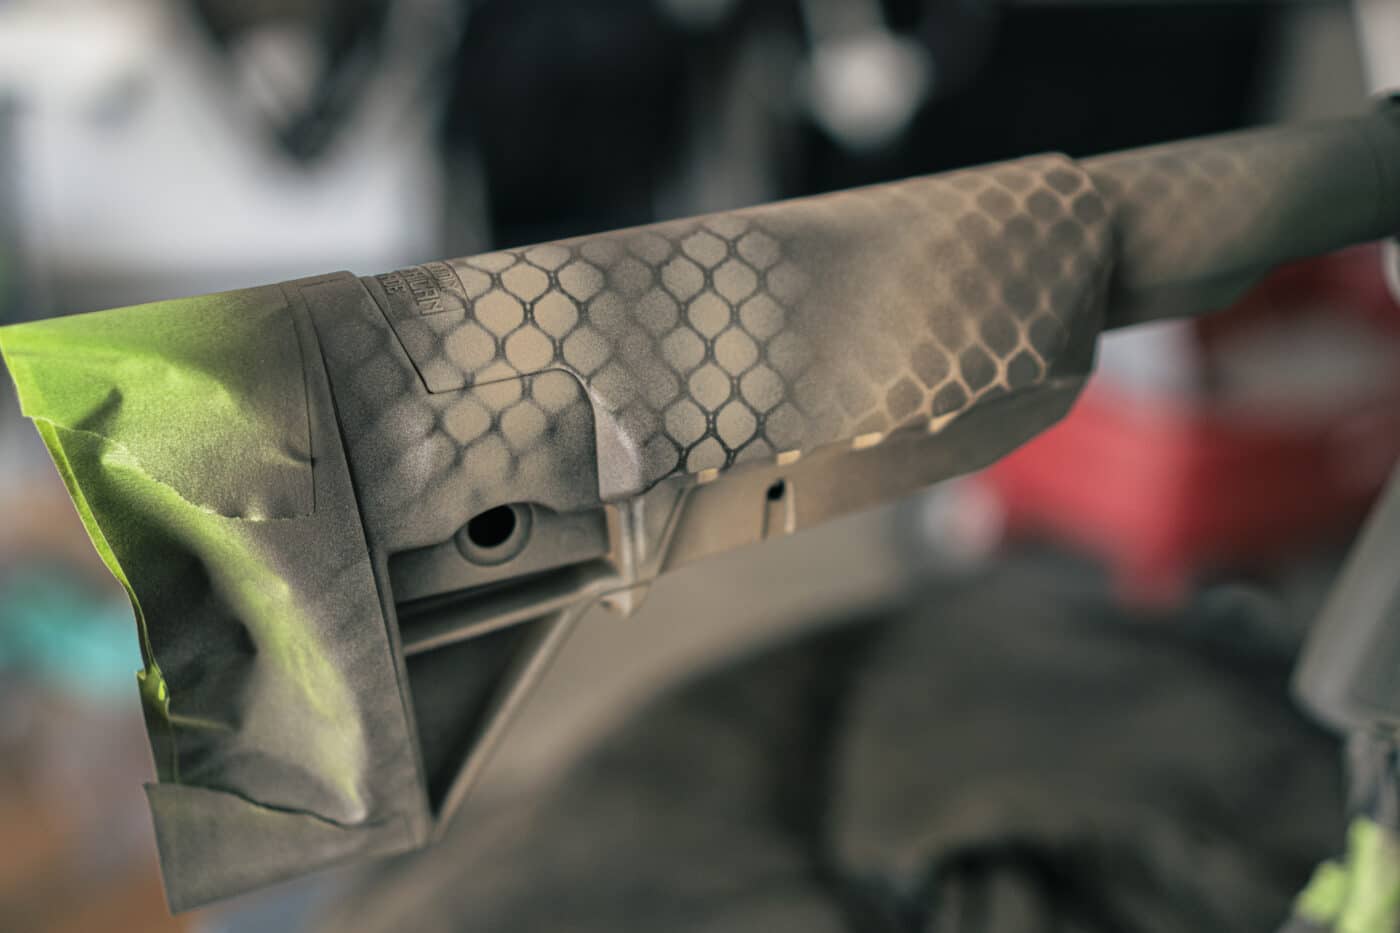
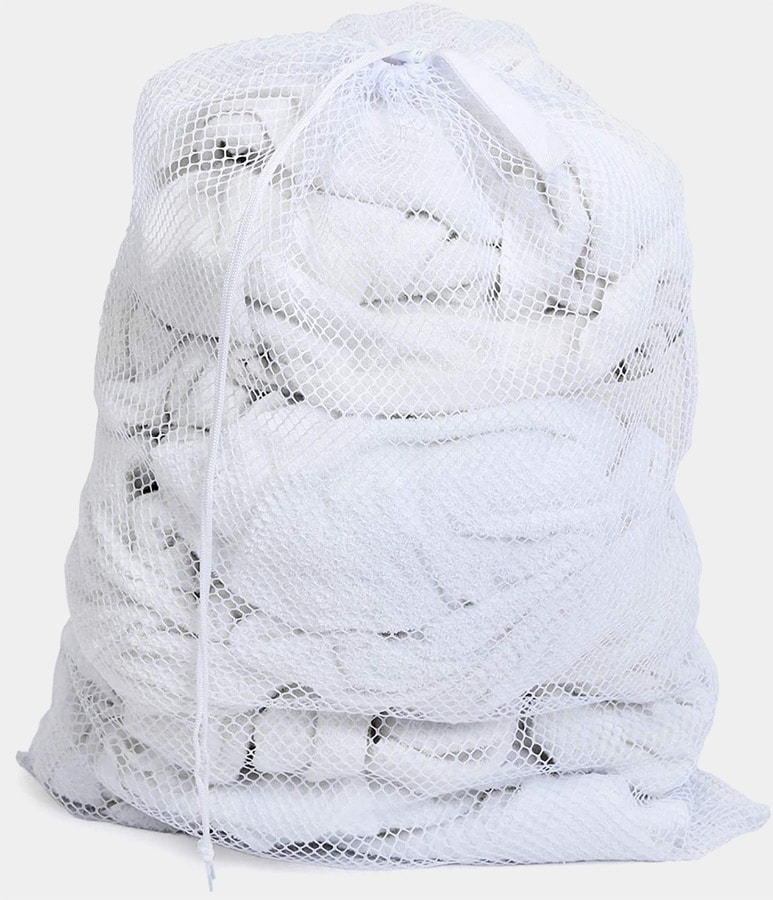
Now, I take the laundry bag I mentioned earlier and lay it over the gun.
Here you want to alternate colors as you spray across the rifle.

This will leave you with brown scales on top of the khaki and green stripes.
The trick here is to not overdo it.
Just break up the stripes and create nice gradients that flow into each other.

Now let it dry again for five to 15 minutes.
All Done!
After that, its all done.

Peel off your tape and look at the beauty you created.
All in all, a project like this will cost you maybe $30 dollars.
The laundry bag was around $10, and each can of paint was $5.99.
Just be careful to mask your objects properly and use great care to protect important parts.
Enjoy your new camo pattern and happy hunting!
