But admittedly, this is pretty cool.
Spray painting your rifle offers an easy, quick, cost-effective and unique solution.
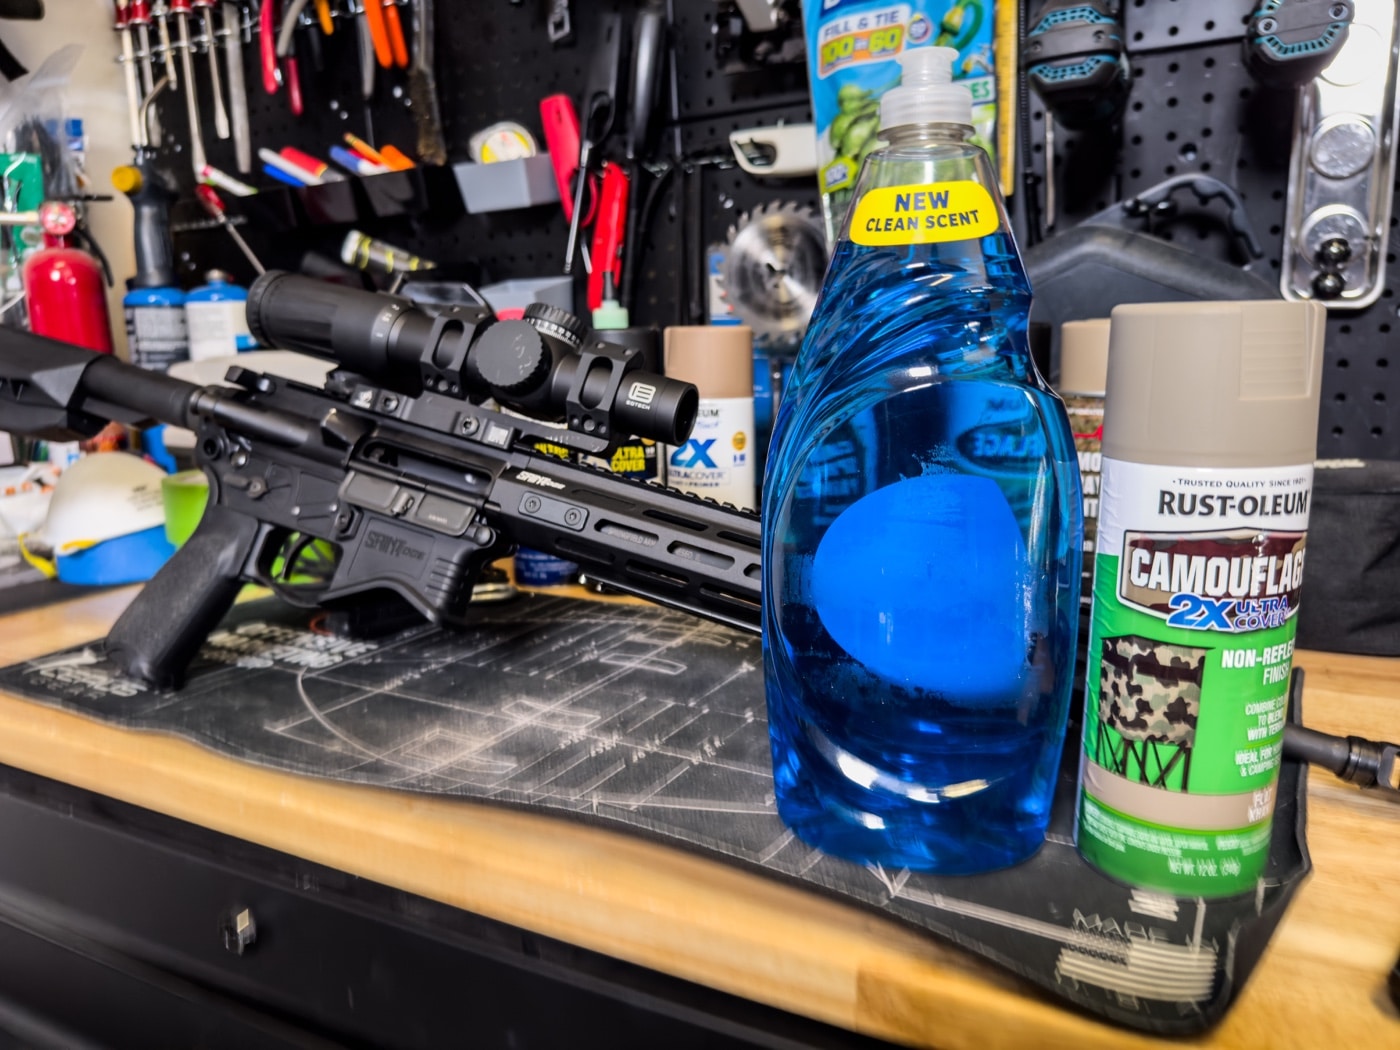
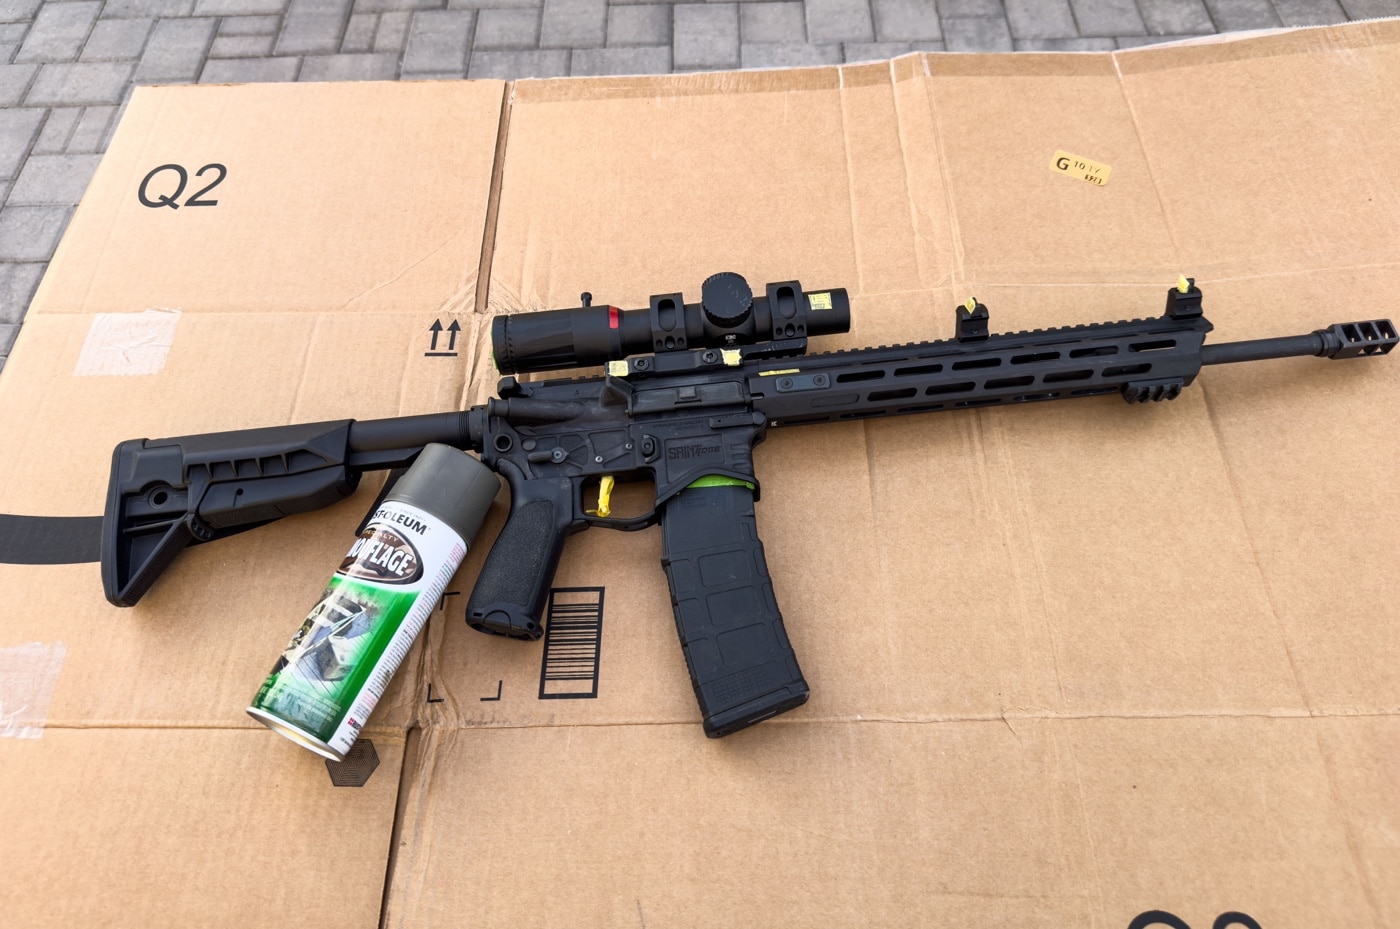
The first step before painting is to prepare and clean the rifle.
In this article, the author introduces an interesting and effective way to create a camouflage paint pattern on your firearm.
After clearing the rifle for safety, I grabbed the can of Gun Scrubber.
After spraying and wiping down the rifle, the residual gun oil and gunk from the range was removed.
Step Two Taping Before Painting
Tape it off.
Common components like dish soap and spray paint can transform a rifle into a unique masterpiece. The great part is that it is easy to do and is quite affordable.
These included the optics lenses, any markings and indicators, and the trigger.
Take your time when taping; youll appreciate it later.
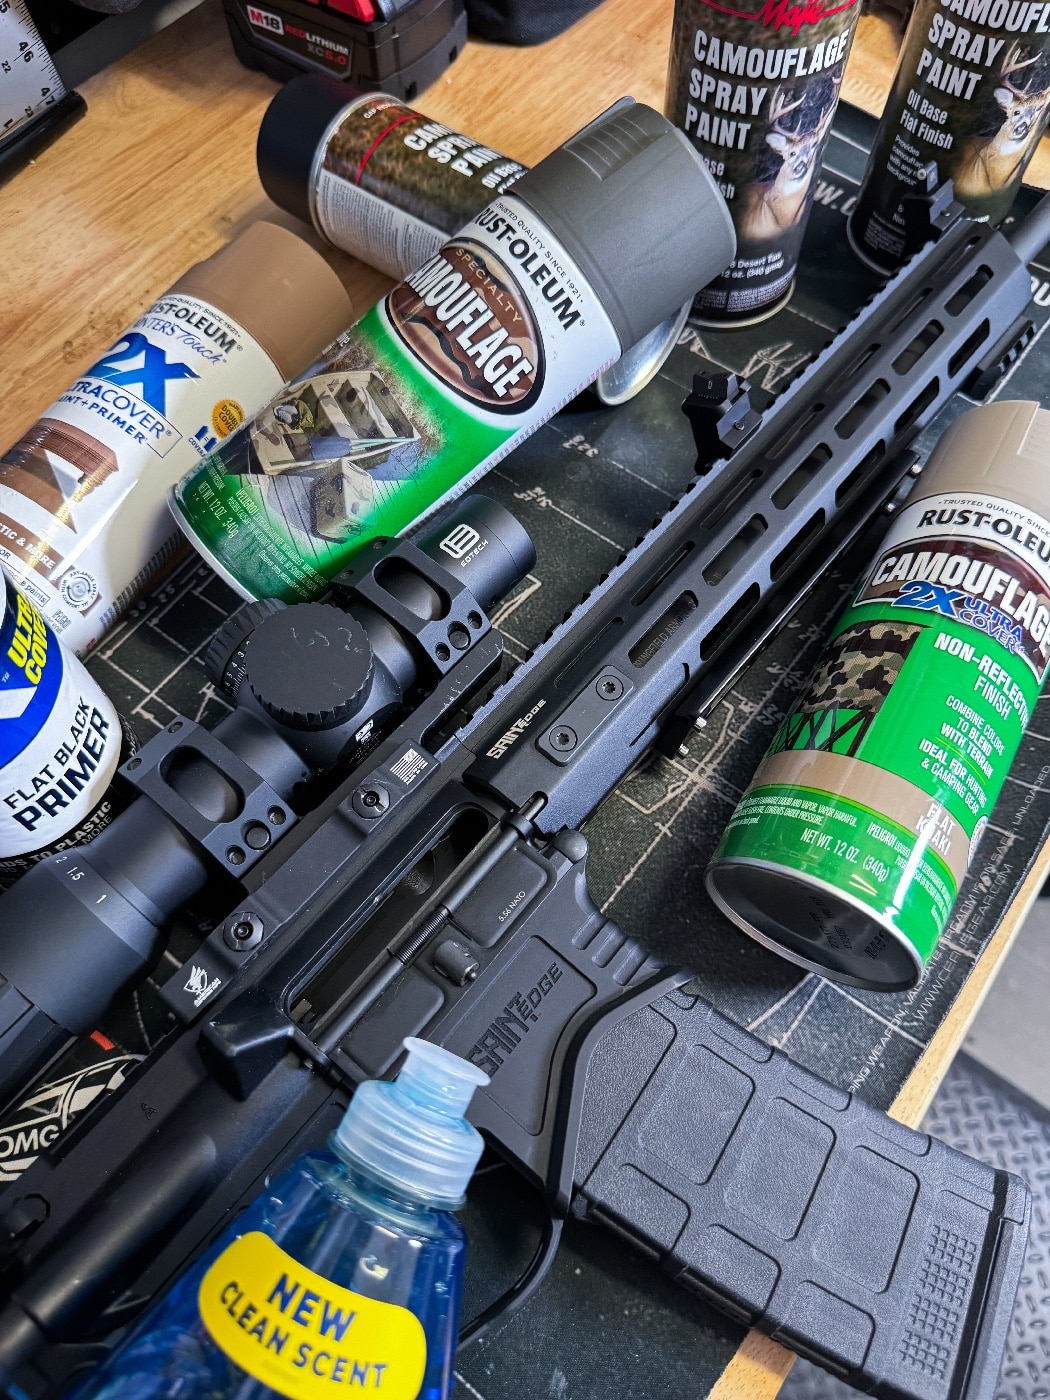
Step Three Paint Your Gun
Start painting.Paint colors are a personal choice.
Before painting, you need to thoroughly clean your rifle and strip off all oils and other lubricants.
I fully coated the SAINT Edge on both sides with OD Green and let the base coat dry.
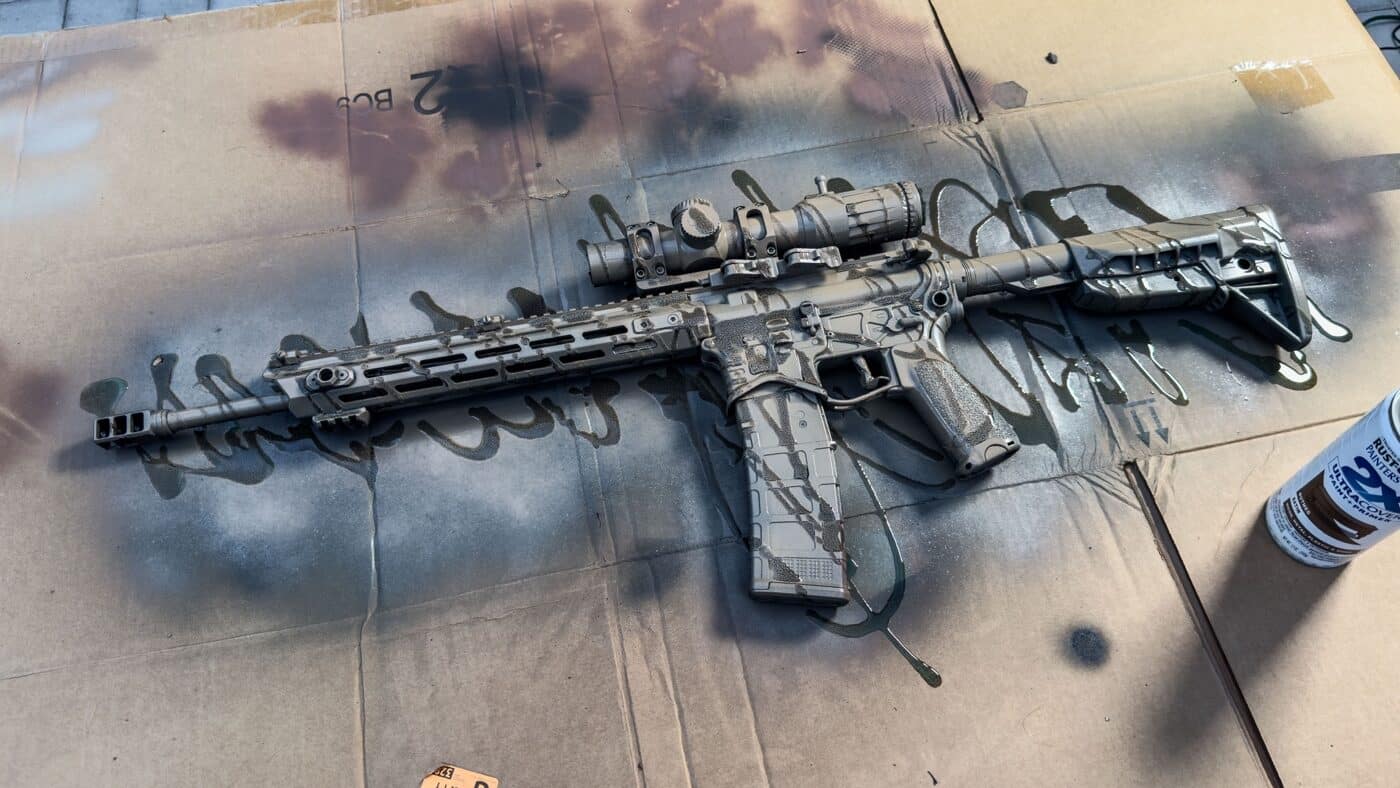
These patterns break up and add depth to the OD Green color and look like natural environmental shadows.
It was time for dish soap.
Once your gun is clean, you need to tape off all areas where you do not want paint to touch. Take your time and make sure you are thorough.
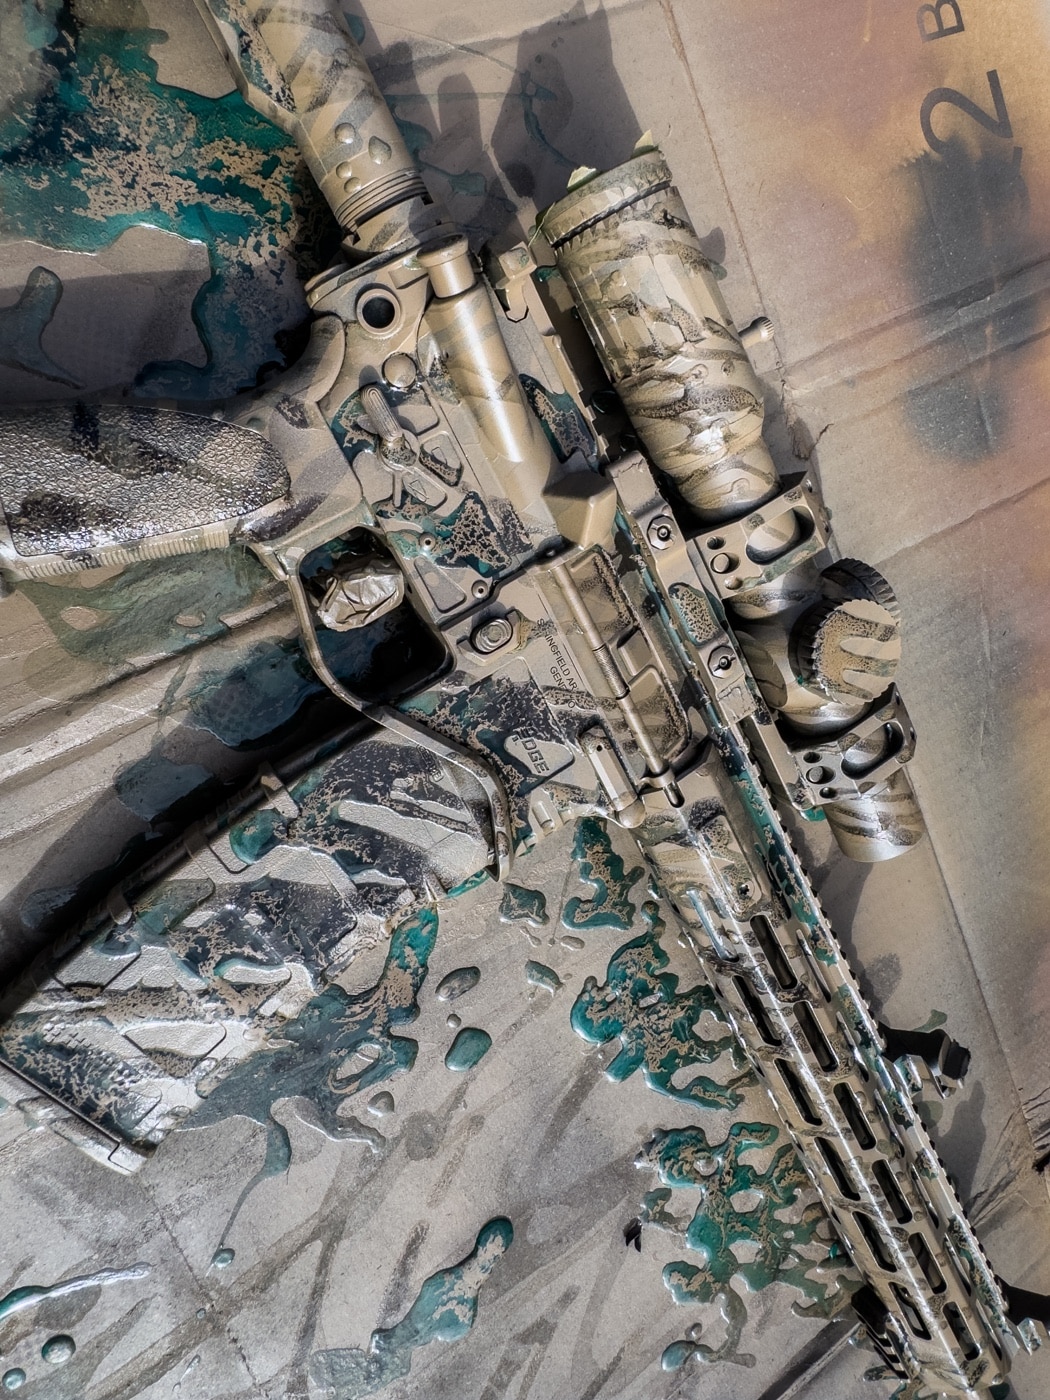
Step Four Apply Dish Soap
Dish soap coat!
Next, I applied the main coat of color (Desert Tan and browns) over the entire rifle.
Instantly, you could see the soap repel the paint.
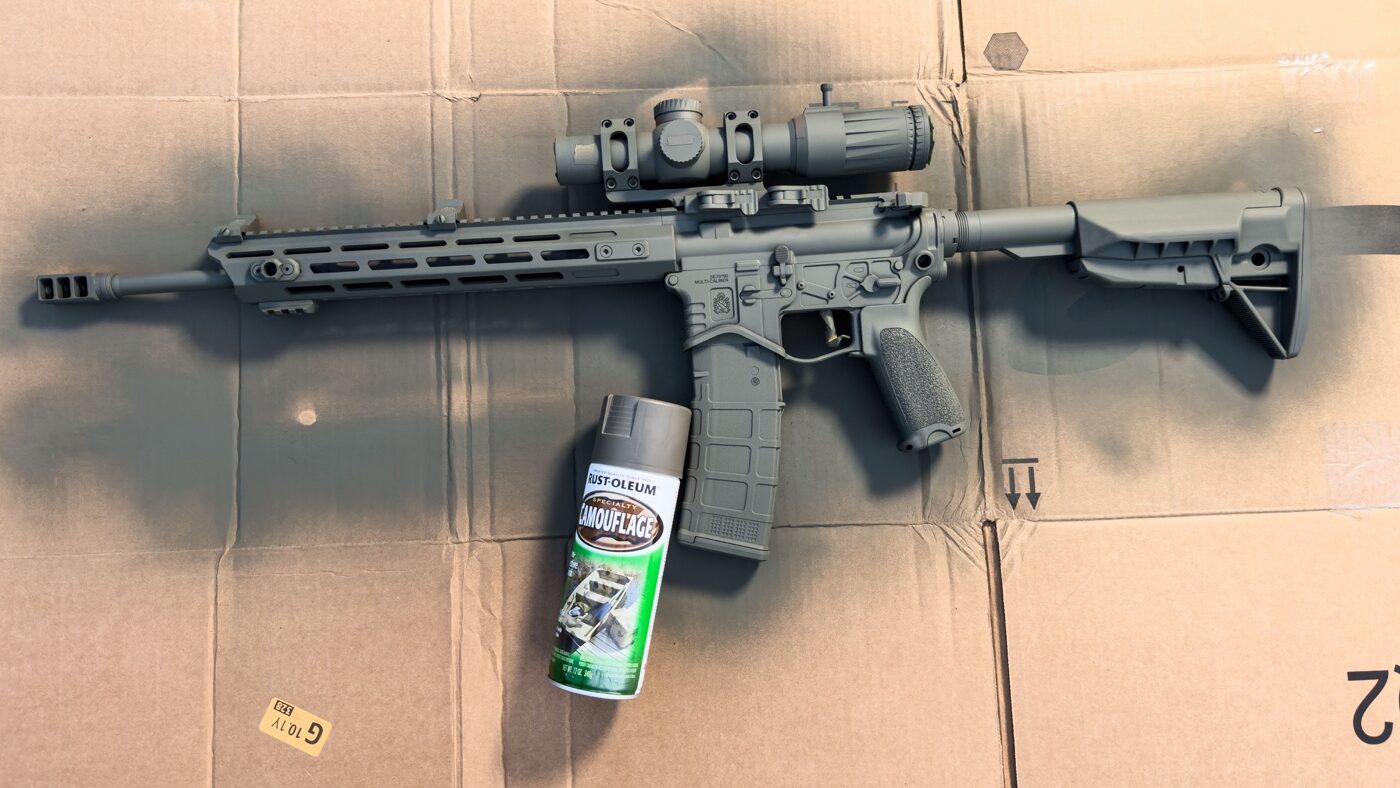
A base coat is the first step in spray painting your gun. A matte olive drab green or sand color can make for good choices. Your needs will dictate your color preferences.
Step Five Wash It All Down
Hose it off!
Using a garden hose, preferably with a high-pressure spray nozzle, wash away the dish soap.
Get up in there.
You can apply the dish soap in any variety of patterns when paining your rifle. You can paint a dozen rifles using the same method, and each will be unique.
Step Six Dry and Apply Additional Paint
Dry it off and inspect it.
I also like some of the darker patterning I had achieved in the initial coats.
Step Seven Repeat as Needed
Spray, rinse and dry again.
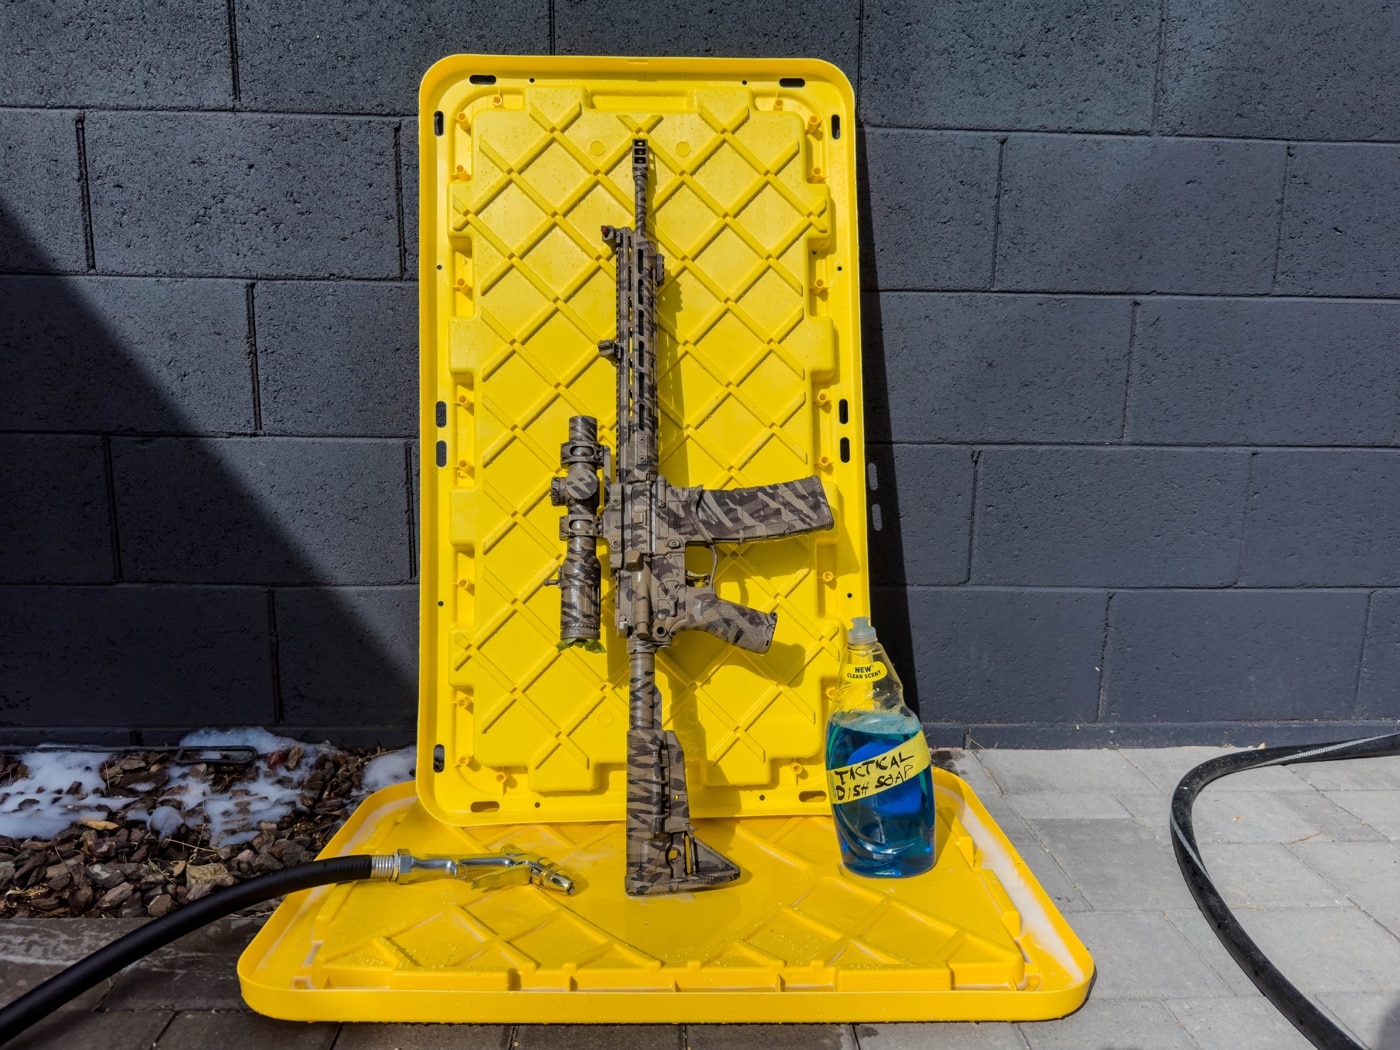
A garden hose is the easiest way to wash dish soap off of your AR-15 rifle. Once it is completely washed, dry it with soft towels. Compressed air may also help.
Now, it was time to lock it in and seal the deal.
Step Eight Clear Coat Finish
Seal it up with a matte-finish clear coat.
Clear coat helps prevent scratching and adds a little durability to your paint job.
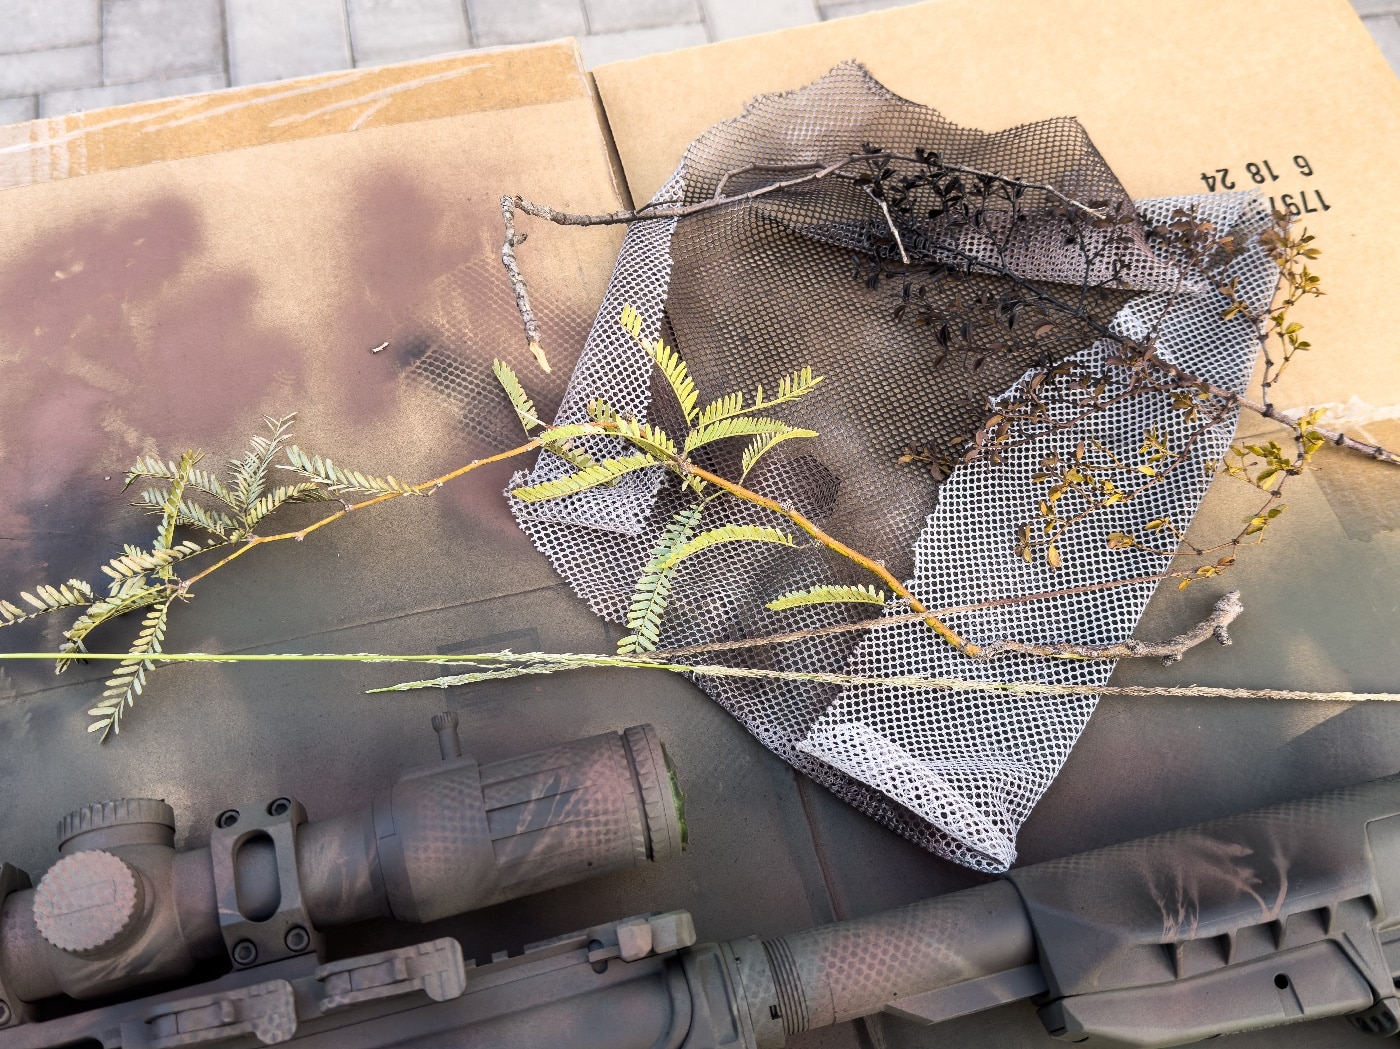
Materials like these can be used for creating camouflage patterns on your rifle. Organic materials — like leaves, vines and sticks — are easily available and simple to use.
Word to the wise, check that you use flat/matte clear coat finish.
Dont accidentally buy gloss, satin or semi gloss…Its a mistake.
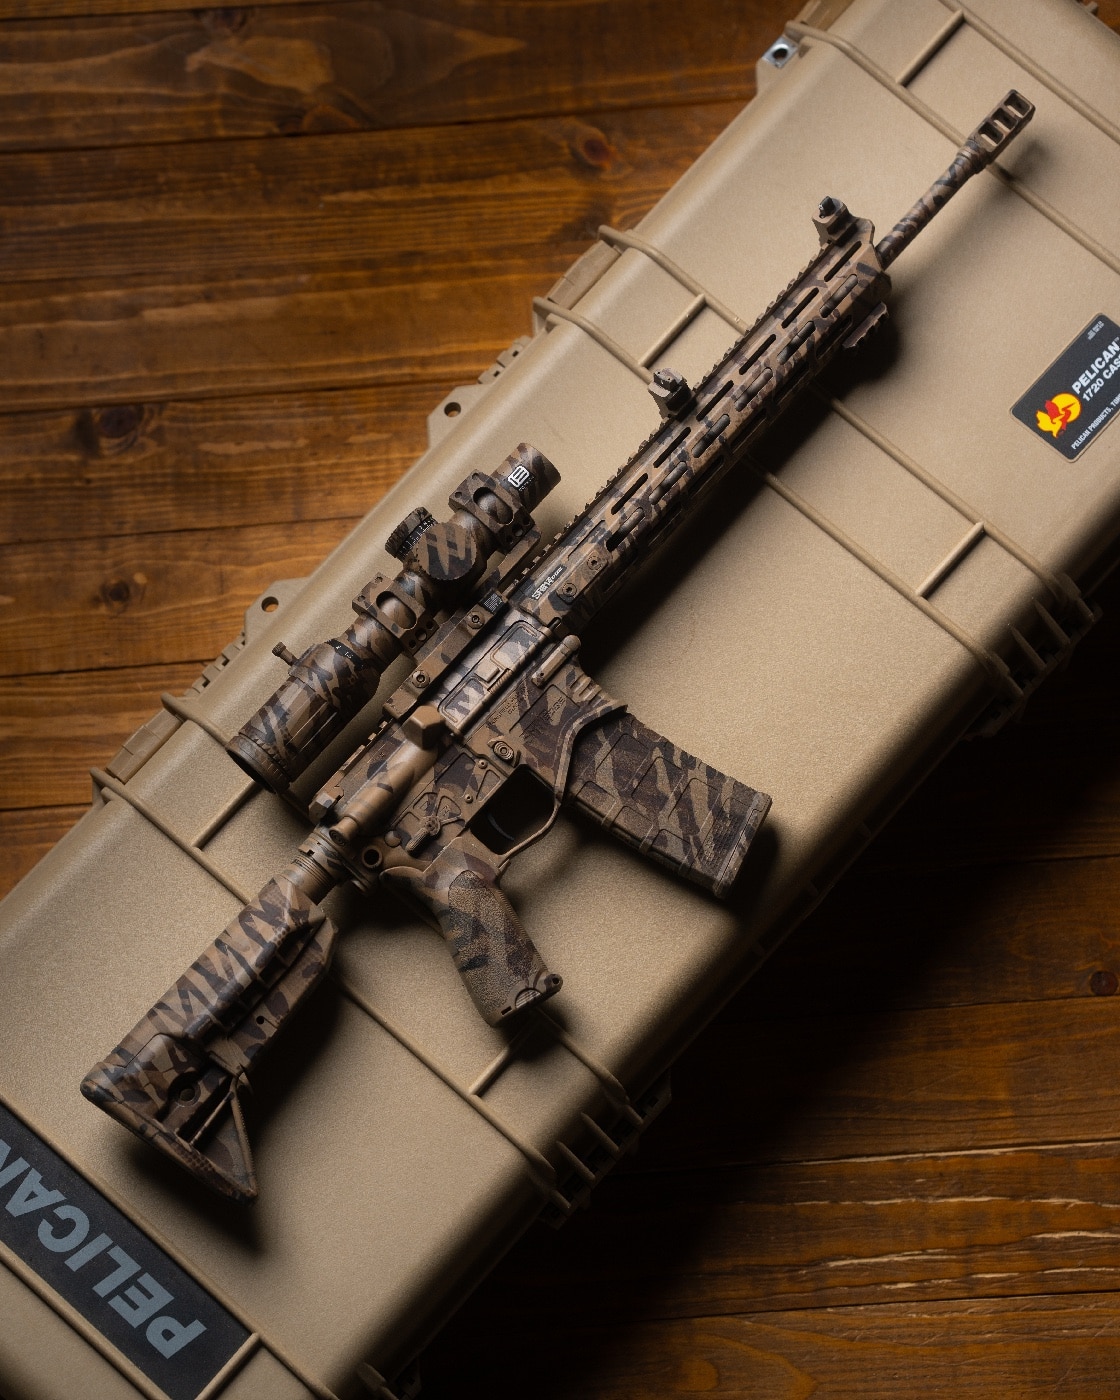
Youre now ready to take your one-of-a-kind custom DIY rattle canned rifle to the range.
After applying your initial coats, you may wish to add a third or even fourth color to the mix. Simply repeat the process.
Plus … my rifle was the cleanest its been in a long time after multiple baths in the backyard.
Go to forum thread
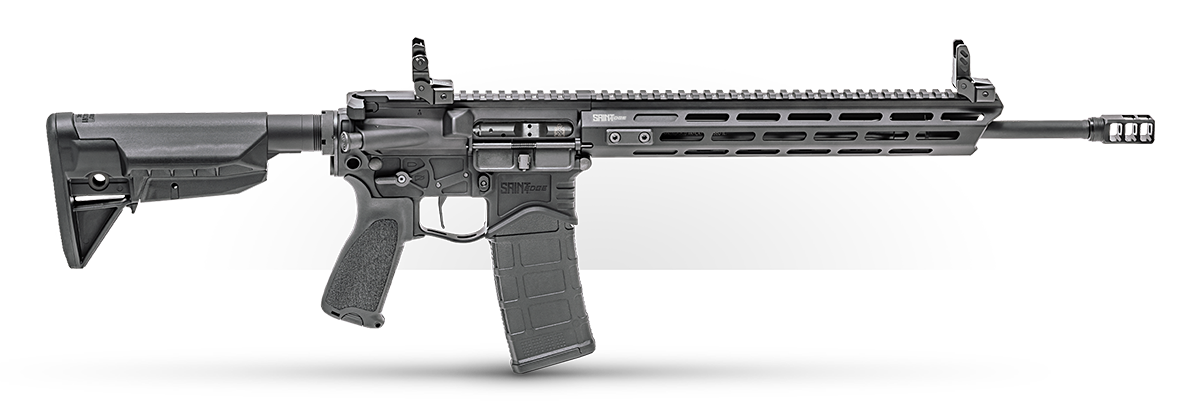
SAINTEdge Series

Once your paint pattern is finished, a matte clear coat can help protect it. Spray paint is not as durable as some other finishes, and a clear coat can help preserve your work.
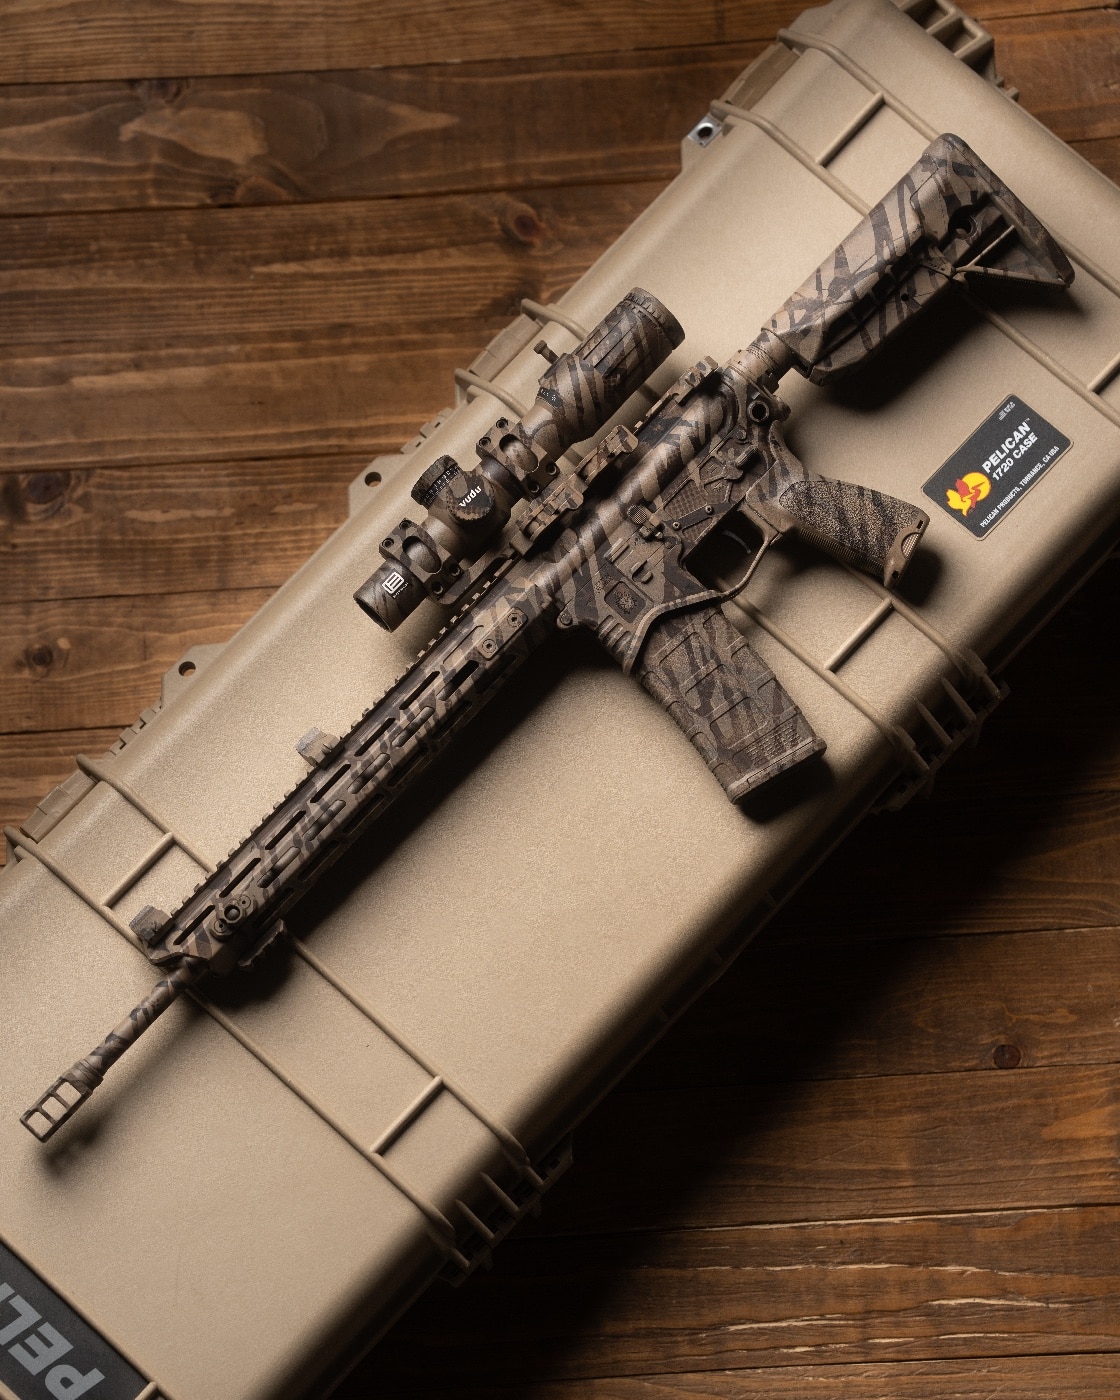
The author turned his SAINT into a unique rifle that is both practical and a conversation piece. The process is relatively straightforward.