So, always double check you have the correct hardware, if its required.
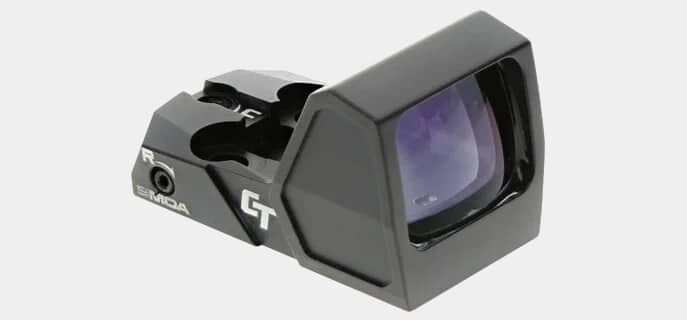
One of those, is the Crimson Trace RAD (Rapid Aiming Dot) Micro Pro.
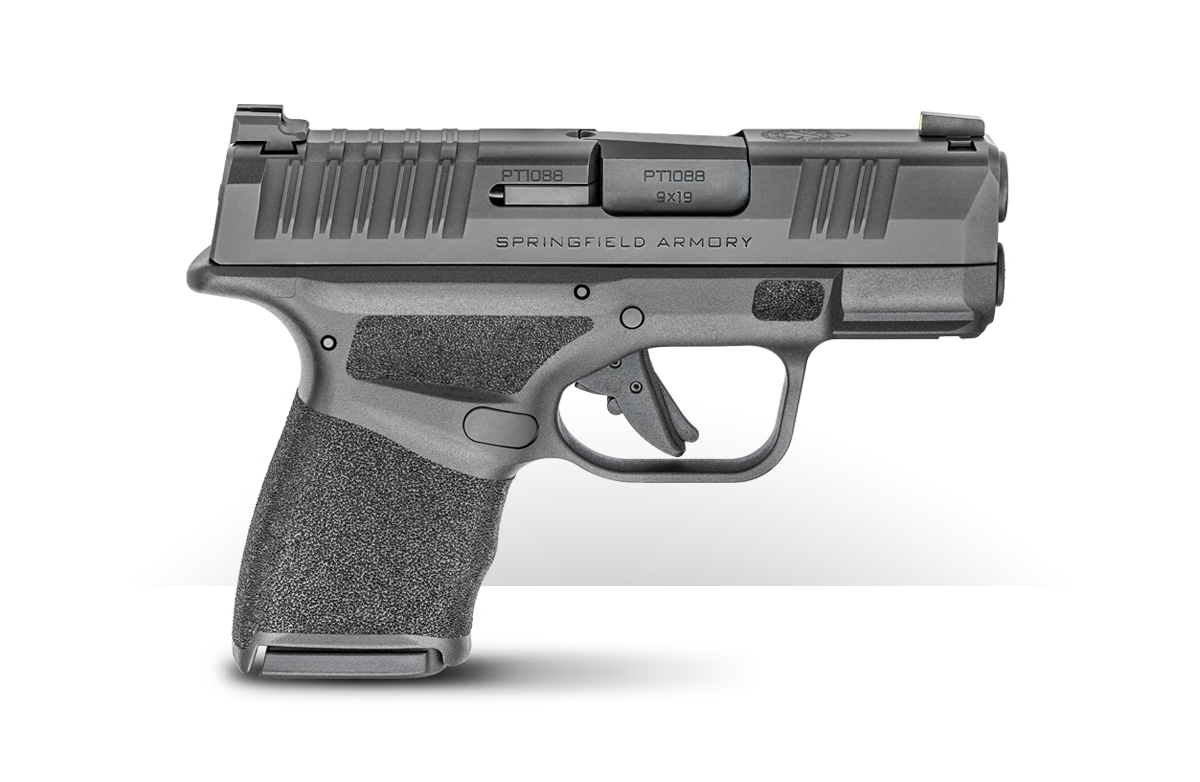
Installing the Crimson Trace Optic
First things first, you want to verify your gun is unloaded.
That should go without saying, but its better to be safe than sorry!
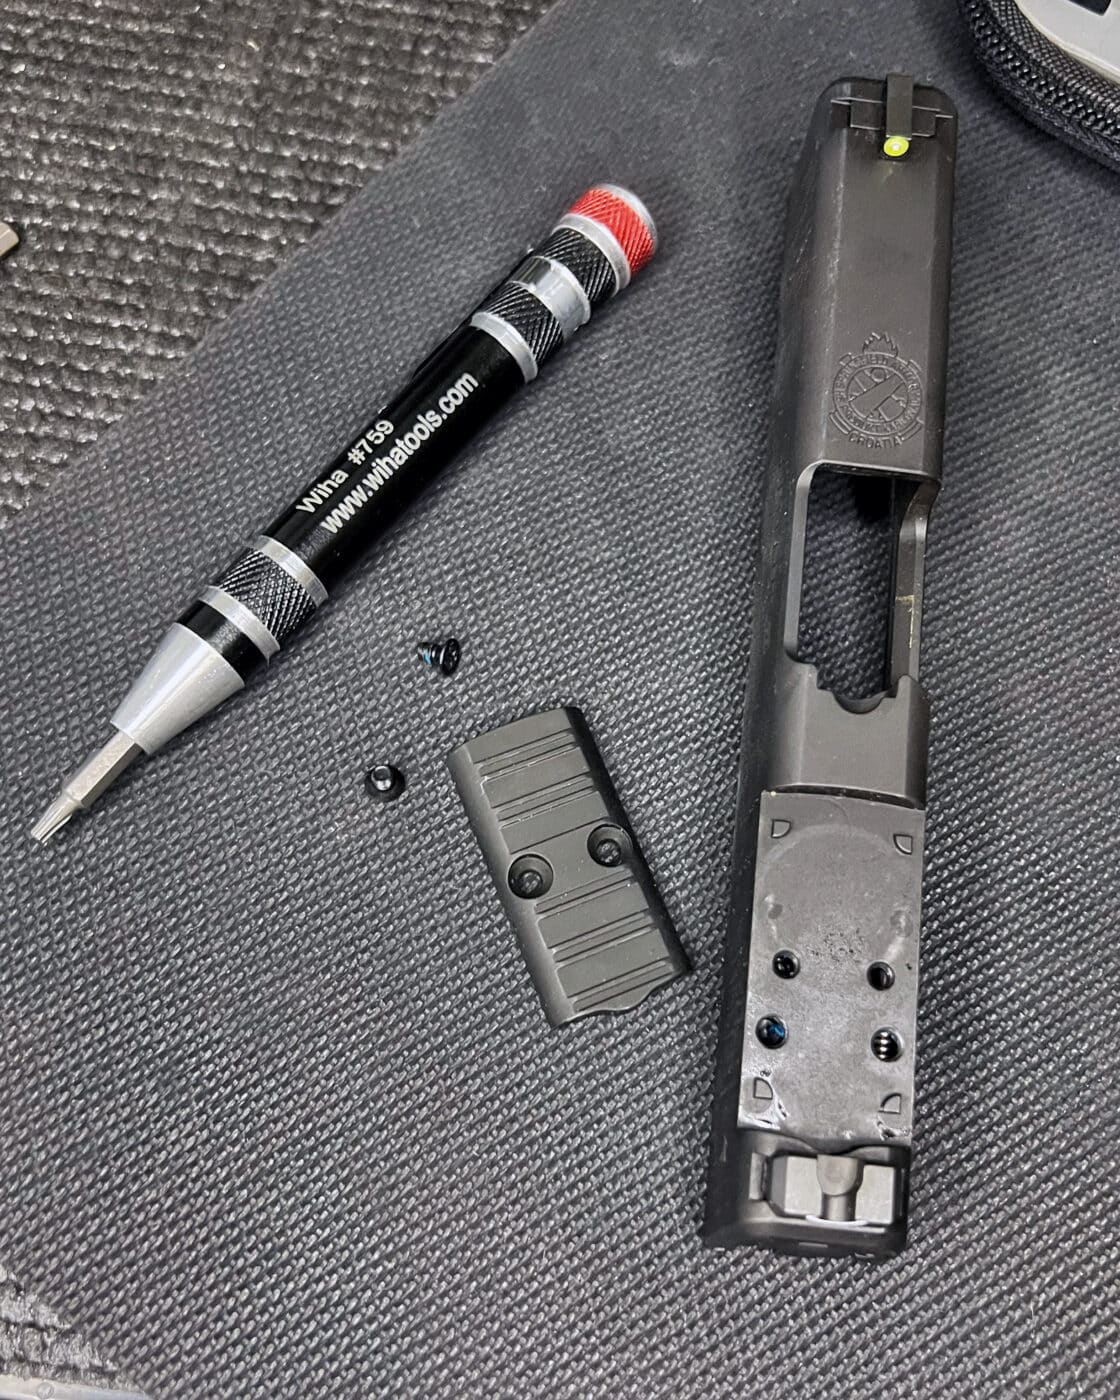
Next, youre going to have to remove the OSP cover plate from the top of the slide.
This is a simple task, and all you need is a T8 Torx key.
With the cover plate removed, you may be tempted to mount the optic right away.
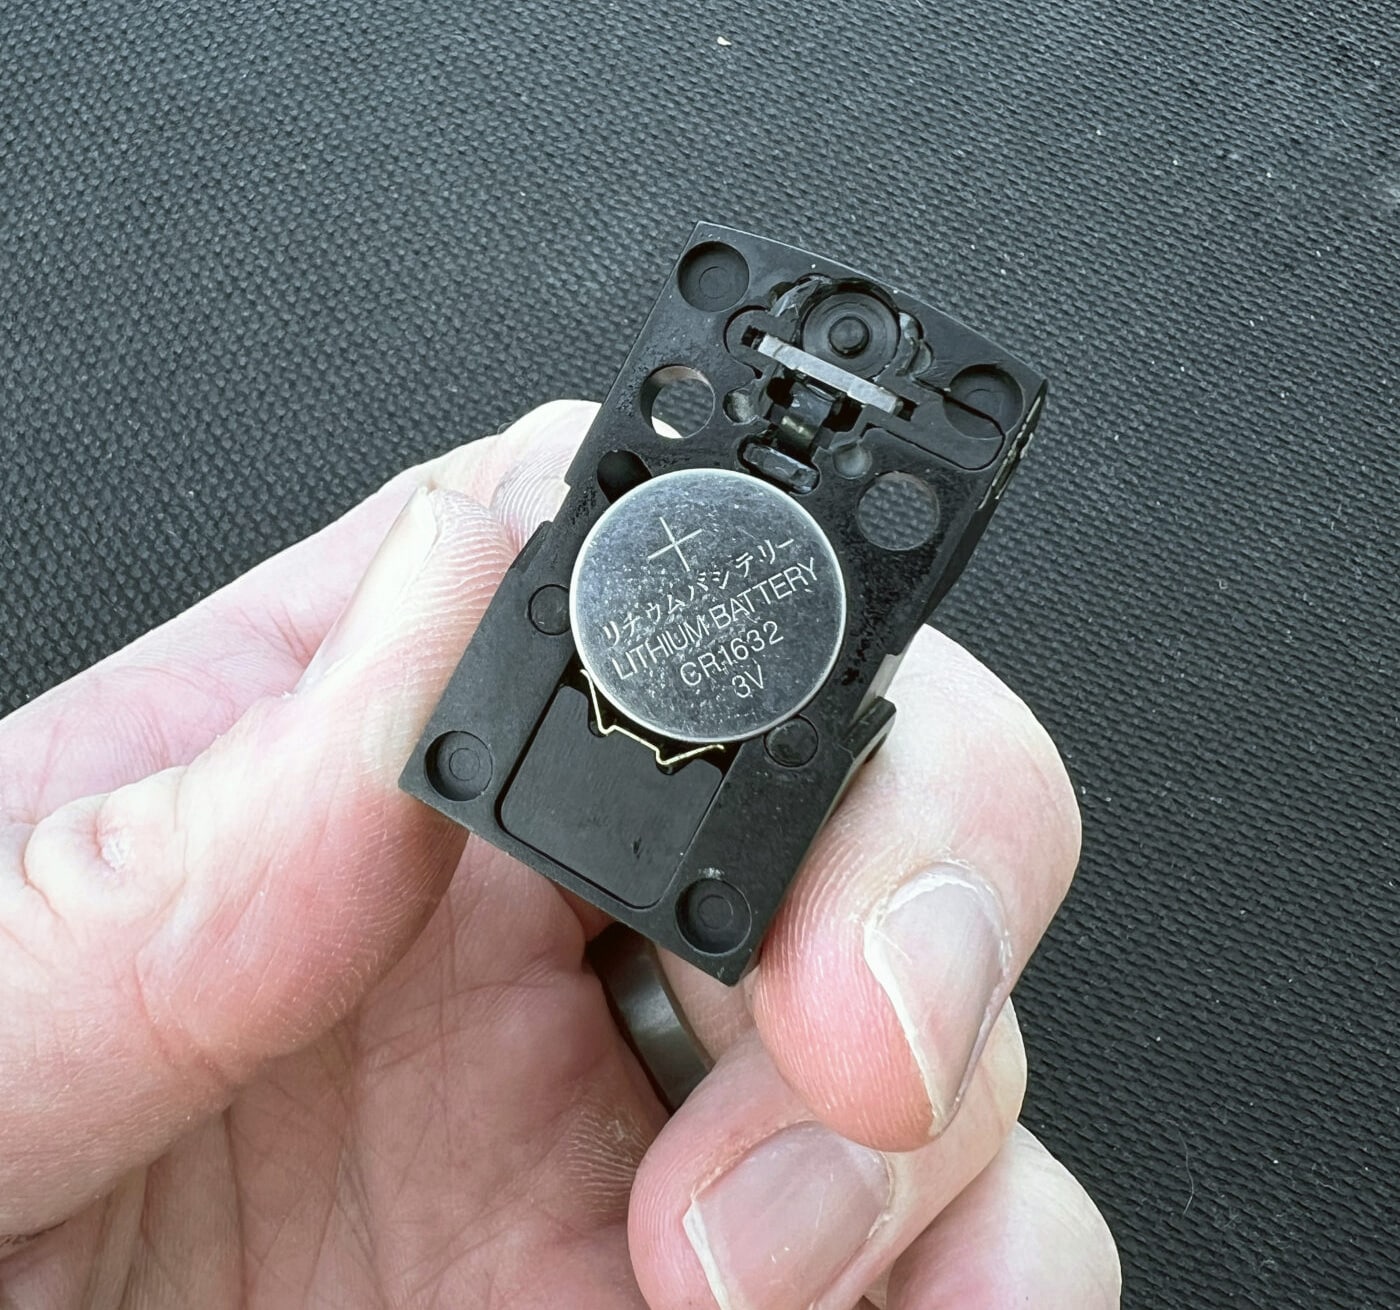
The required battery is a CR1632 and must be installed with the positive side facing out.
Youll know if you put the battery in correctly by the optic either turning on or not!
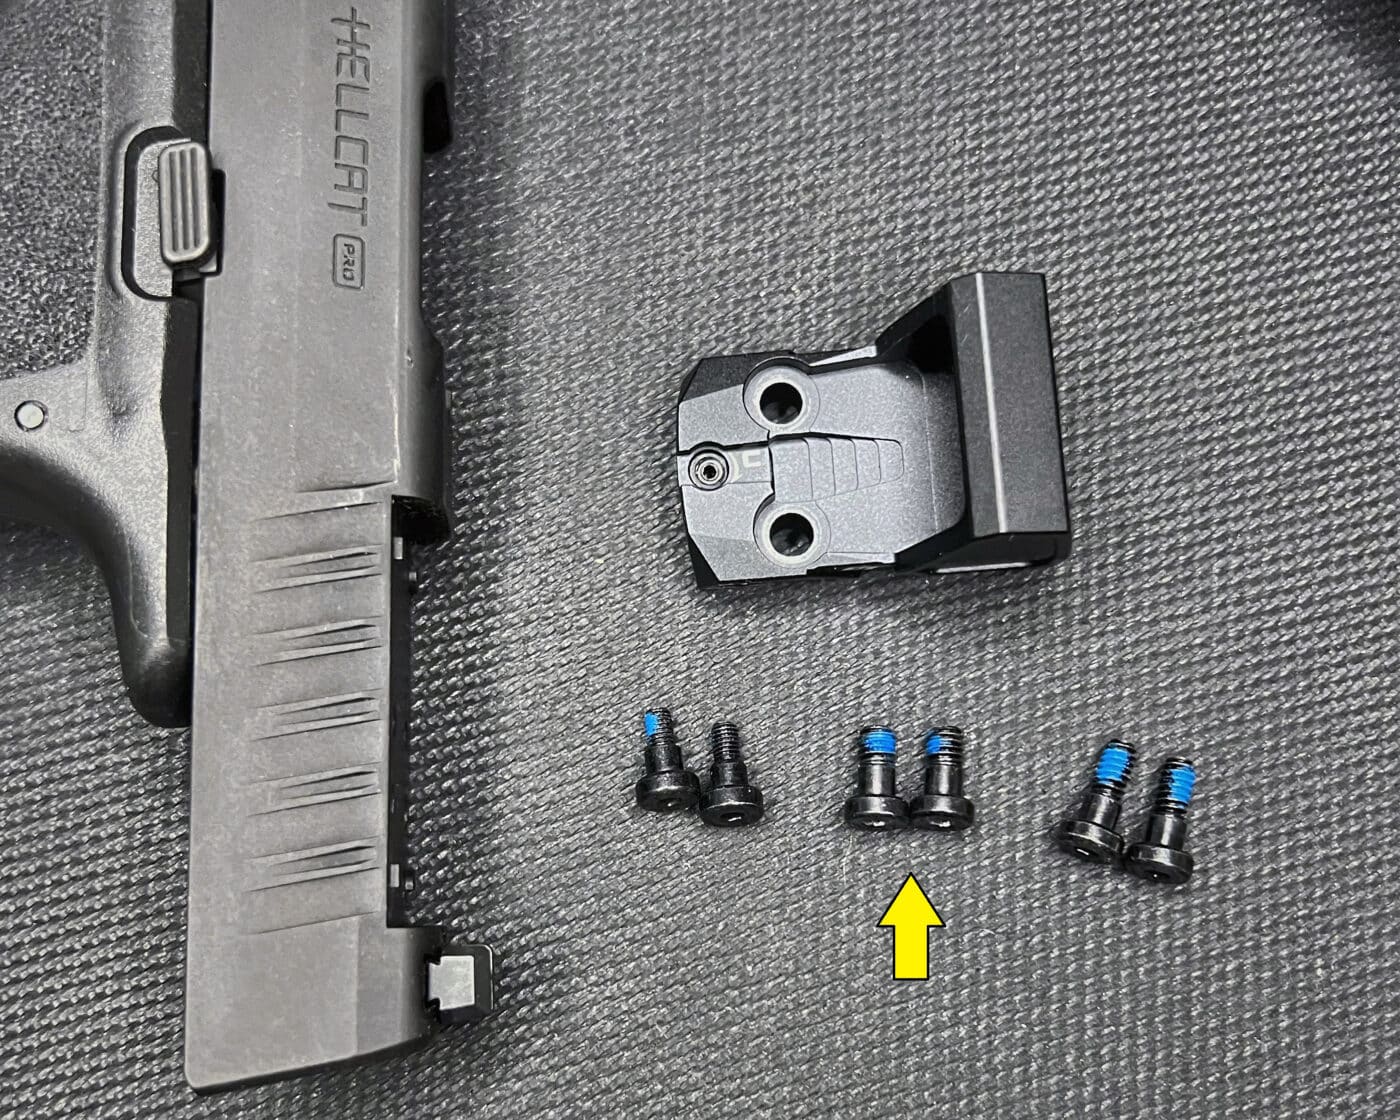
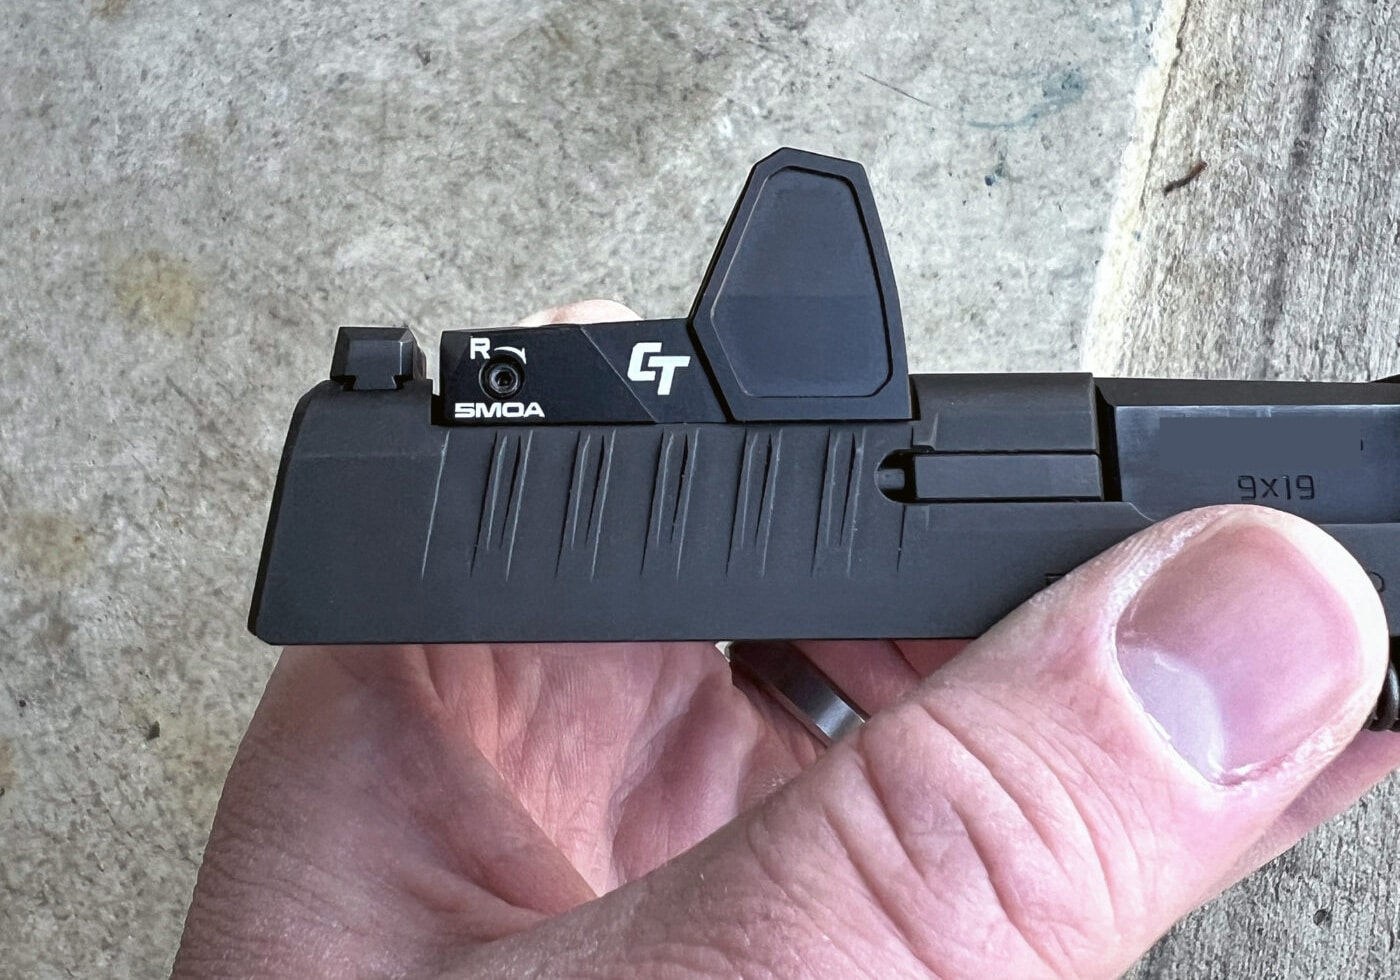
You should see its essentially a perfect fit, with no mounting plate necessary.
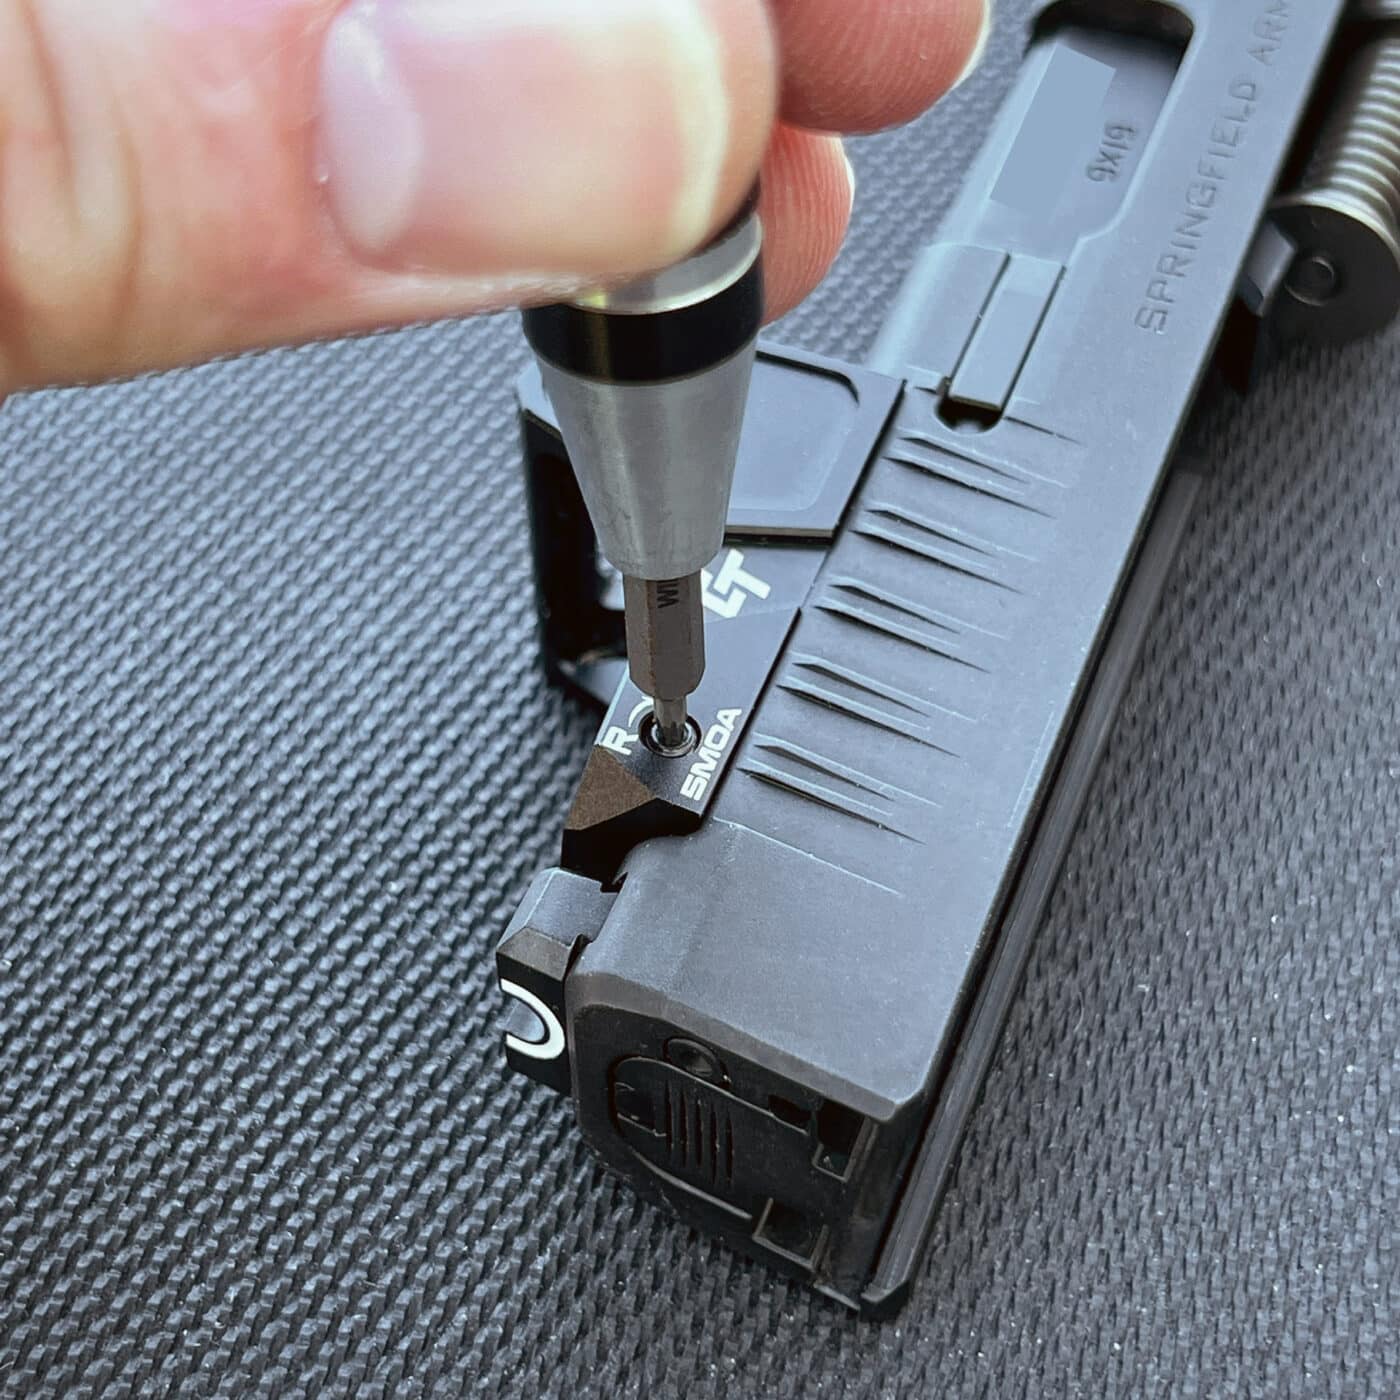
Find the correct length M4-0.7 threaded screws to begin securing it to the slide.
The screws will come with some blue thread locker already applied, so I wouldnt suggest adding any more.
Its time to tighten that optic down so it doesnt go flying off while youre throwing some lead downrange.
But, thats not official, just my personal preference.
This ensures it doesnt come loose during a long range day or from racking the slide using the optic.
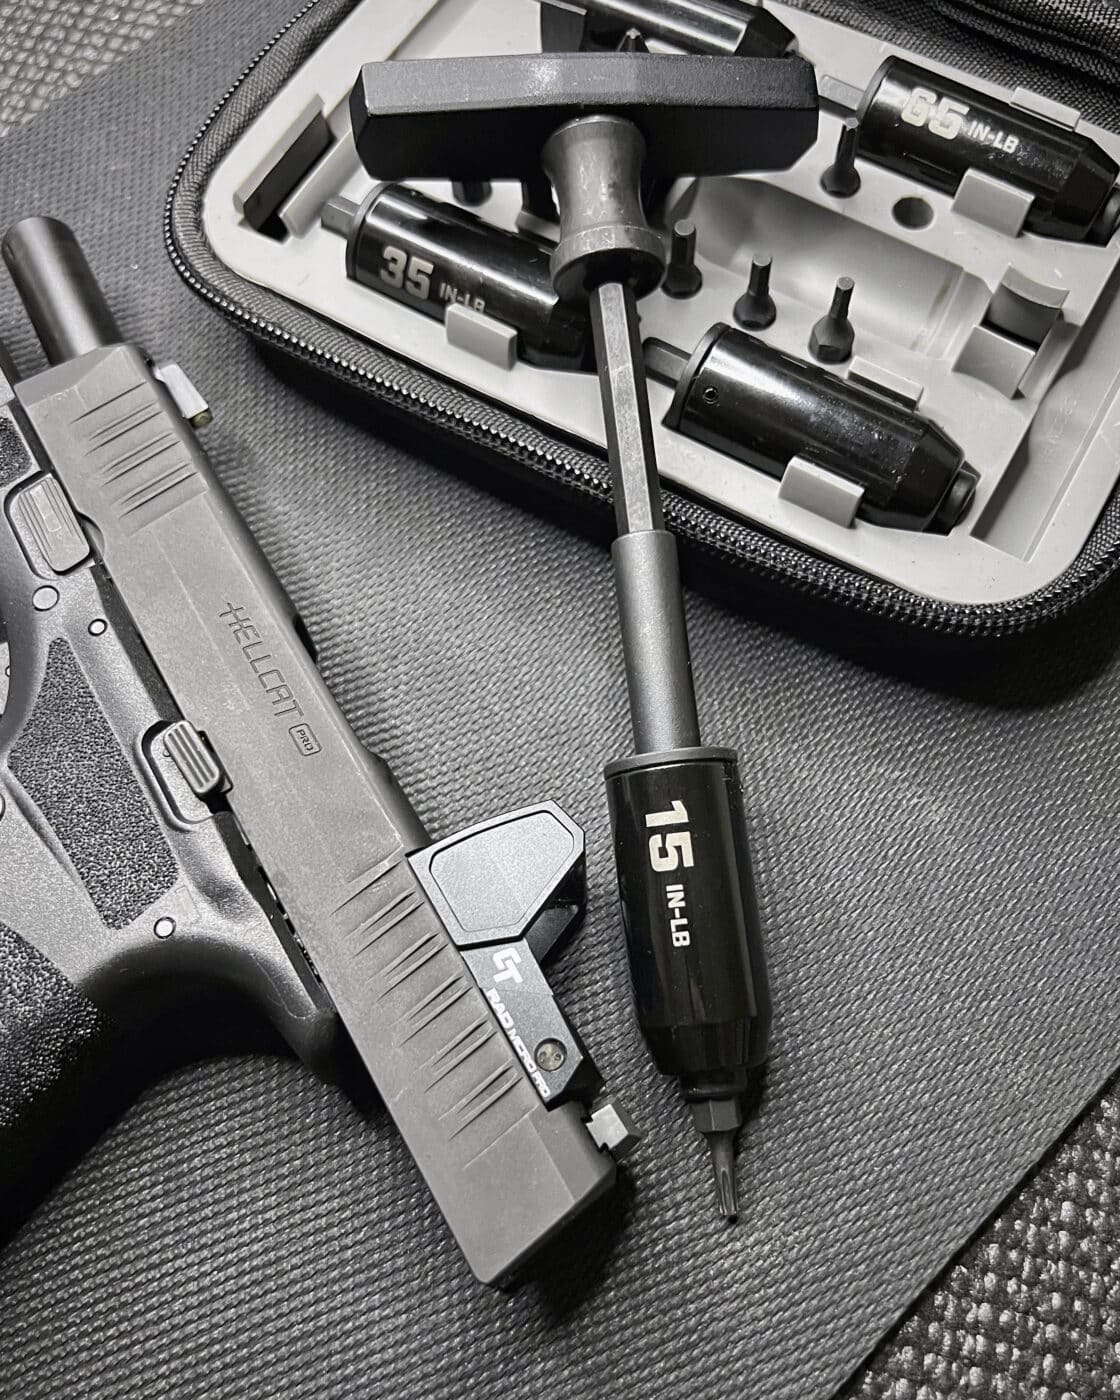
A proper torque wrench will definitely be your friend here.
I use the Wheeler FAT Stix set and have had nothing but good results with it.
Well, for the installation, at least.

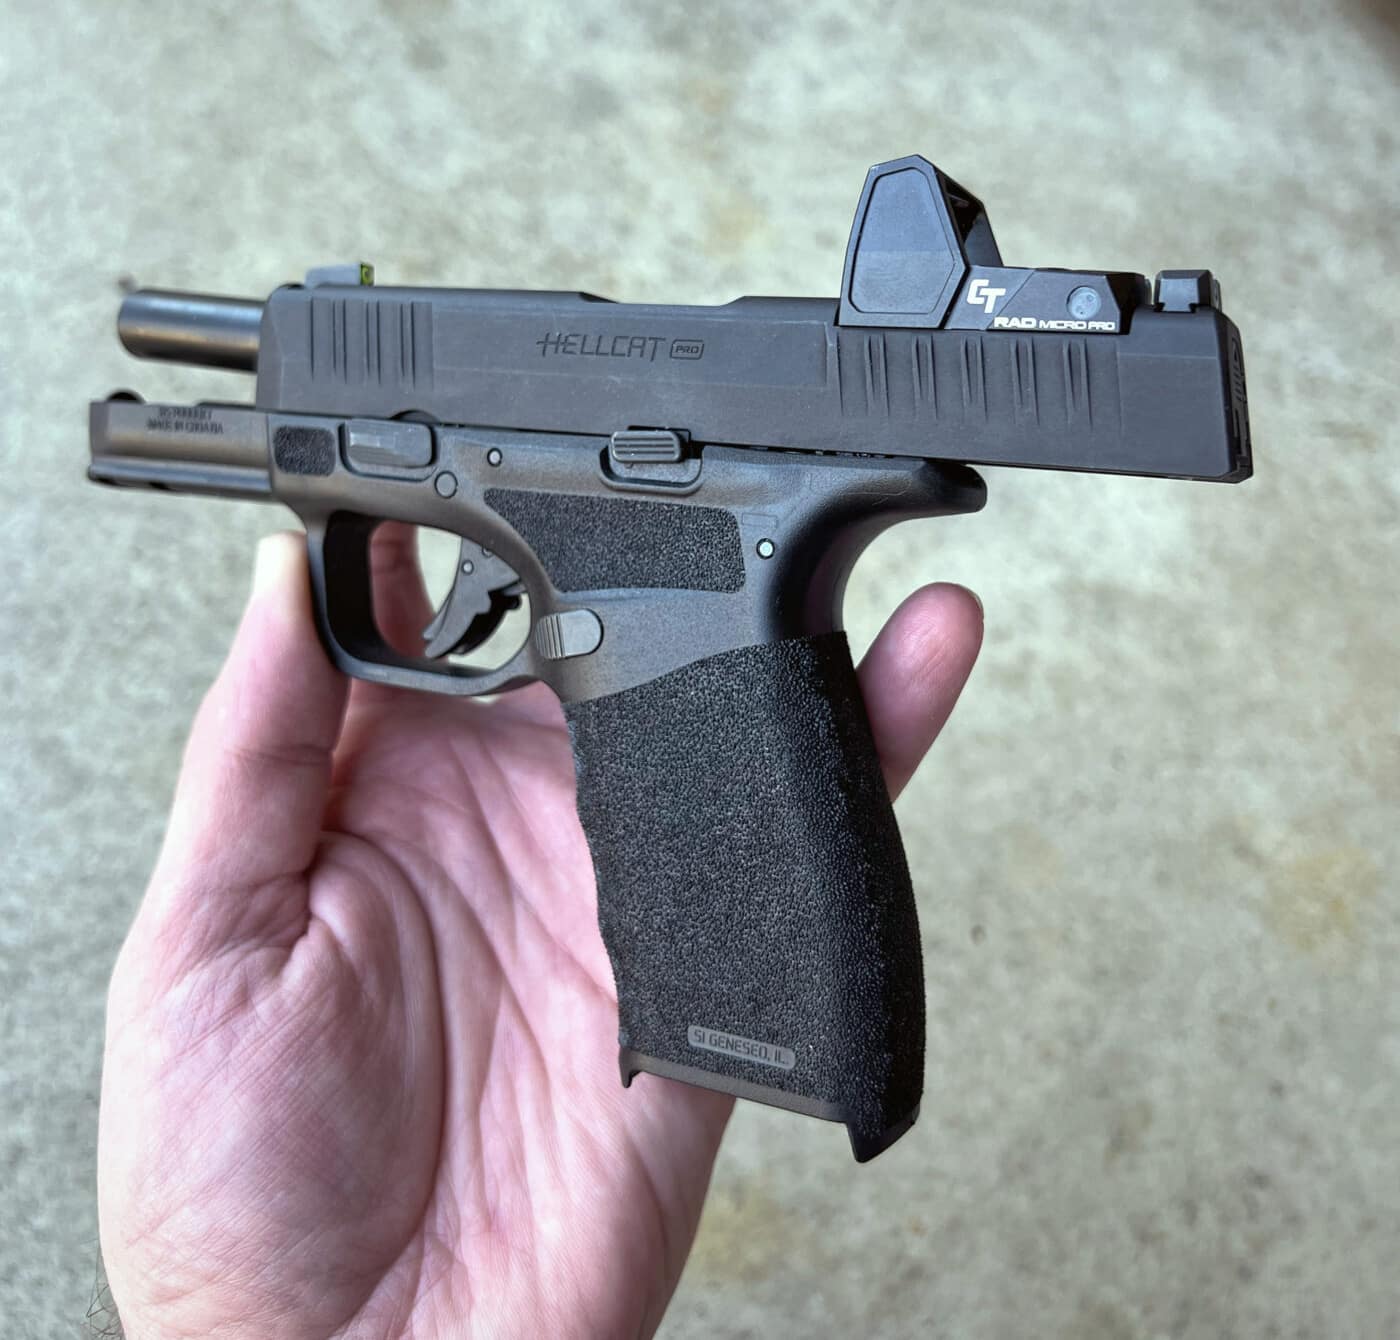
Now you’re free to sit back and admire your new set-up that includes the RAD Micro Pro.
Personally, Ive recently been running an absolute co-witness and I zero my carry pistols at 10 yards.
The exact way you go about adjusting each specific red dot though, can differ.
So, lets take a look specifically at how to adjust the RAD Micro Pro.
On the top of the optic, youll find the elevation adjustment screw.
On the right side of the optic, youll find the windage adjustment screw.
To shift your dot up, you oughta adjust the elevation screw clockwise.
To shift your dot to the right, you gotta adjust the windage screw clockwise.
Conversely, turning them counterclockwise would shift the dot down or to the left respectively.
Now What?
Having an optic alone doesnt mean you will automatically be the next John Wick.
you better train with it just like anything else.
Lastly, double-check your current holster is cut to accept an optic.
Go to forum thread
Crimson TraceCT RAD Micro Pro (Green)
HellcatSeries


